
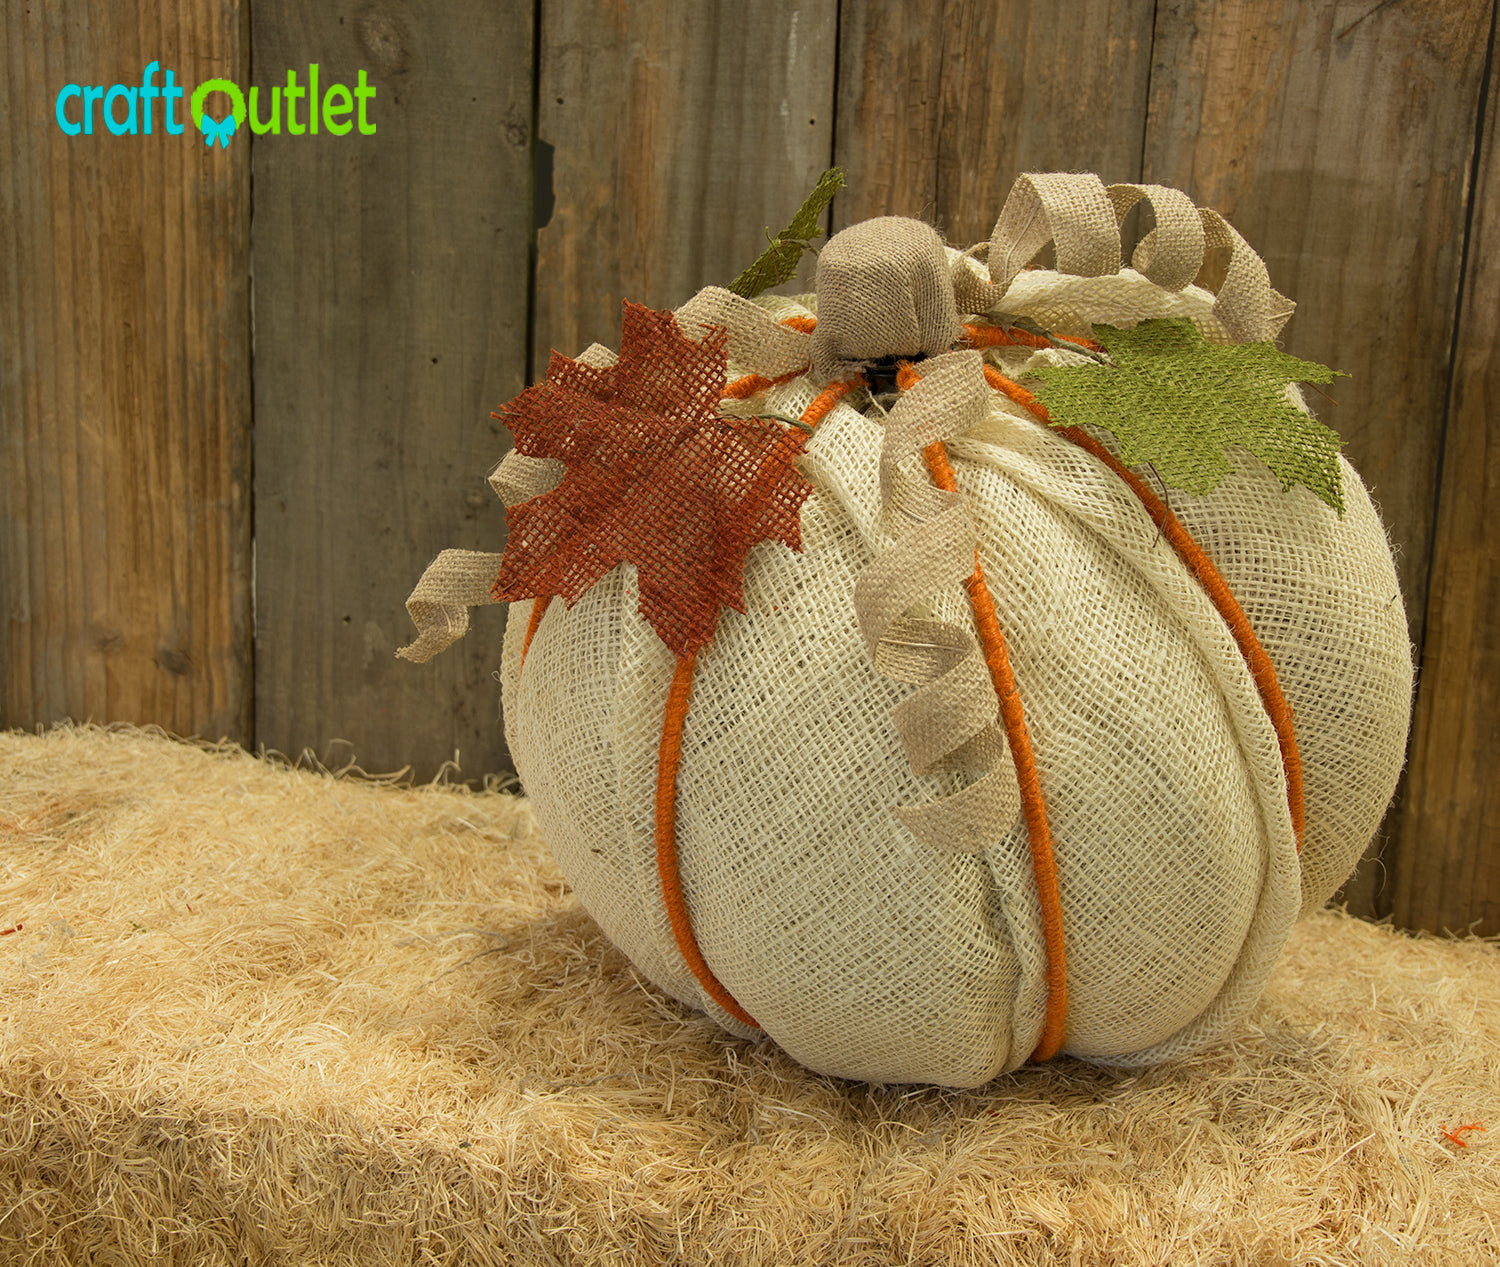
📌 Disclaimer: This tutorial was first published in September 2014. Some links may no longer work and any pricing mentioned may be outdated. The techniques and methods, however, remain valid—so we're happy to keep sharing it.


Supplies Needed:
- 12" Jute Wrapped Wire Folding Ball in Orange $10.95 ea
- 20" Burlap Fabric Roll in Ivory $18.95 for 10 yds
- Burlap Fall Leaves $10.95 for 24 pack
- Recycled Burlap Sack $1.99 ea
- 14" Three Curl Burlap Ornament $2.25 ea
- Bubble Wrap or Newspaper
To see how to open & use one of our wire folding balls, check out our video tutorial:
Cut the seams of the burlap sack, allowing it to become one long fabric sheet. Before wrapping, cut a 5"x9" scrap of fabric to save for the stem of the pumpkin.Once laid flat, place your stuffing (bubble wrap or other) into the center of the fabric. Wrap the fabric around the stuffing forming a ball shape that is only slightly larger than the wire folding ball.

Stuff the burlap into the wire folding ball. Take care to fold any edges under to maintain the ball shape of the stuffing.

Measure 19" of the Ivory Burlap fabric. Using scissors or a rotary cutter, cut the fabric straight down. Cut 8 fabric squares of this size.


To fold the burlap, lay the square flat. Begin with folding the fabric corner to meet at the center of the square.

Fold half of the folded corner inward to the center. Press the folded edges to strengthen the creases made. The completed fabric piece should retain its shape without being held.

Insert fabric pieces one at a time. Overlap the folded edges to imitate the shape of a pumpkin.


For the vines, take the burlap ornament and cut each curl from it.

Wrap each curl intermittently around the tines of the folding wire ball. If curl is too long, the fabric may be cut back at the stem, leaving the wire exposed.

In the same manner, wrap the burlap leaves around the folding wire ball.

For the stem, you can use a cardboard tube. Cut 1" section from the tube.

Wrap that section in excess burlap fabric, either from other projects or the scrap you cut from the burlap sack previously. Wrap the tube in the fabric leaving enough space in the center to place onto the top of the pumpkin.

Place the burlap wrapped stem on to the top of the pumpkin to finish.

Check to make sure all the fabric folds are overlapping and you're done!

Although it looks time consuming, this no-sew project can be completed in about an hour. The bonus is that it can be broken down every year for easy storage. Place in a fall centerpiece or on your porch, letting it welcome in your guests. Without the stem cover you can hang the pumpkin, too!