How to Make a Simple Fall Grapevine Wreath with Unexpected Colors
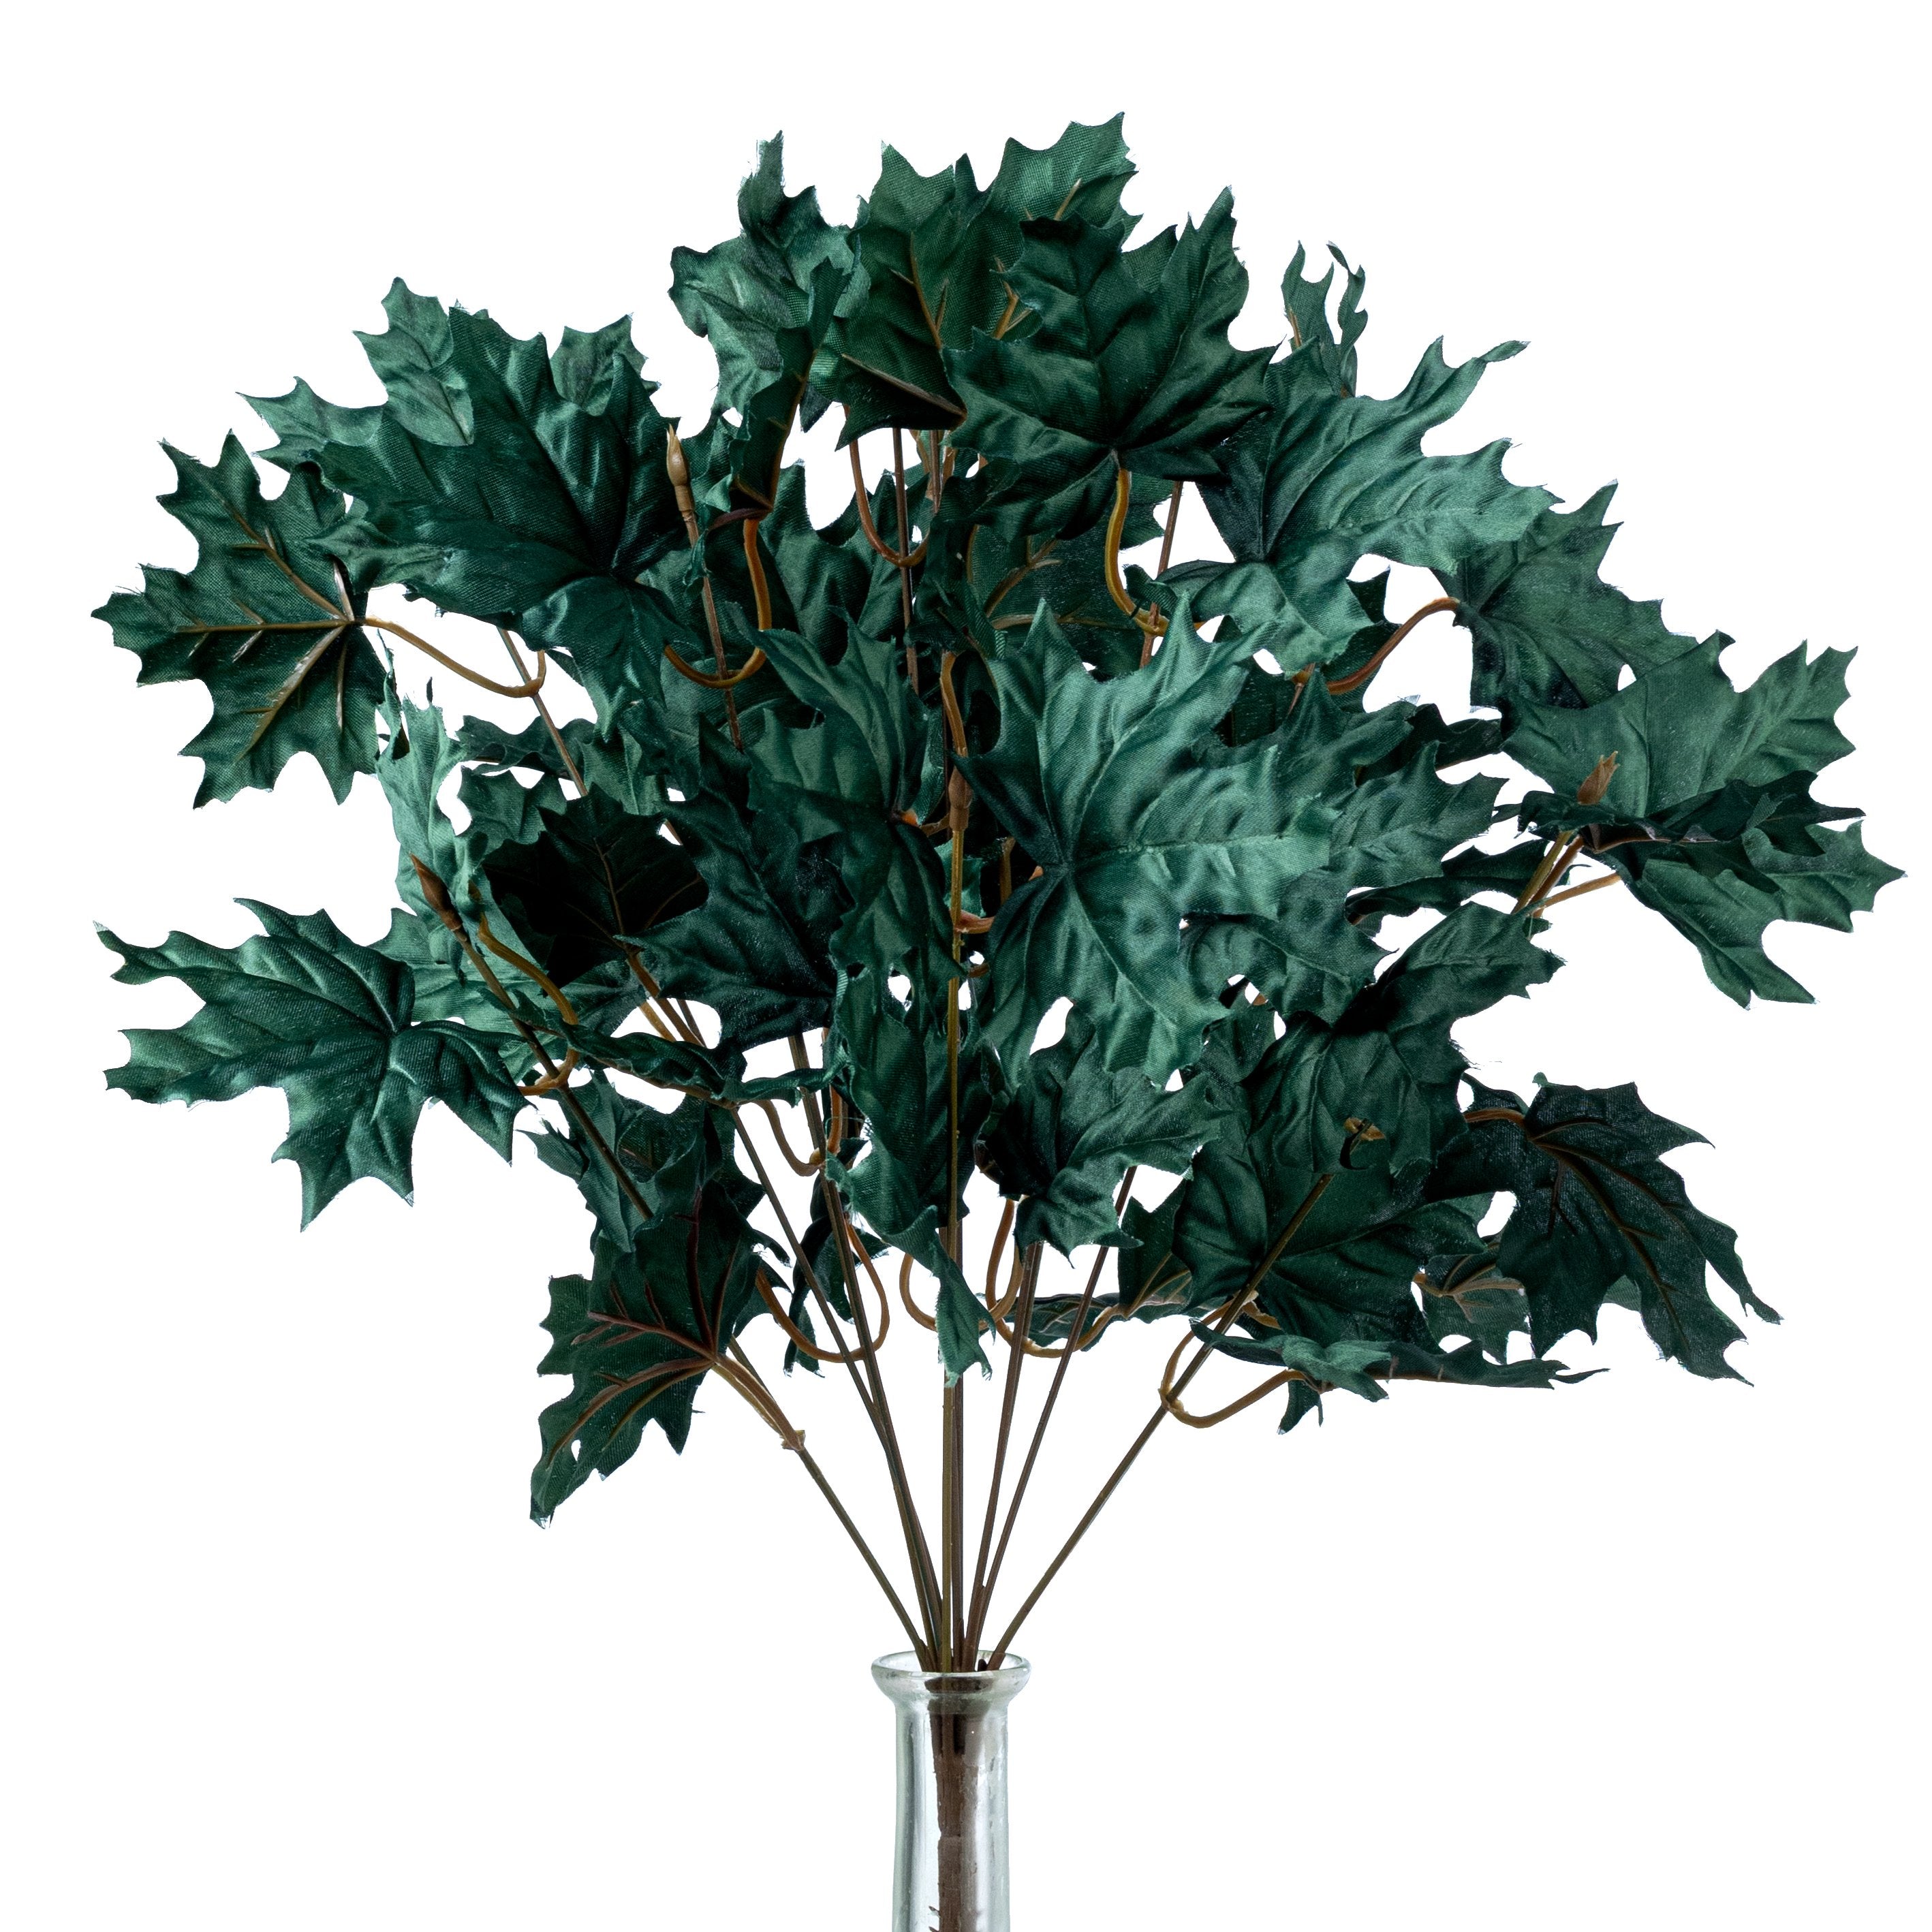
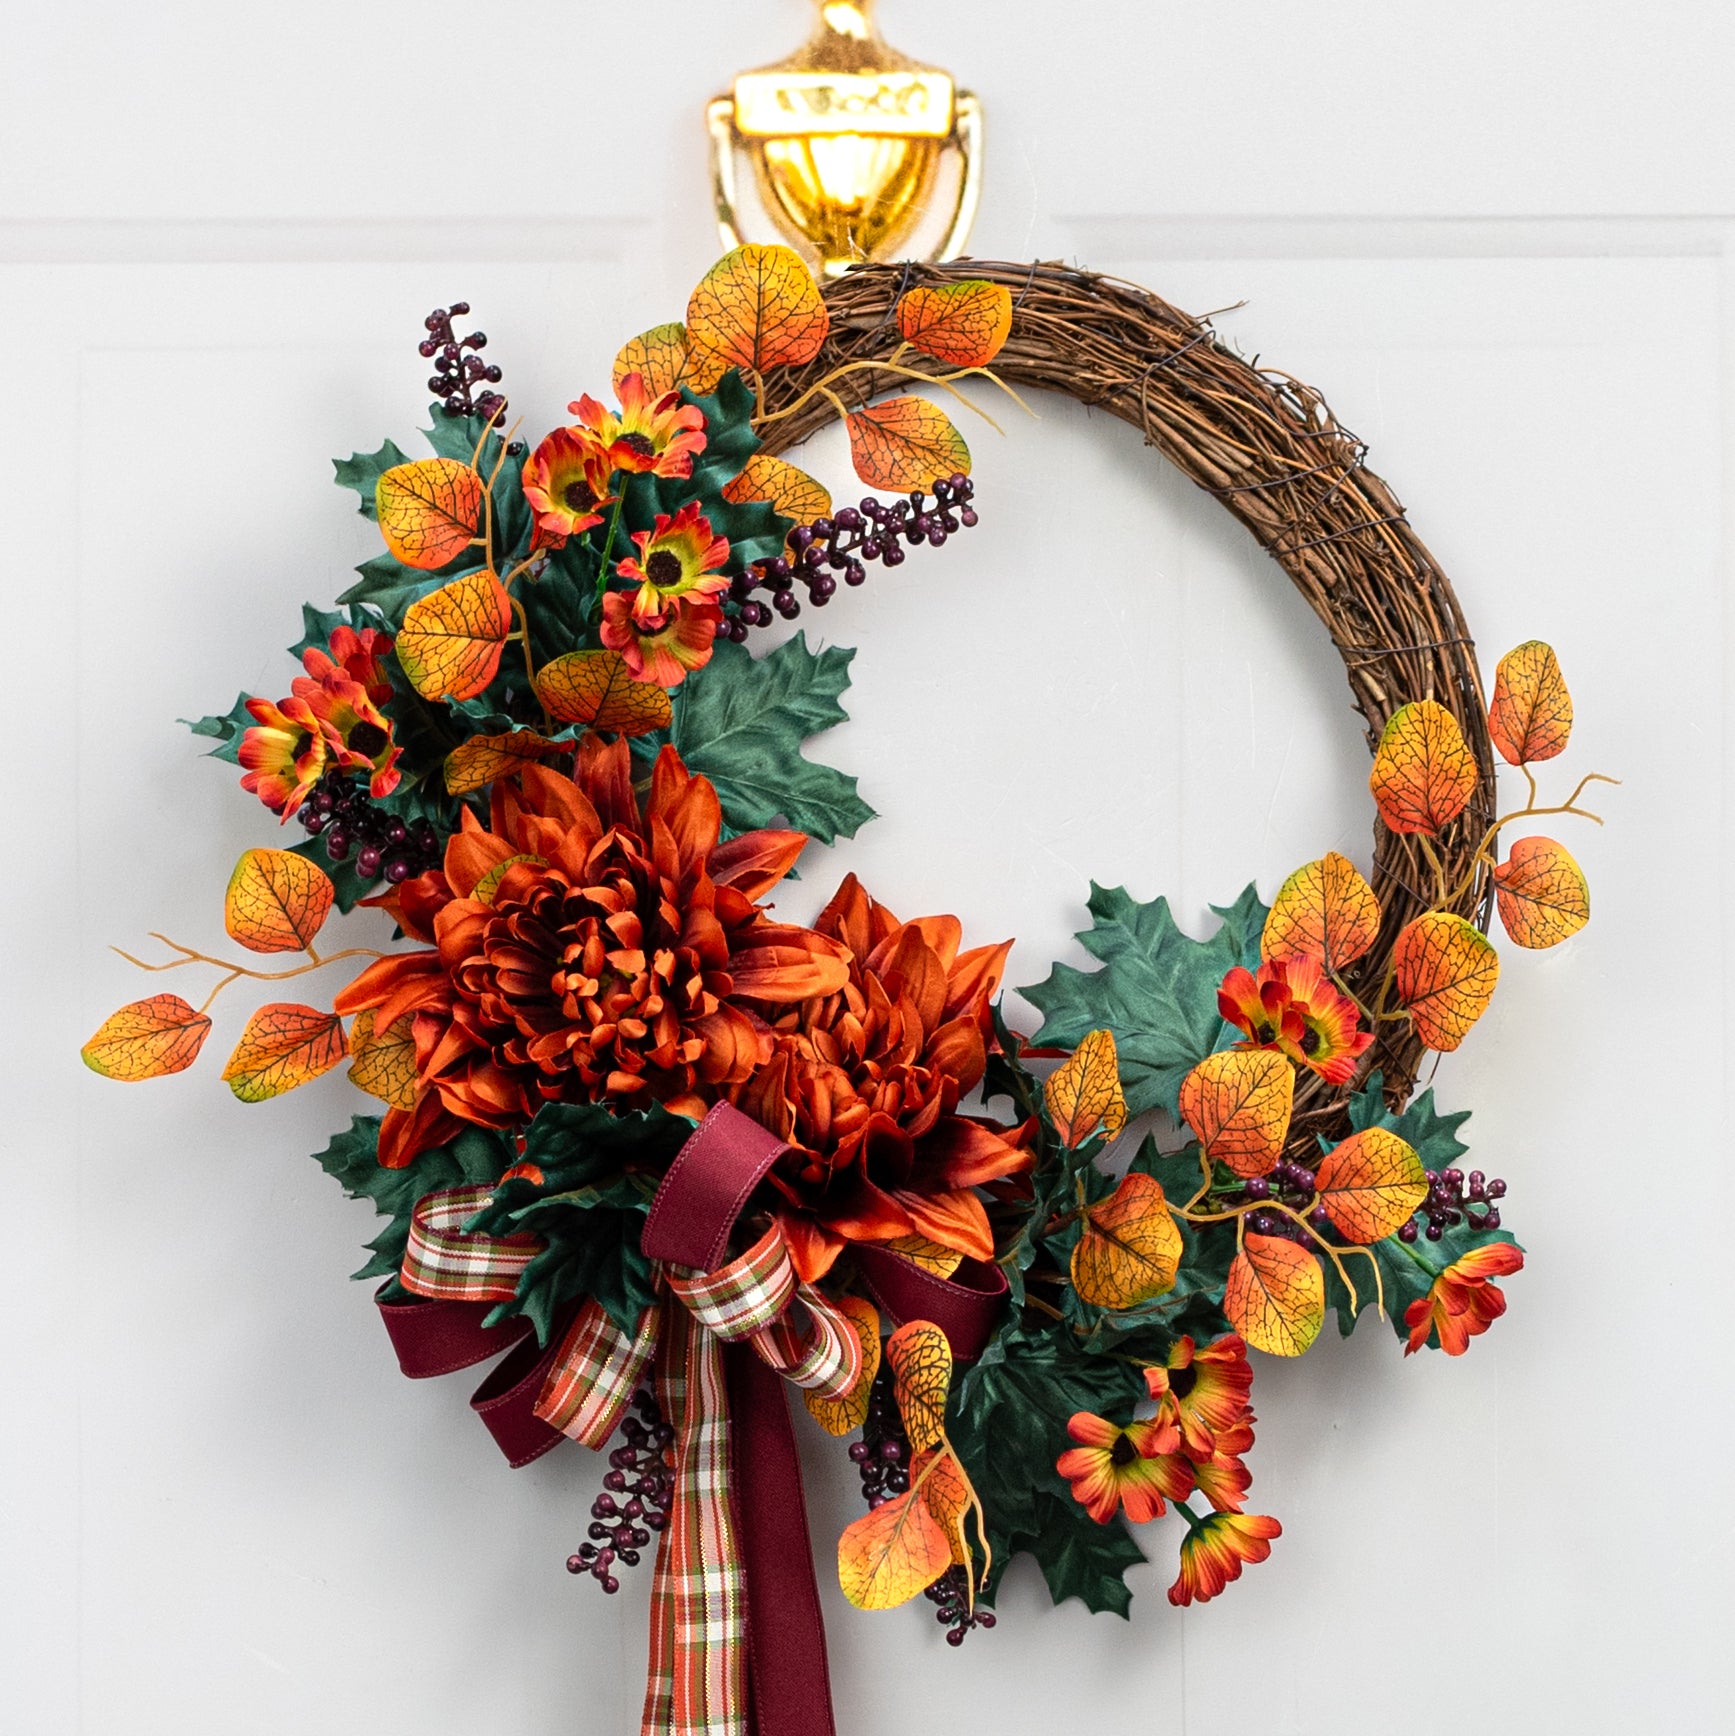
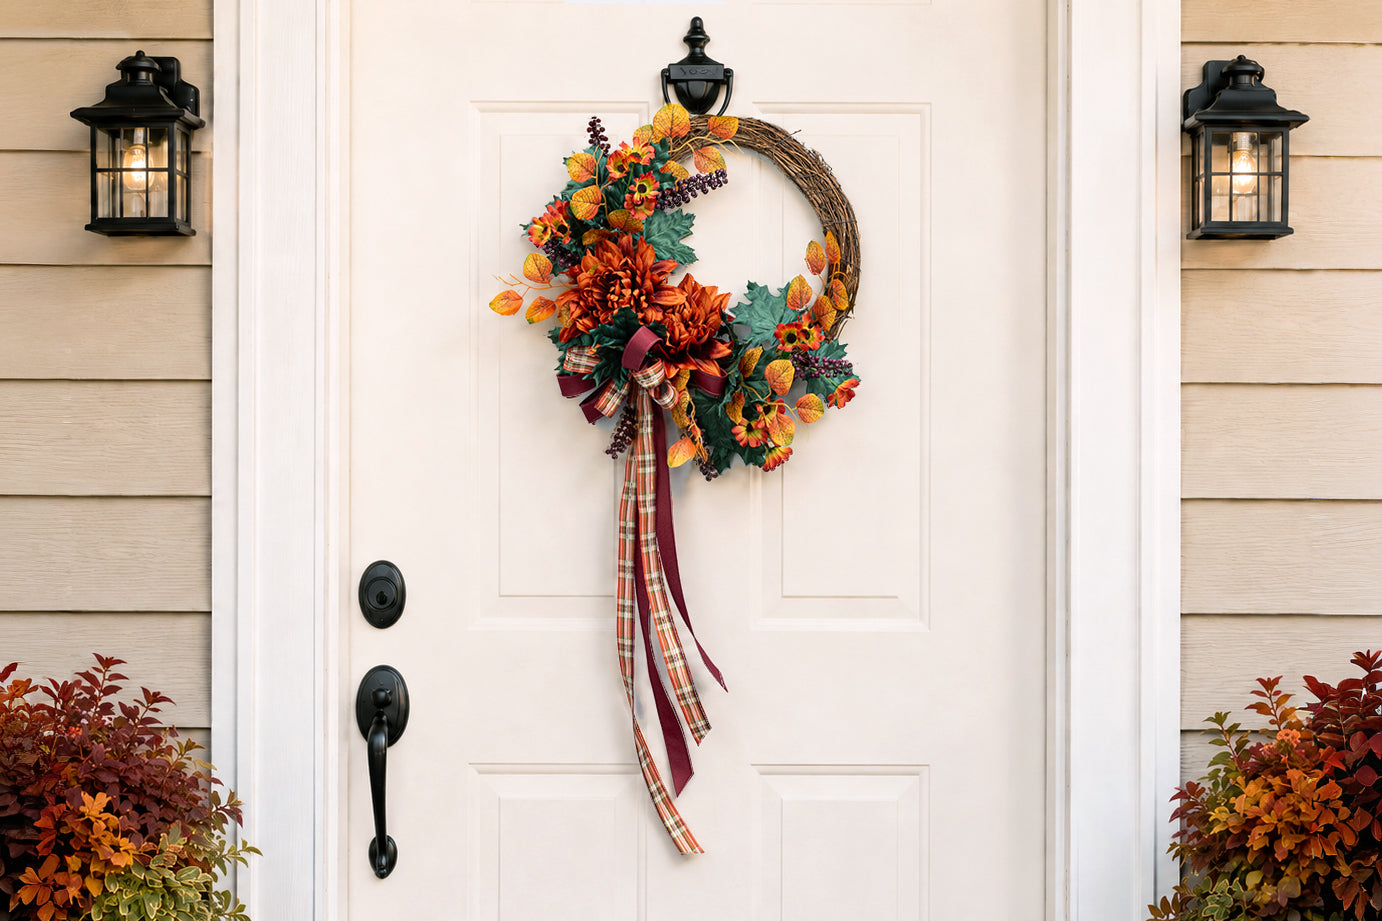
Deep hunter green foliage takes center stage in this elegant fall grapevine wreath.
While traditional autumn designs often rely heavily on bright orange, red and yellow, this wreath begins with saturated green leaves as its defining feature. Burnt orange flowers, golden foliage, burgundy berries and coordinating ribbon are then layered with the greenery to create warmth, contrast and seasonal color.
The materials follow one side of the grapevine base in an asymmetrical crescent, leaving part of the natural wreath exposed. This open space keeps the design from feeling too heavy and allows the rich hunter green leaves to remain visually prominent.
In this tutorial, you’ll learn how to build the wreath from the focal point, building the greenery outward using a simple swap method.
Scroll down for the full supply list.
Step 1: Plan the wreath’s focal area
Before attaching anything, decide which portion of the grapevine wreath will hold the arrangement.
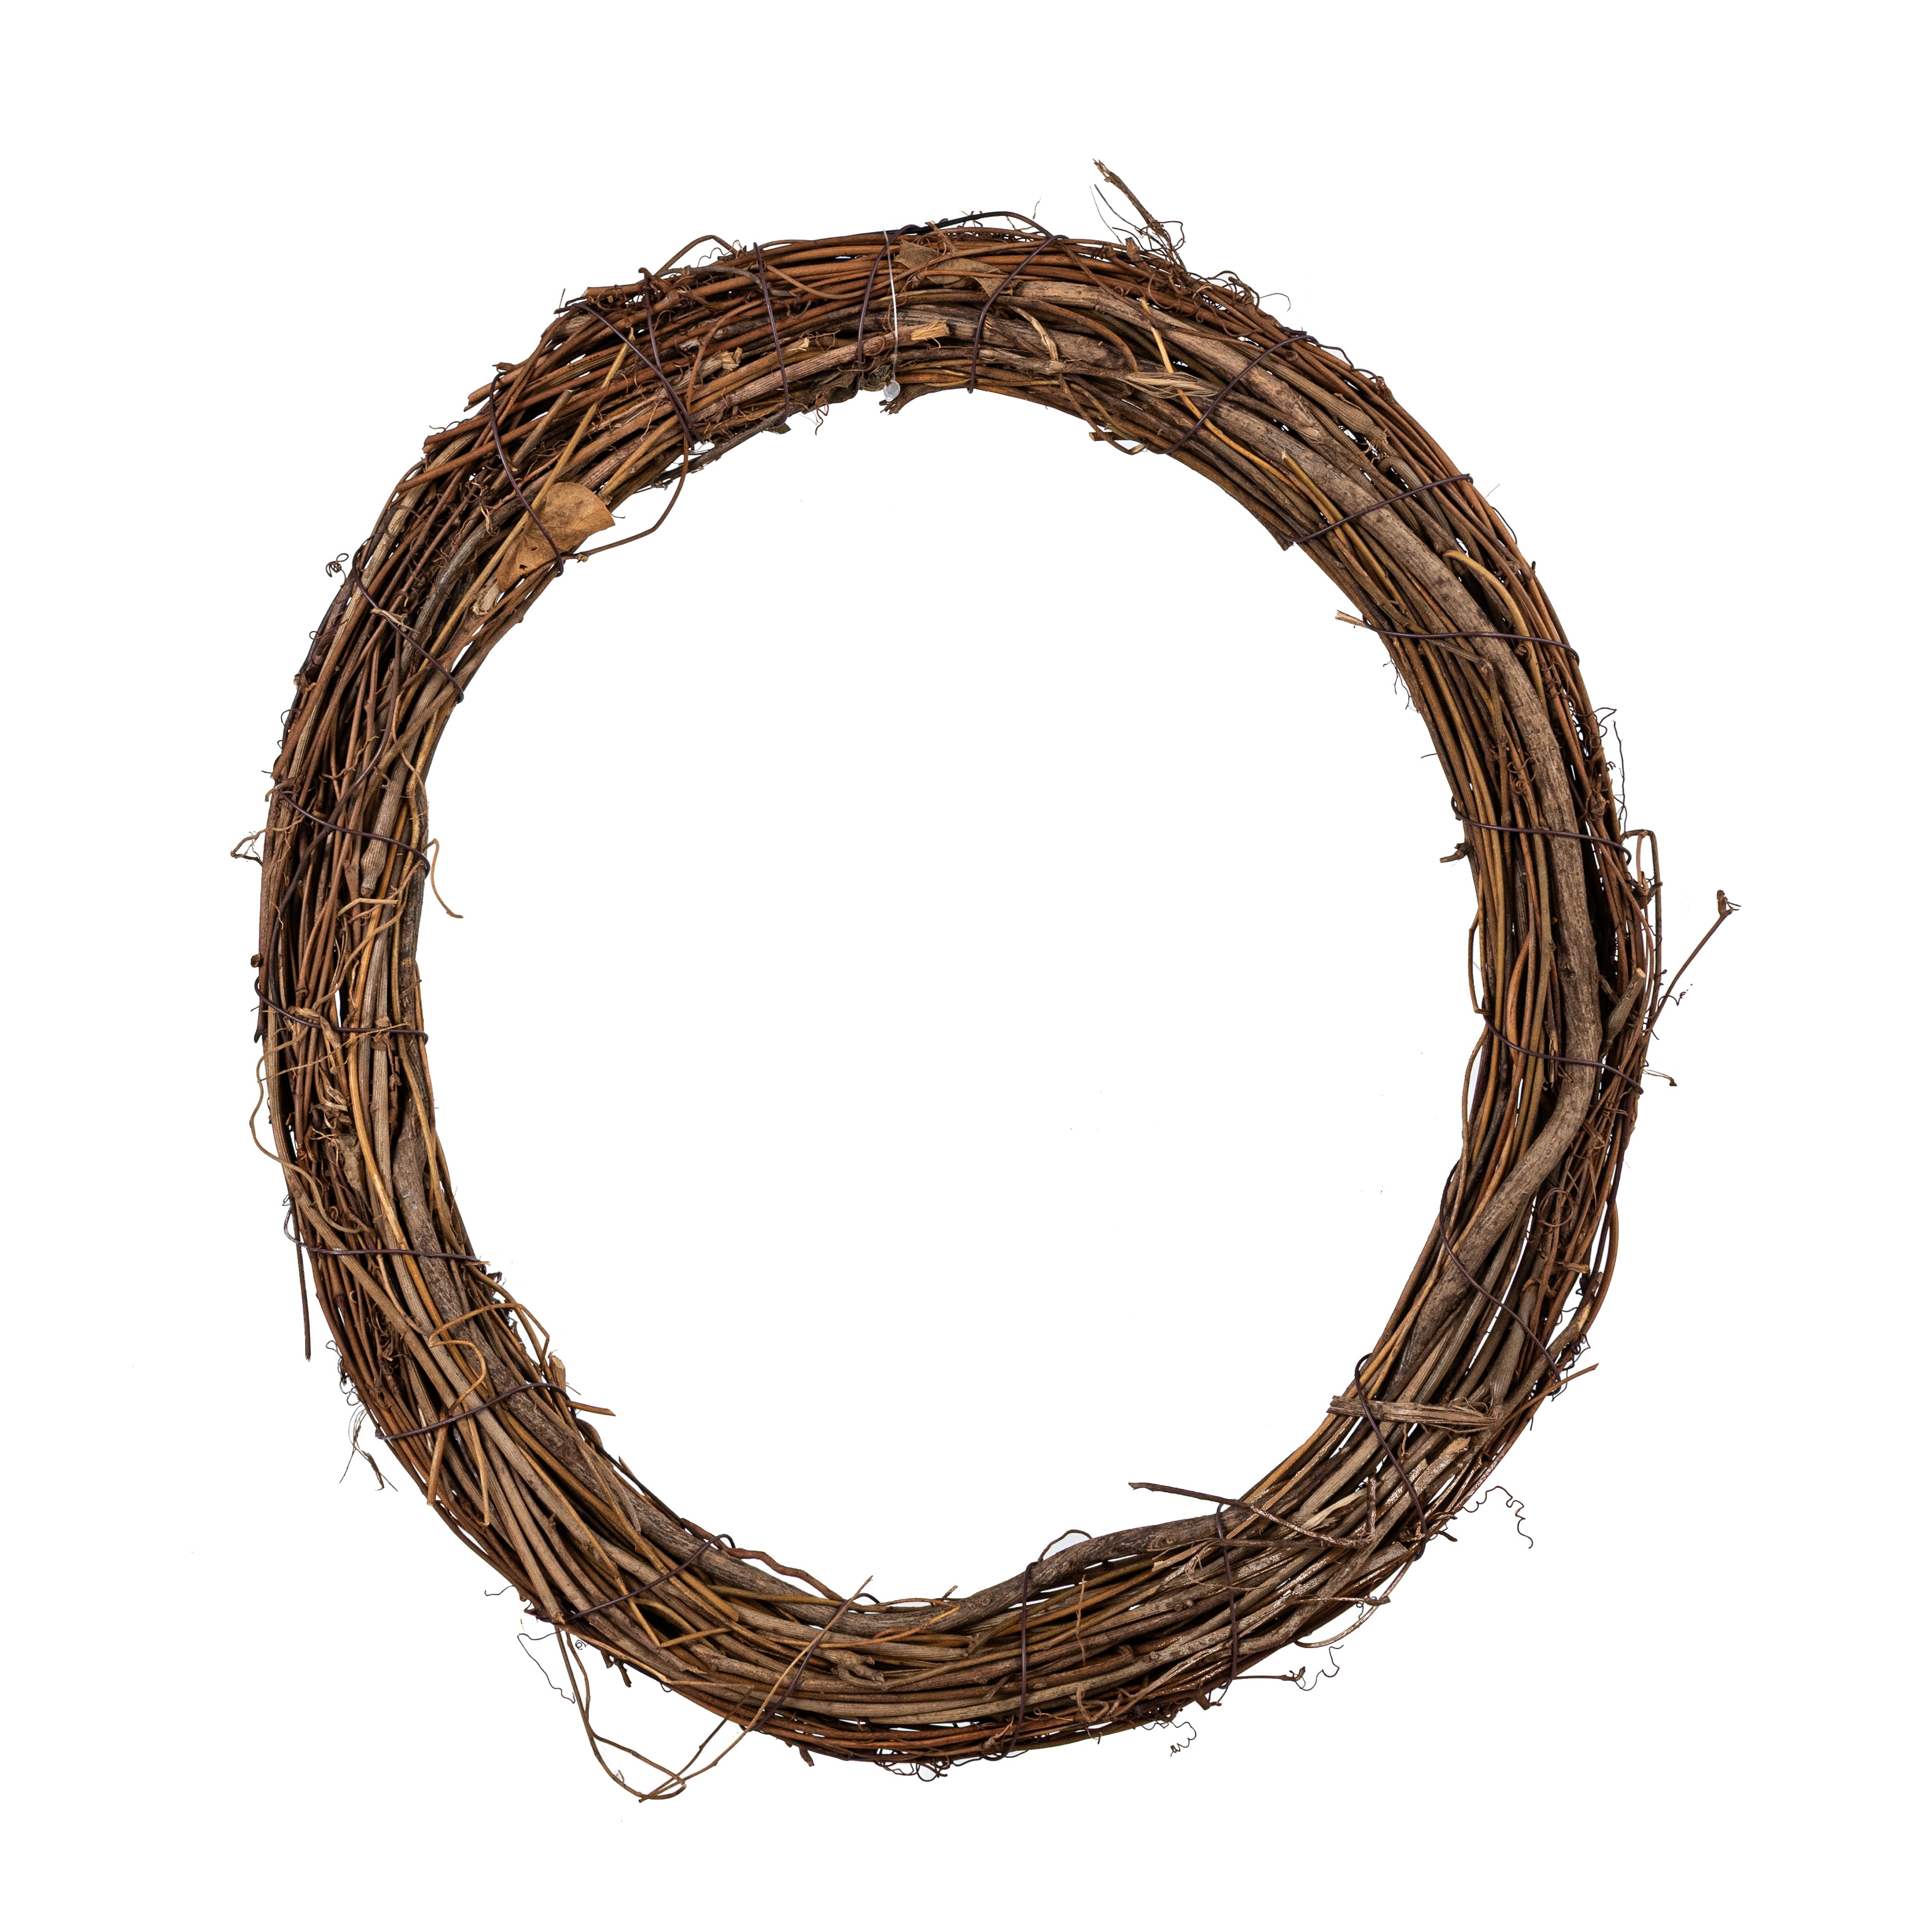
For this design, the flowers and foliage travel around the left side and lower portion of the wreath. The upper-right section remains mostly uncovered, allowing the natural grapevine texture to become part of the finished design.
Leaving this open space also keeps the wreath from feeling too heavy or crowded.
Step 2: Add the large burnt orange flowers
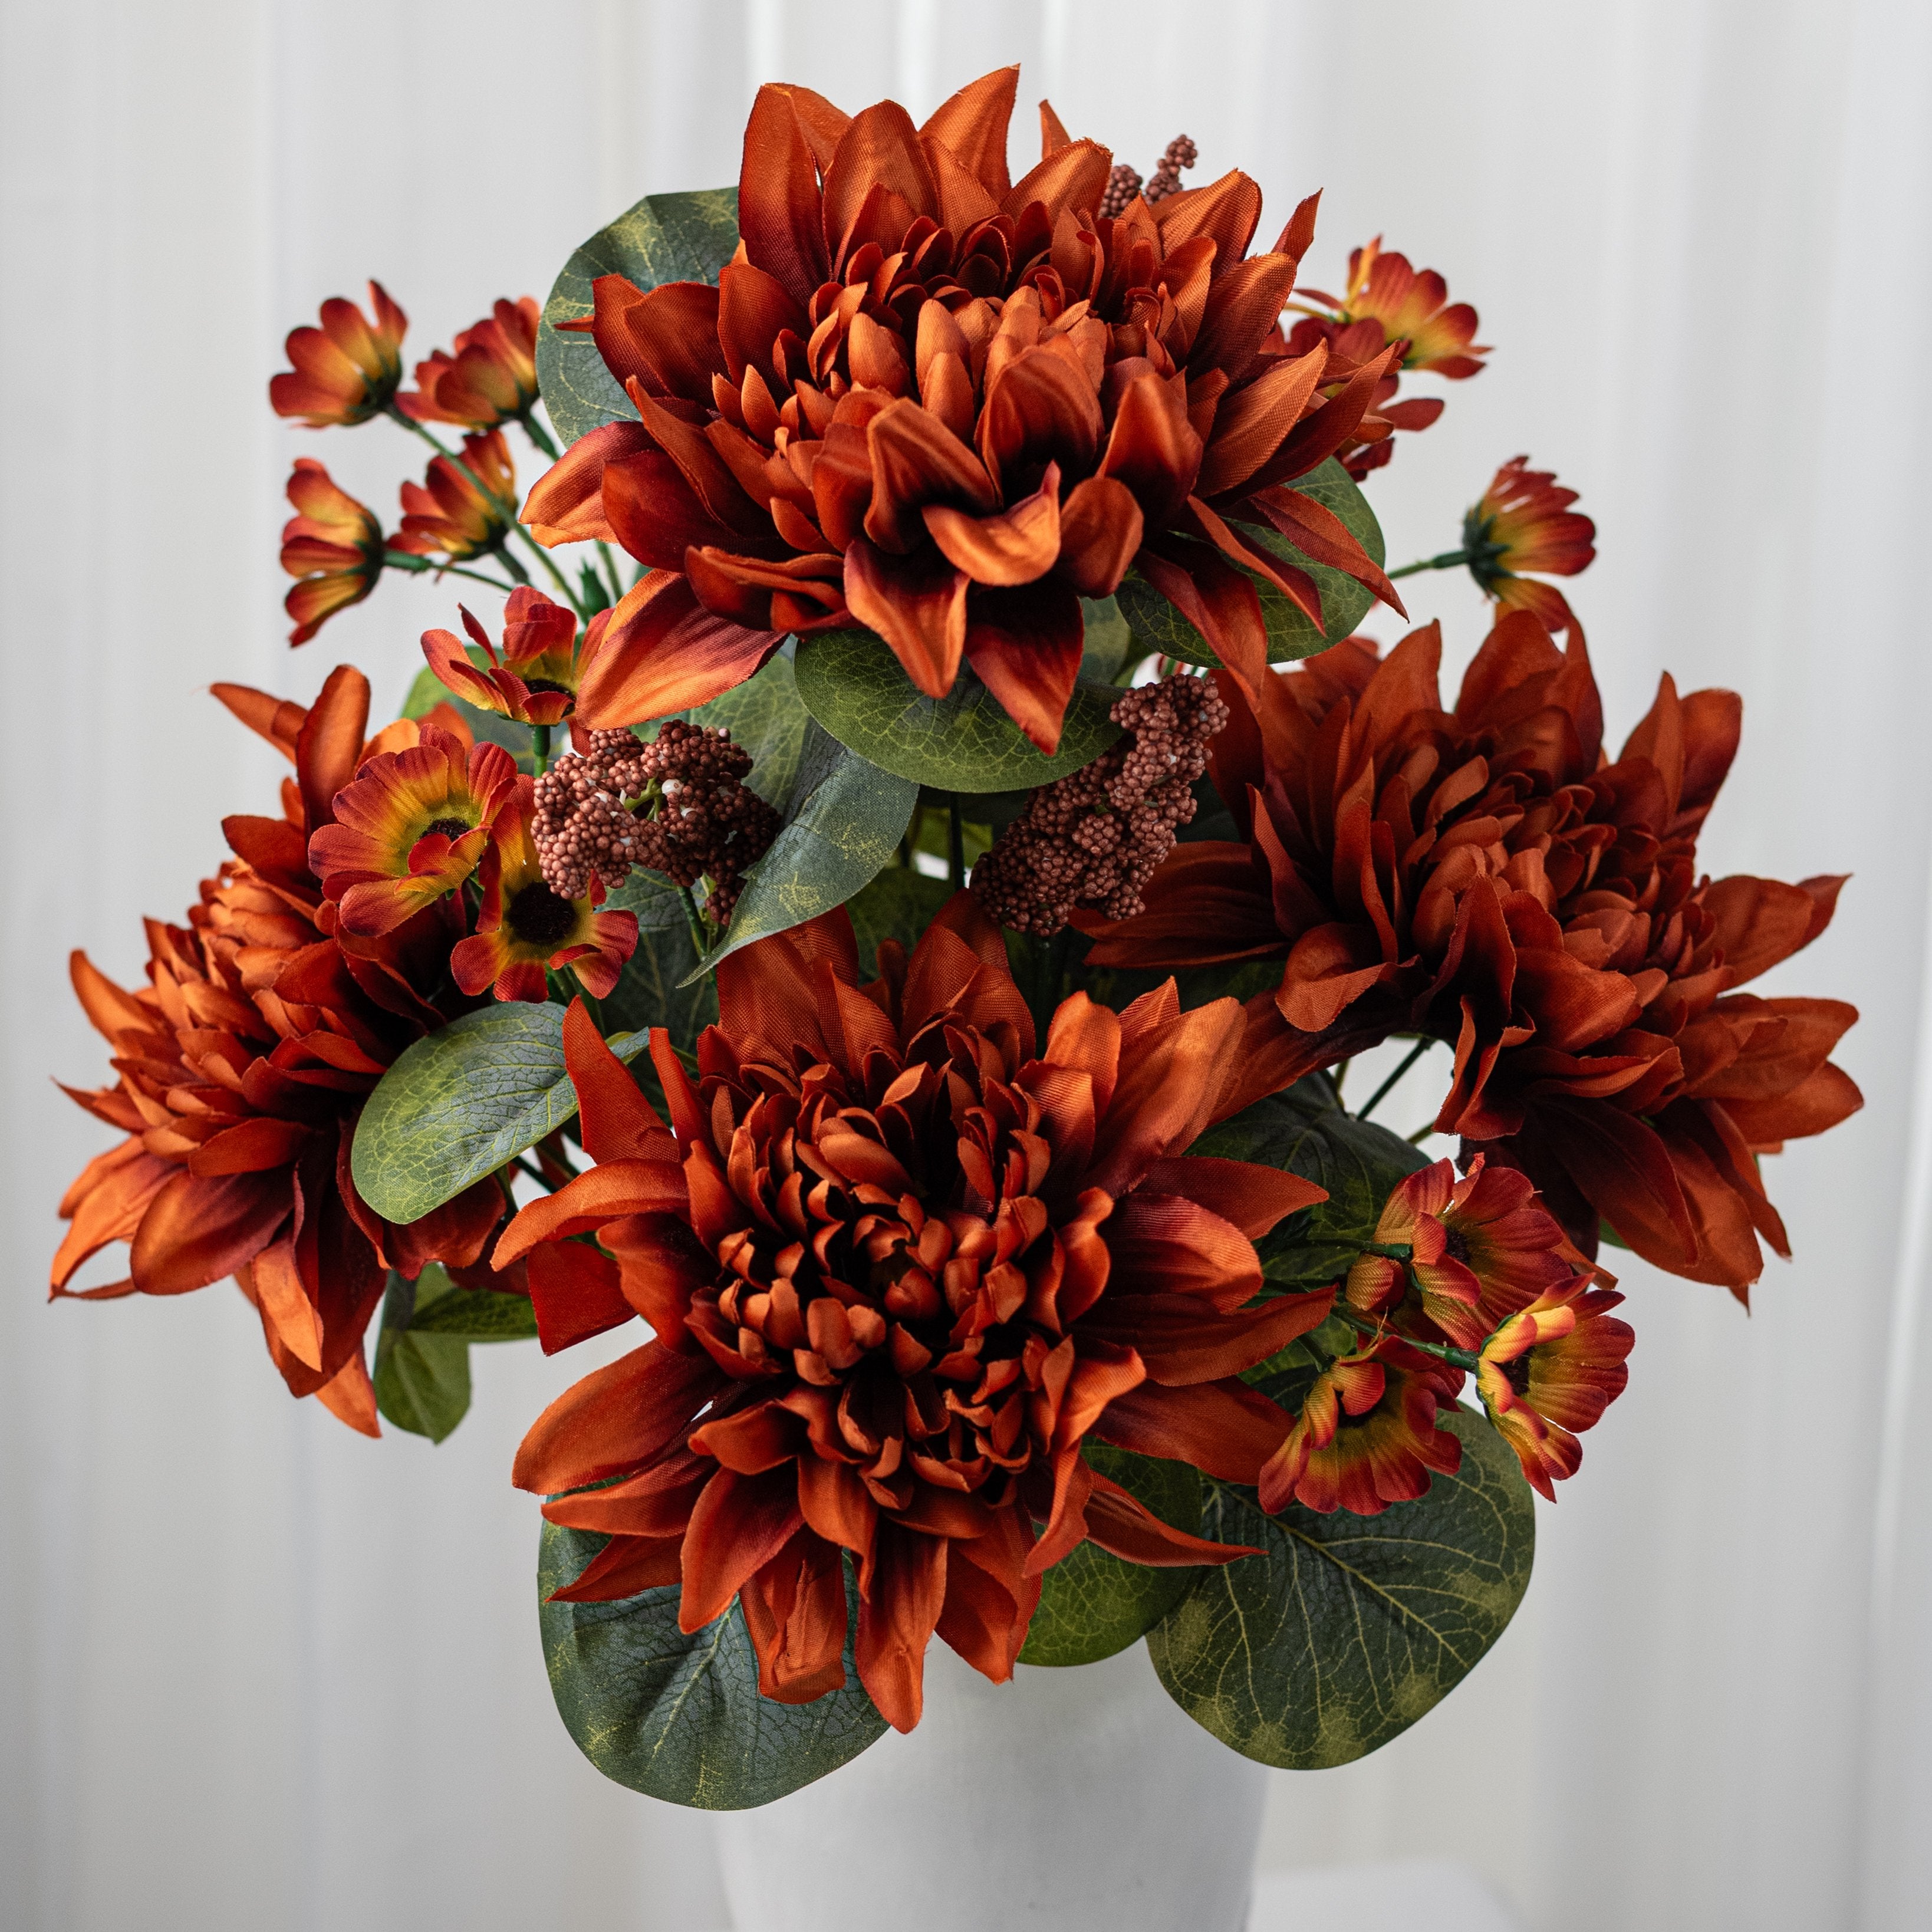
Begin with the largest burnt orange flowers. These flowers establish the wreath’s main focal point and determine where the rest of the arrangement will be built.
Cluster the flowers closely together along the lower-left side of the grapevine base. Angle the blooms slightly differently rather than positioning every flower face-forward. This makes the grouping feel fuller and more natural.
Tuck the stems securely between the grapevines. Once you are satisfied with the position, secure the stems with hot glue or floral wire.
Step 3: Make and attach the layered bow
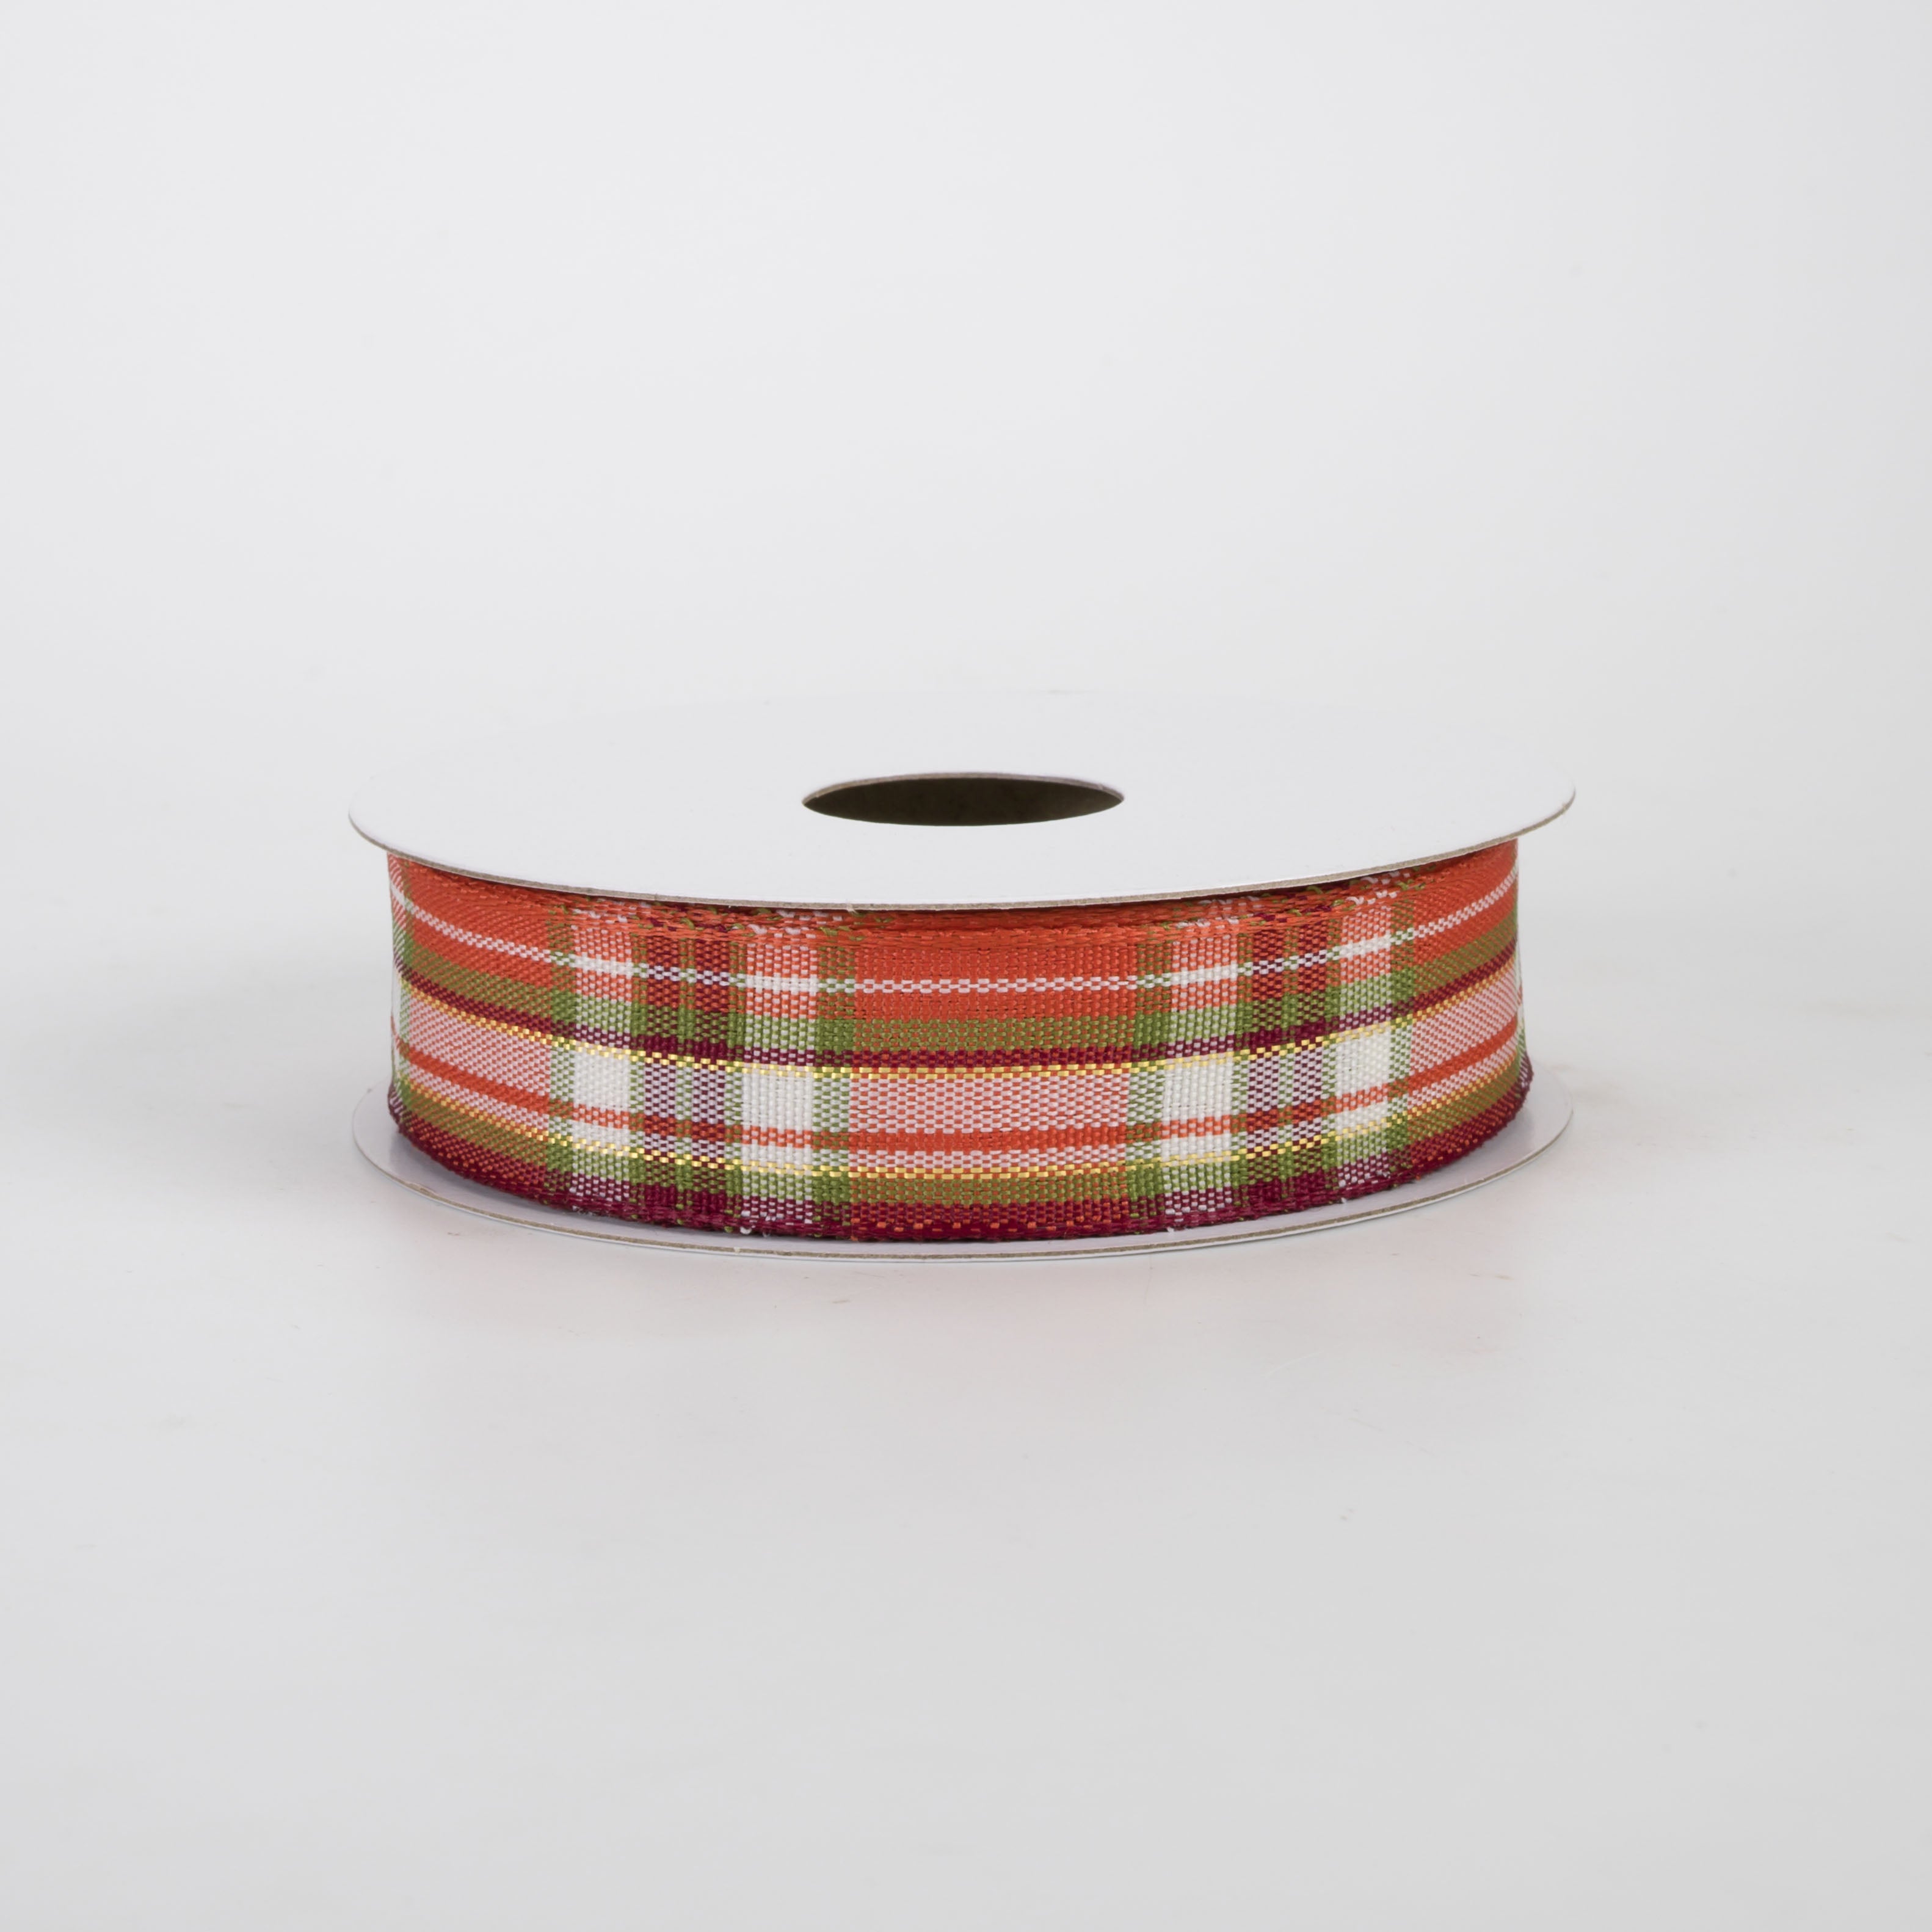
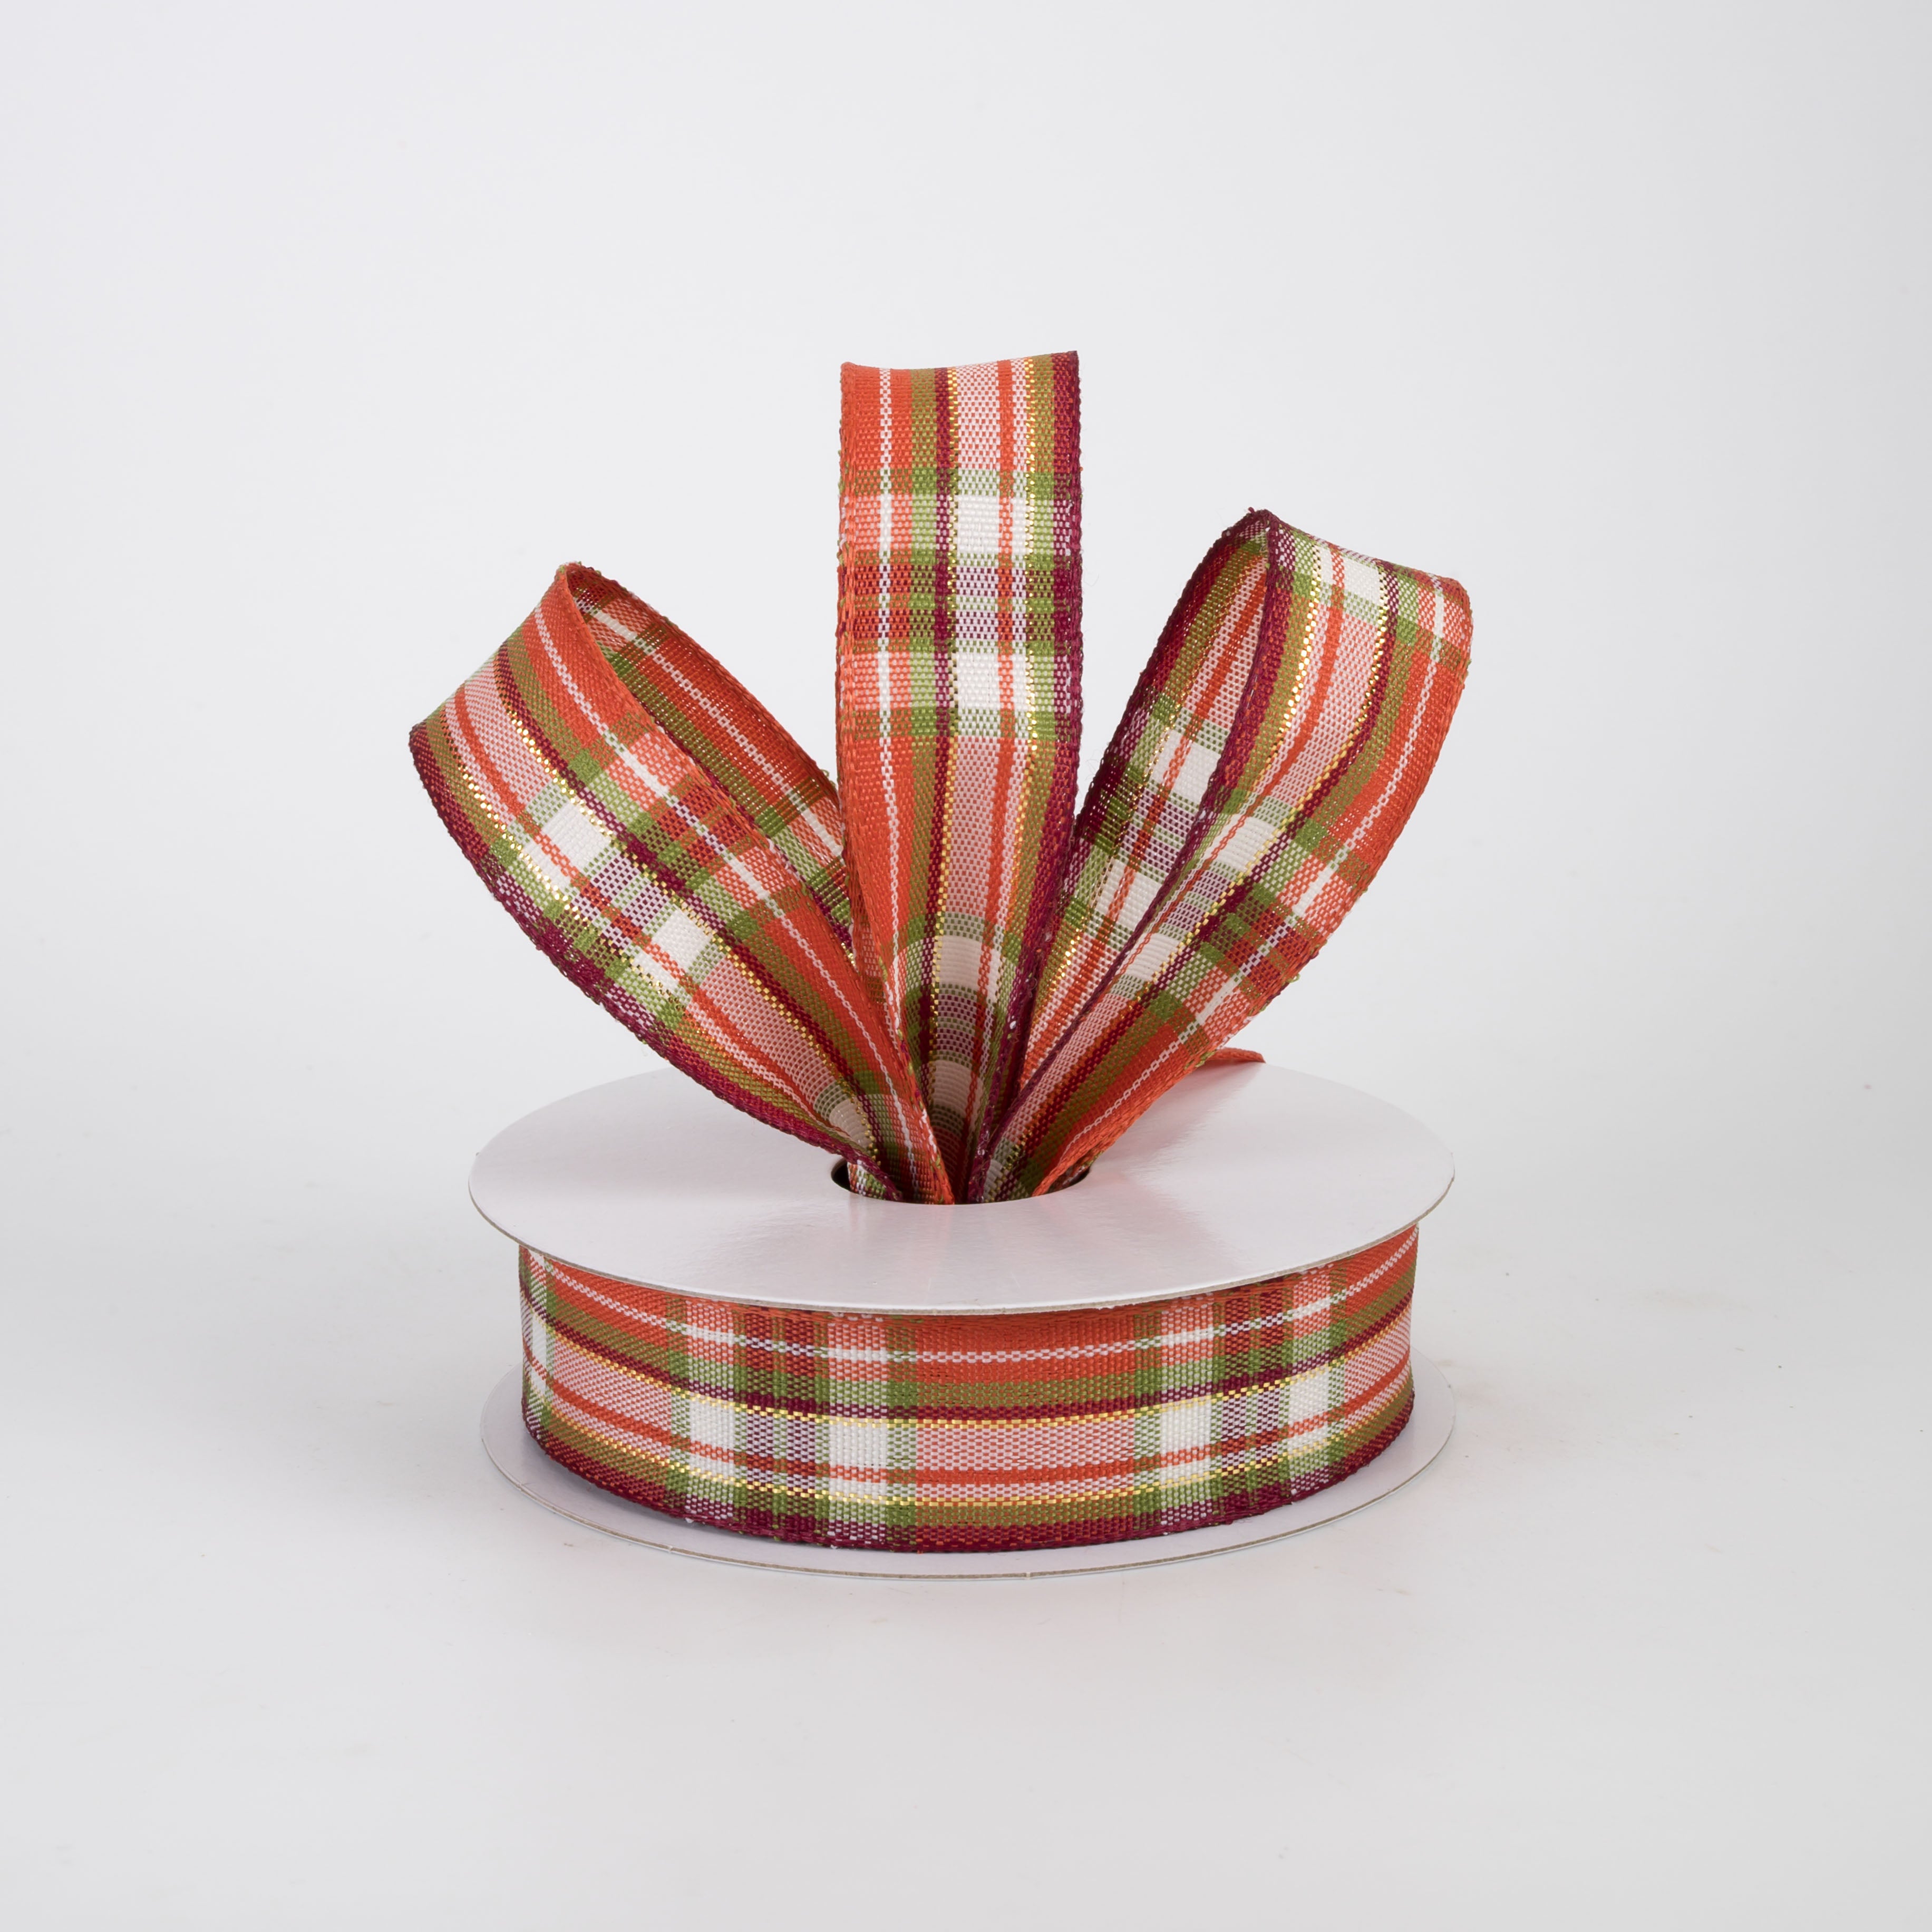
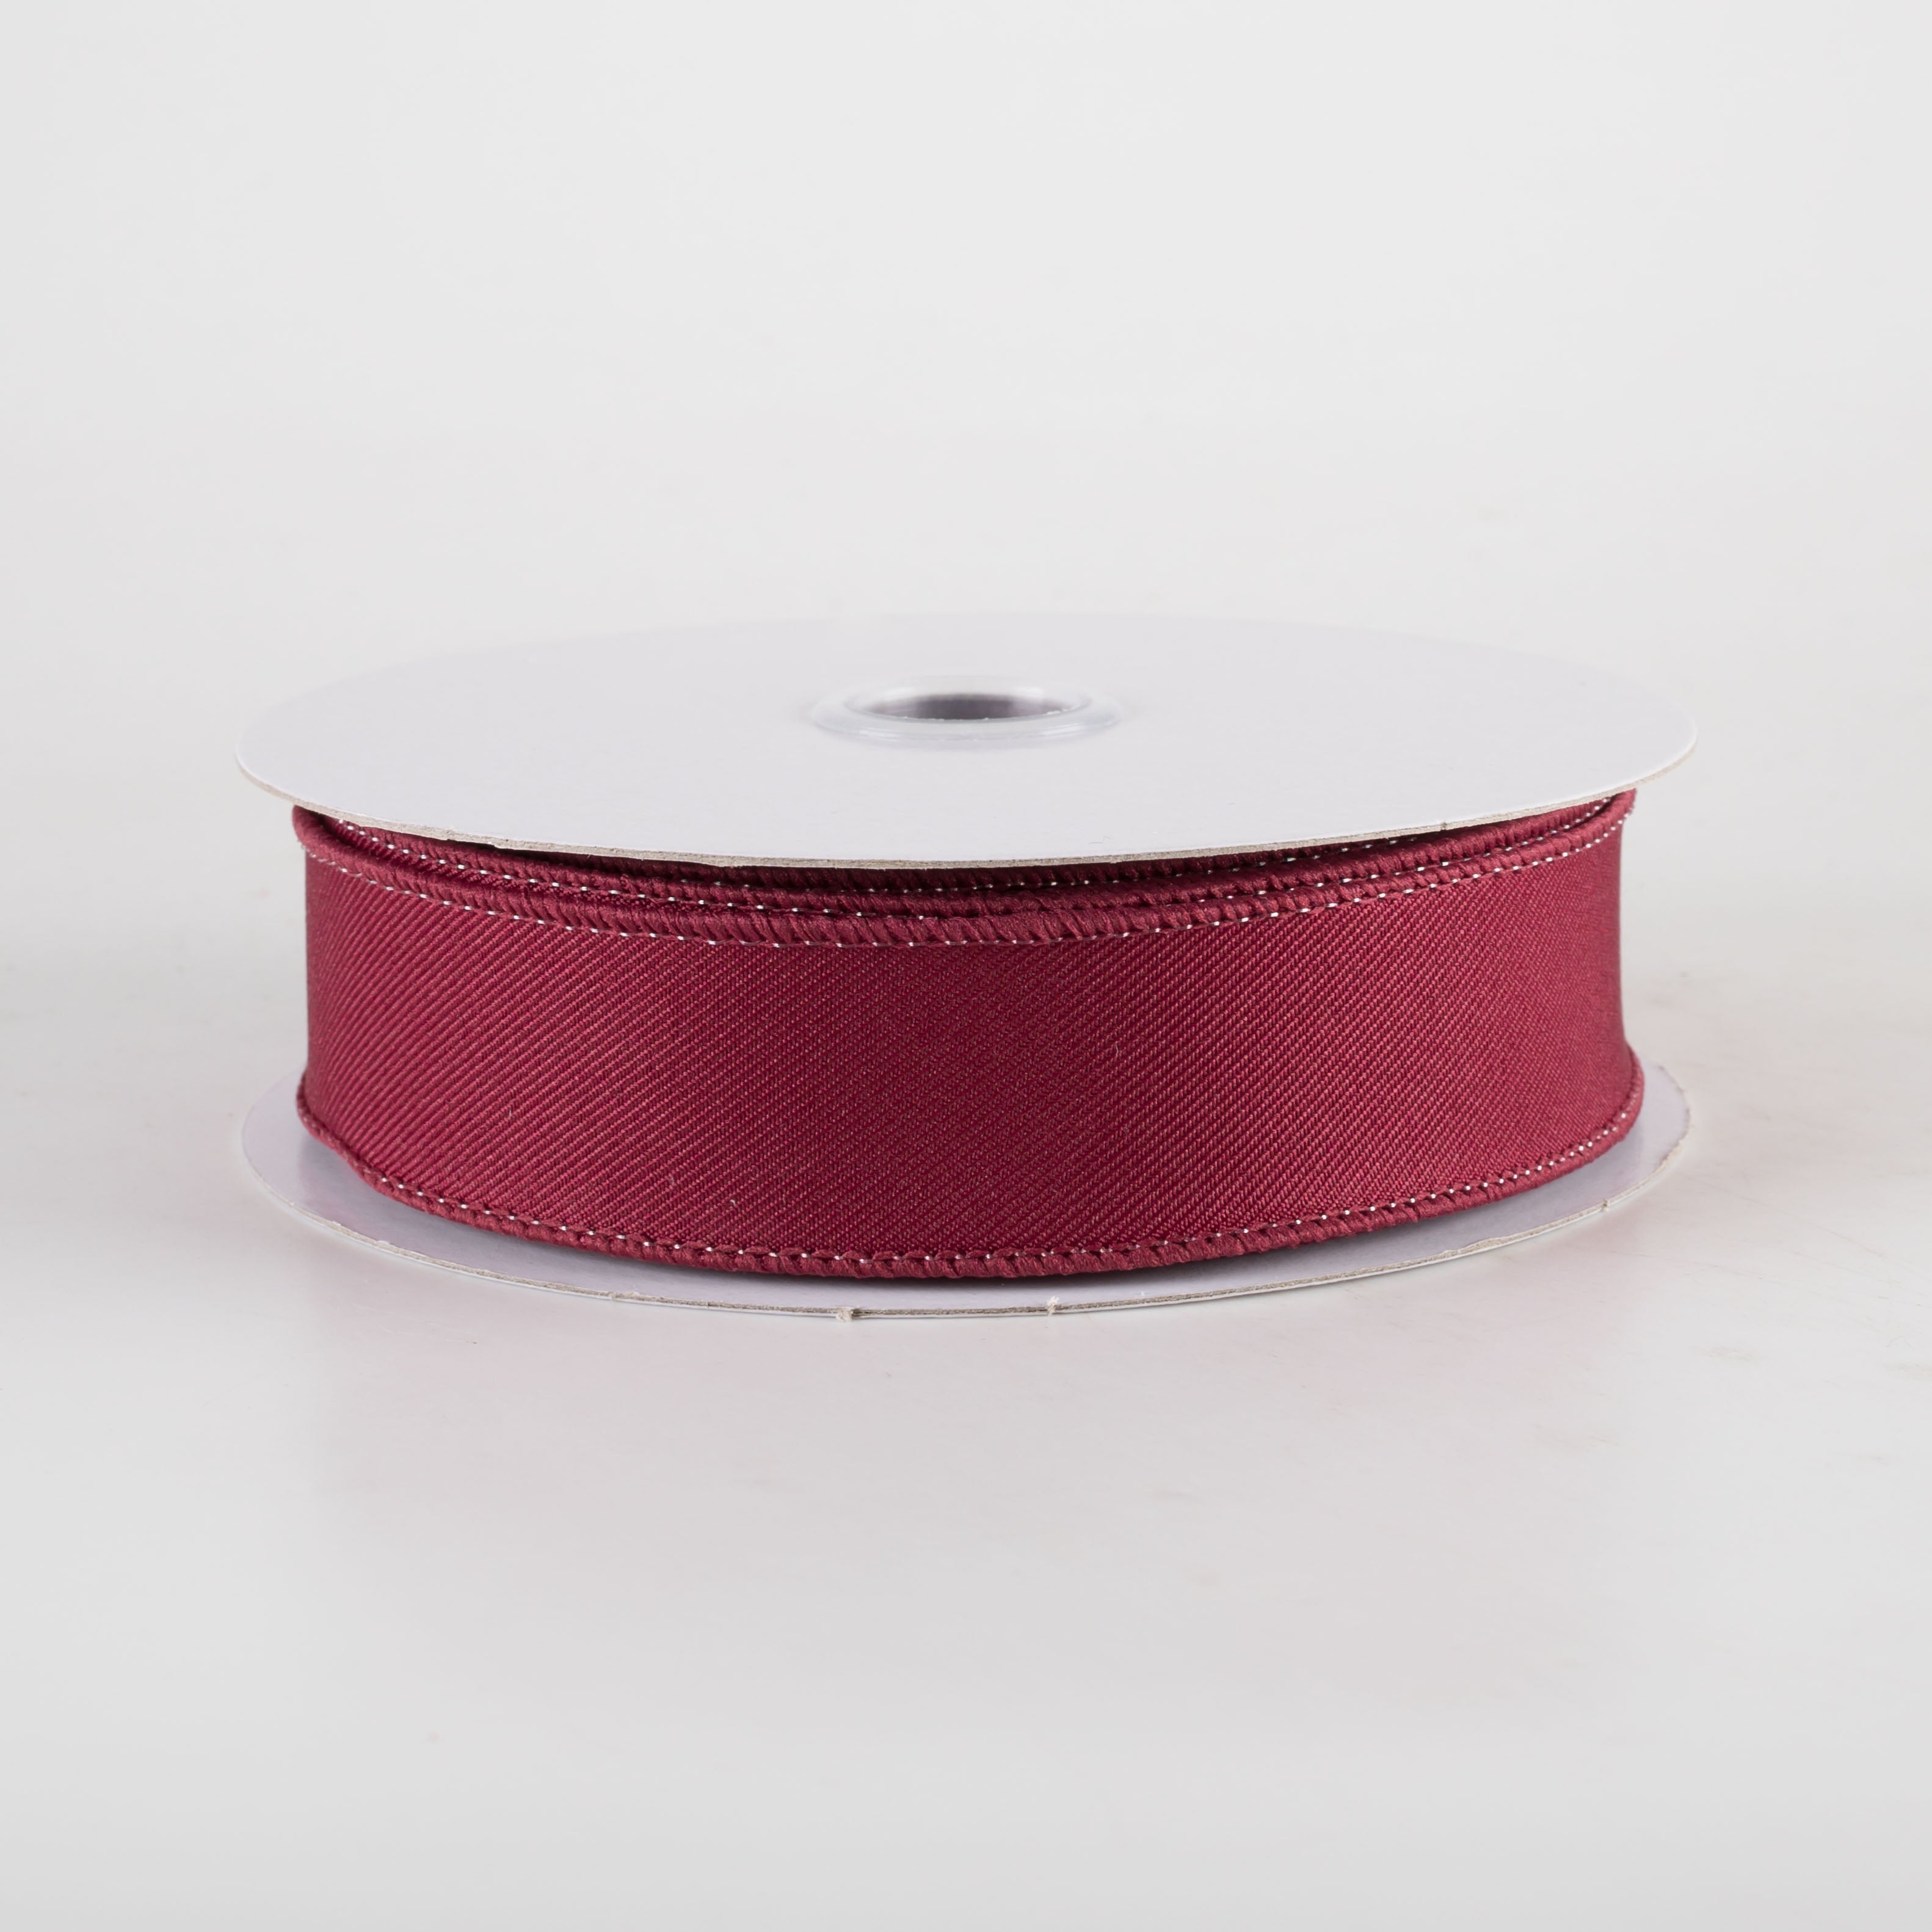
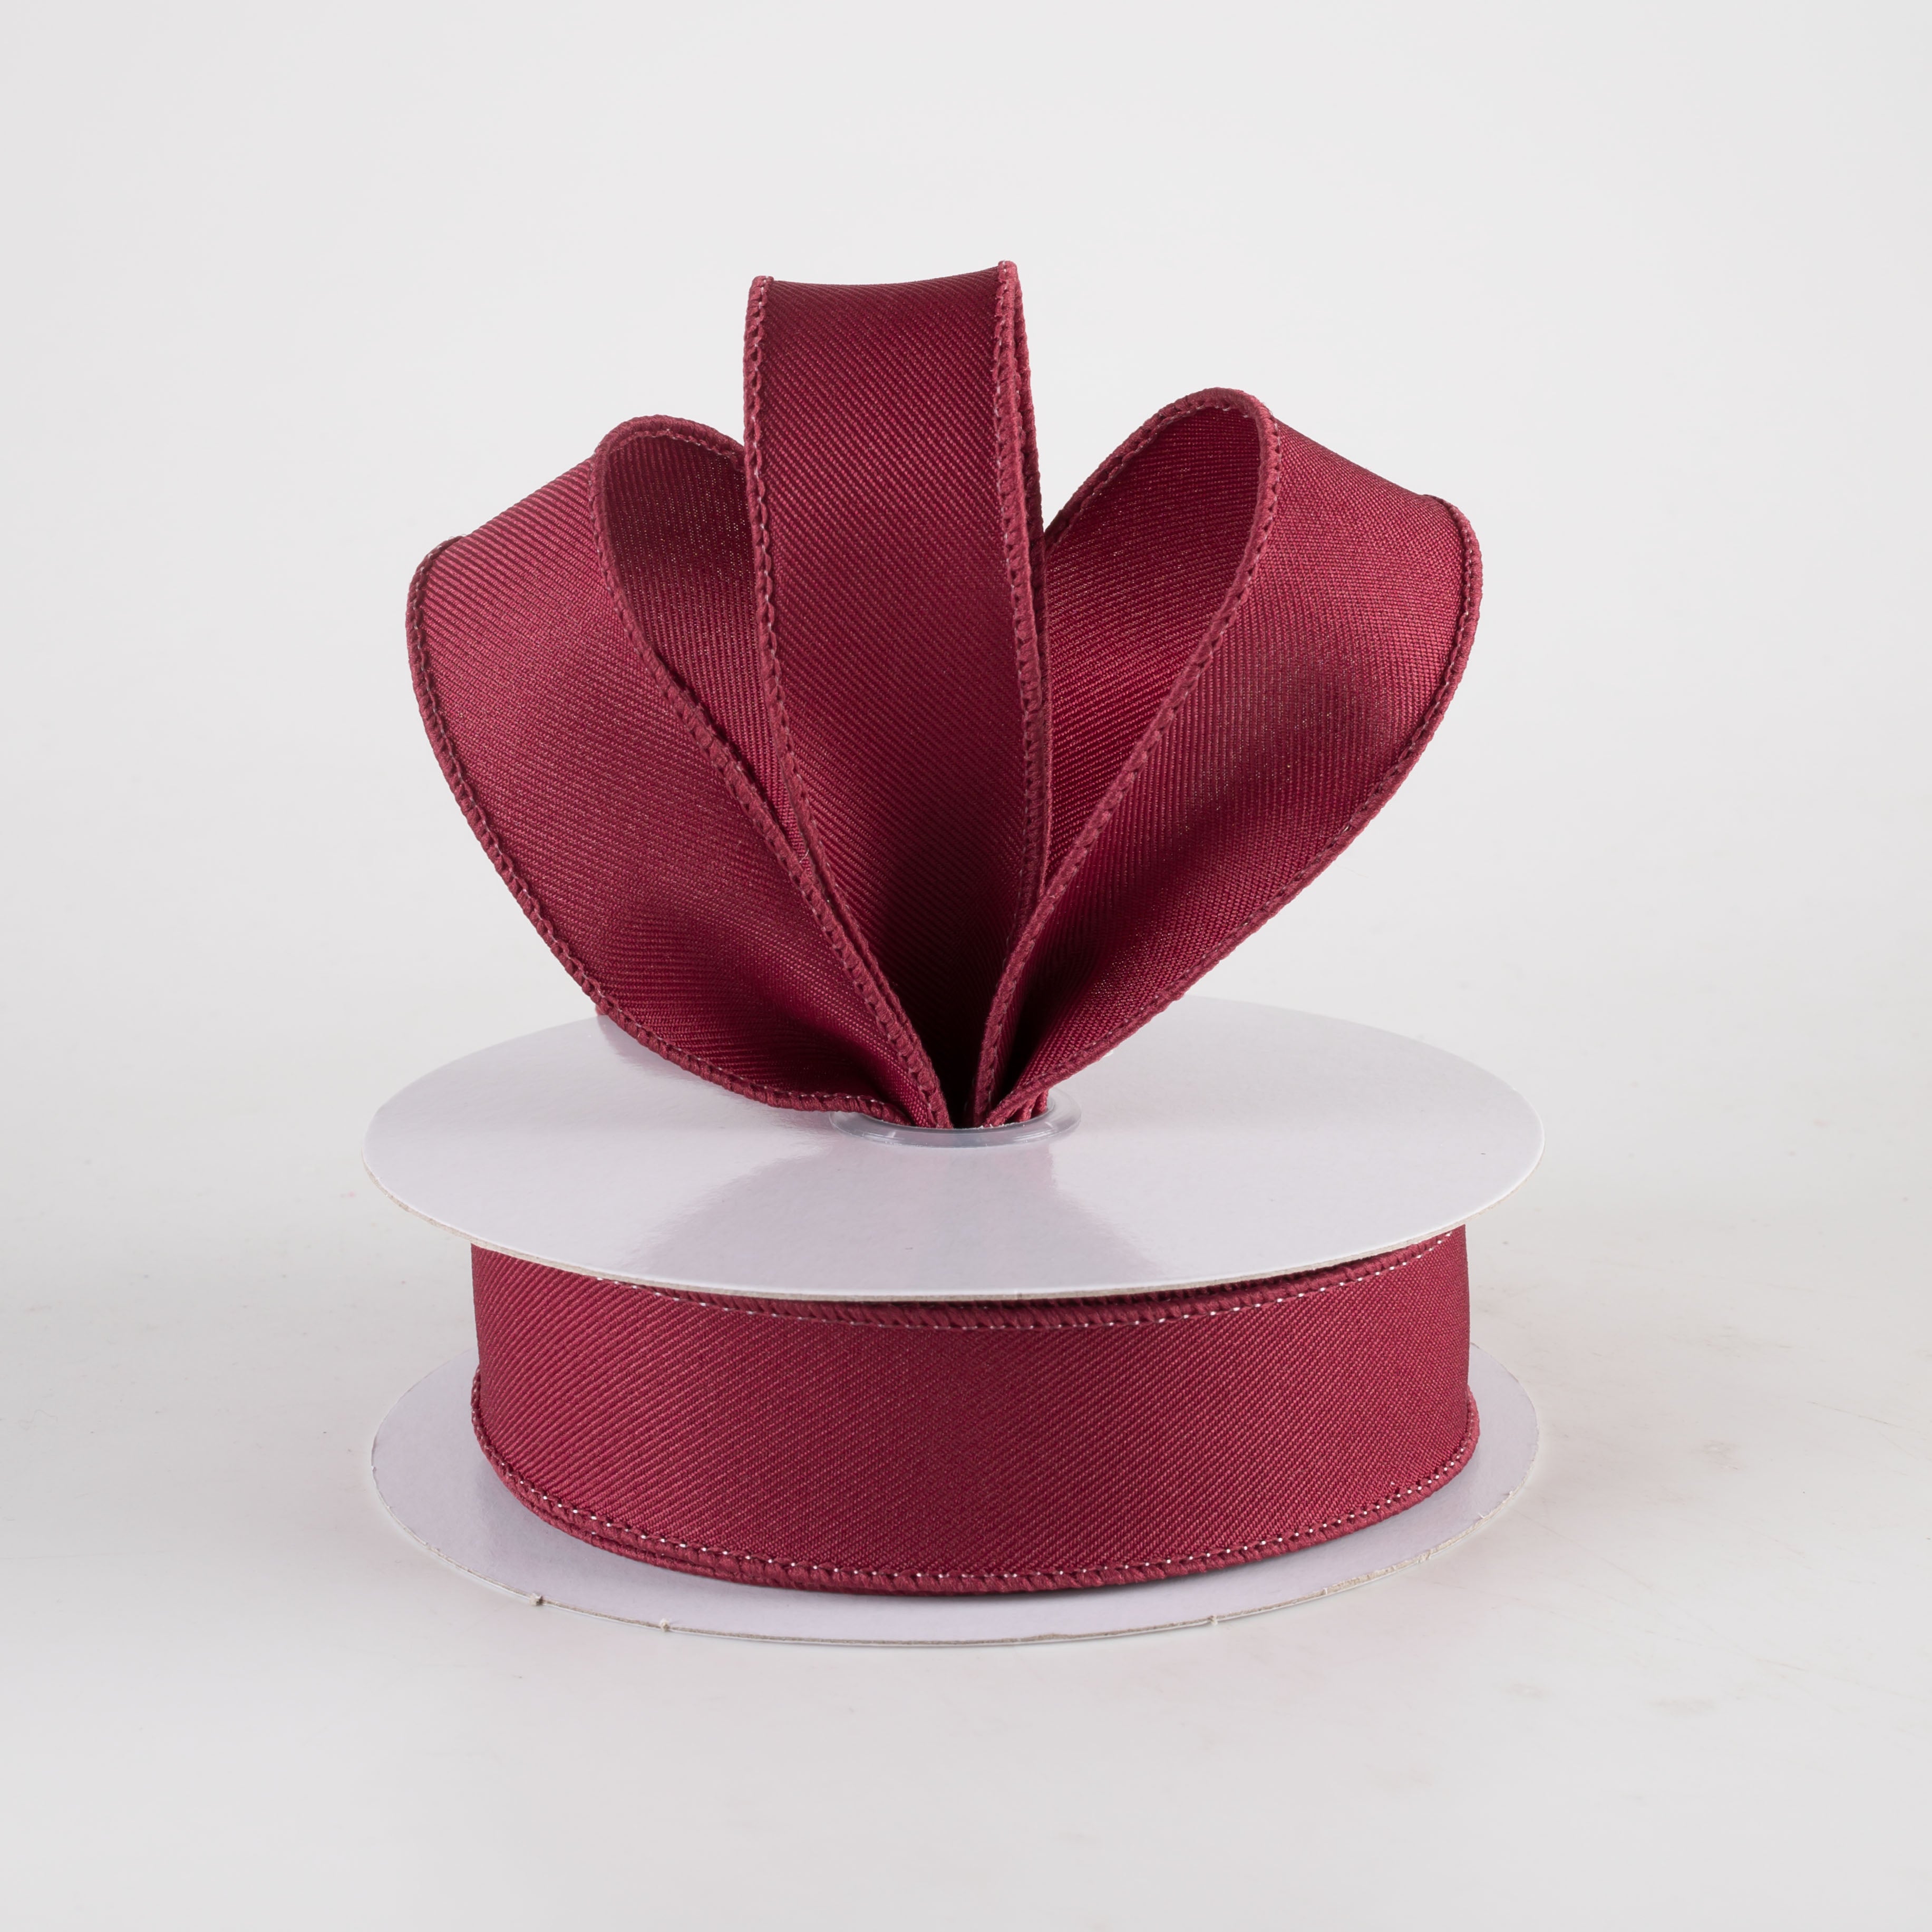
Create a layered bow using burgundy wired ribbon and a coordinating fall plaid.
The solid burgundy ribbon adds depth and ties into the darker berries used later in the arrangement. The plaid introduces several of the wreath’s colors at once, helping the orange flowers, golden leaves and burgundy accents feel connected.
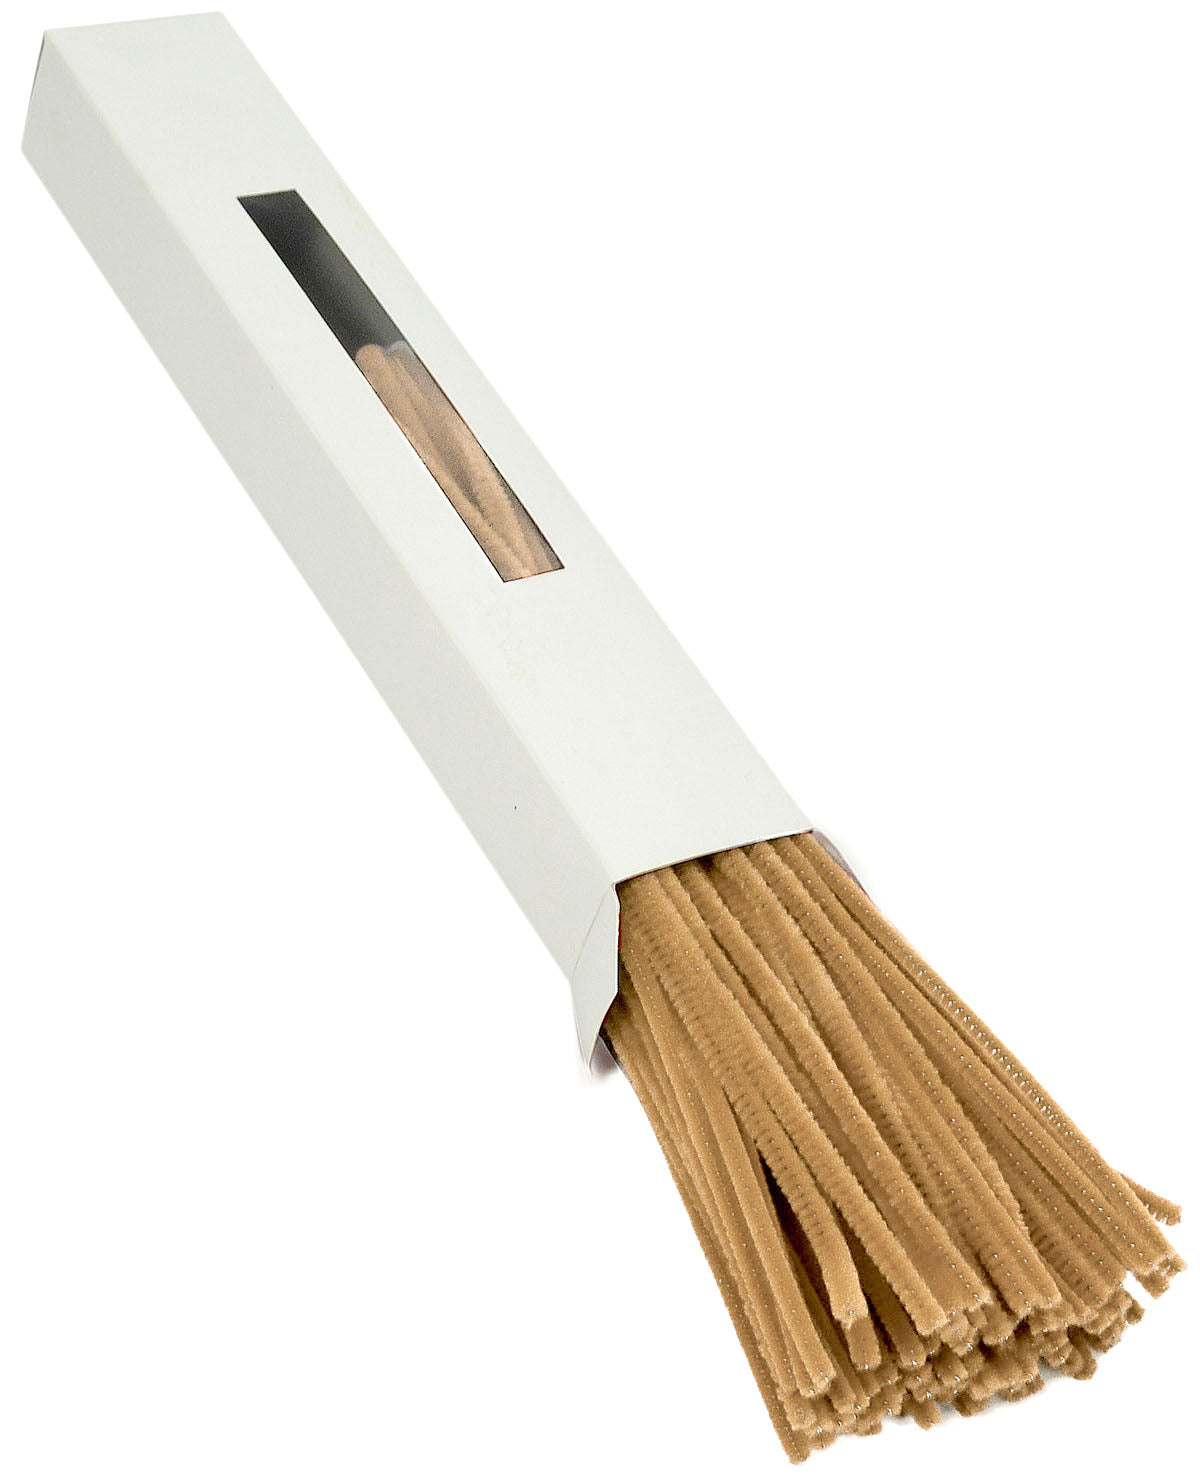
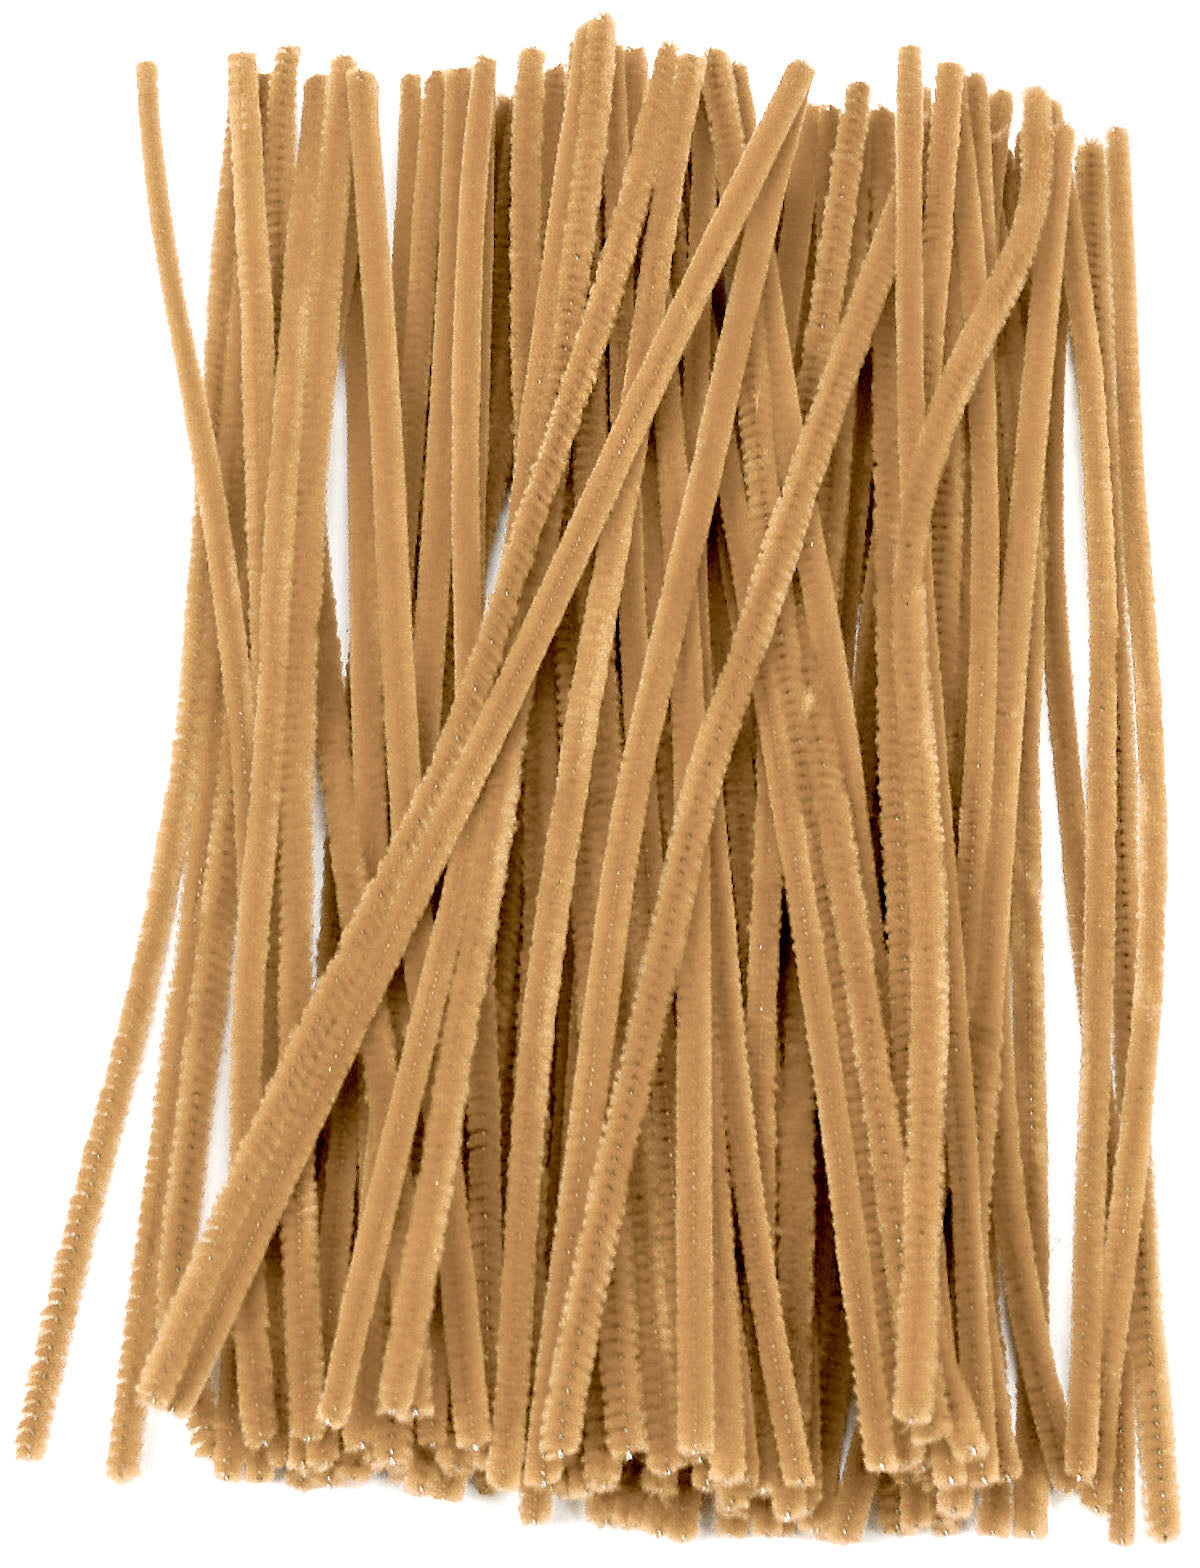
Attach the bow beneath the main flower cluster using floral wire or a chenille stem. Fluff the loops and separate the two ribbon patterns so both remain visible.
Leave the tails long for now. It is easier to judge their final length after the wreath has been hung on a door.
Step 4: Establish the shape with hunter green foliage
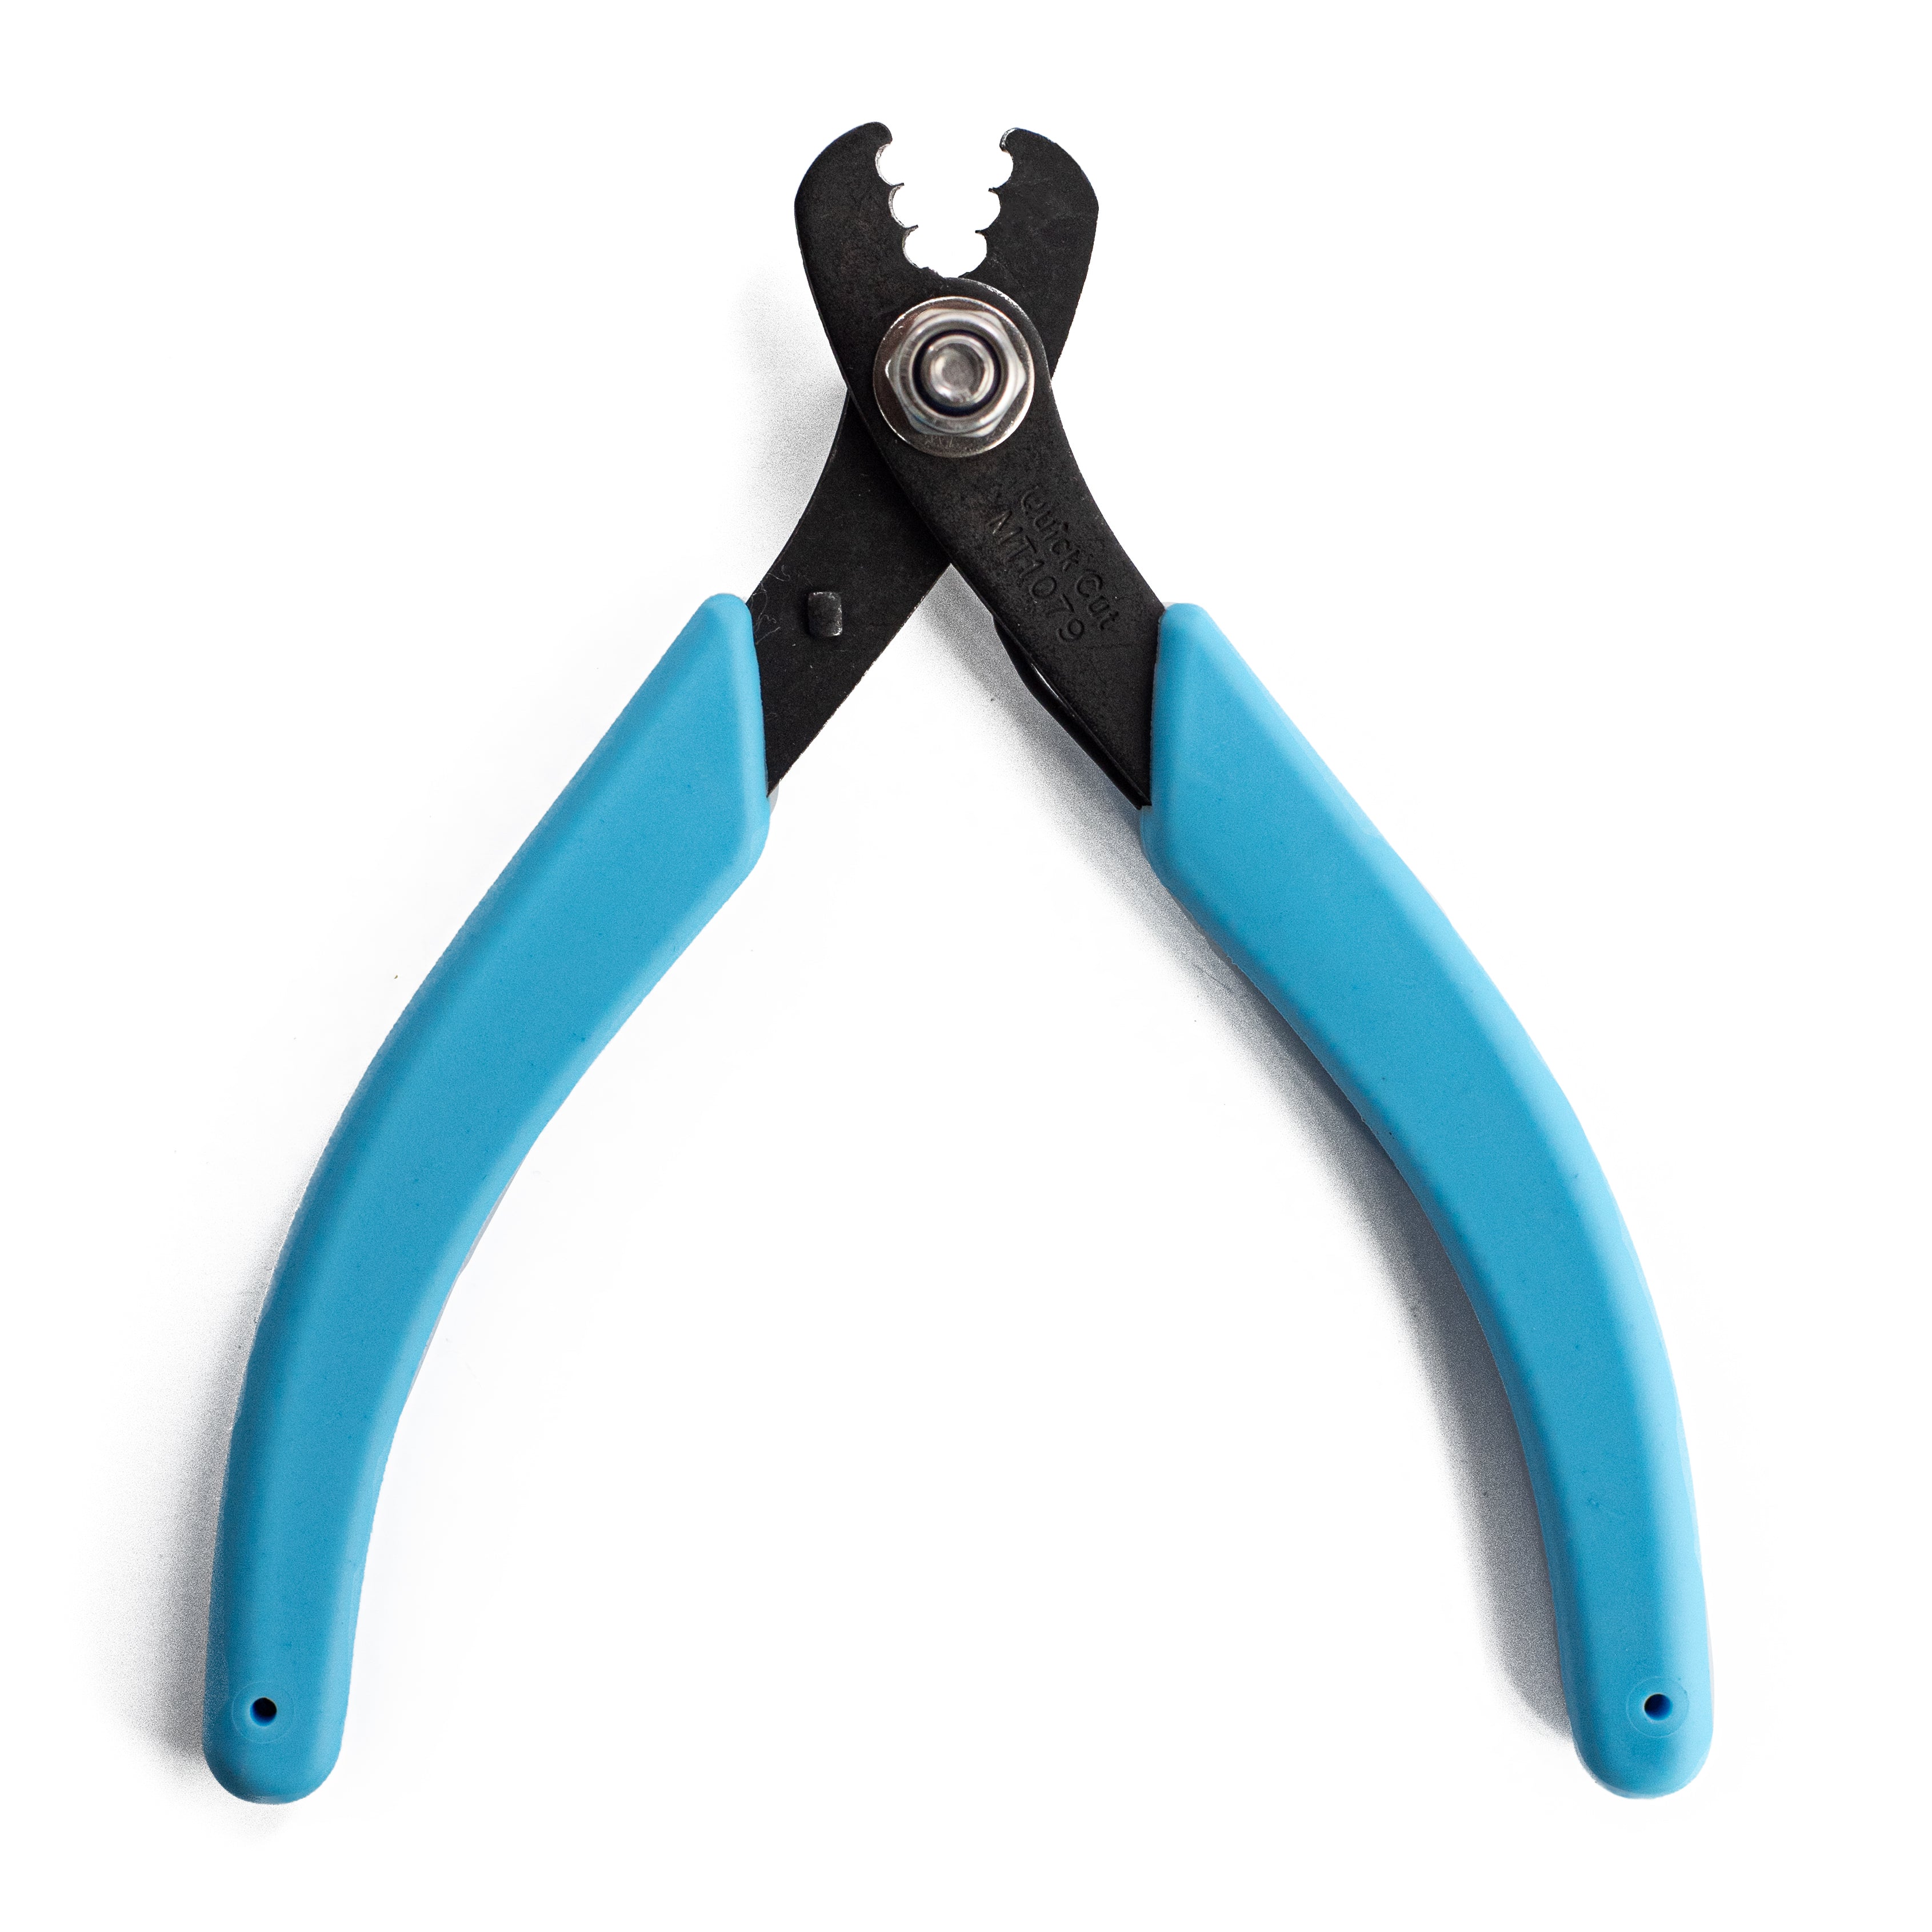
Cut the hunter green foliage into smaller, manageable sections.
Begin inserting the foliage above and below the main flower-and-bow cluster, following the natural curve of the grapevine wreath. Angle some leaves outward and others inward to soften the edge of the arrangement.
The dark green leaves provide important contrast against the warm orange flowers. They also create a foundation that helps the smaller flowers and colorful leaves look more substantial.
Avoid spreading the foliage evenly around the entire wreath. Concentrating it within the crescent-shaped arrangement preserves the intentional asymmetrical style.
Step 5: Add the smaller fall flowers
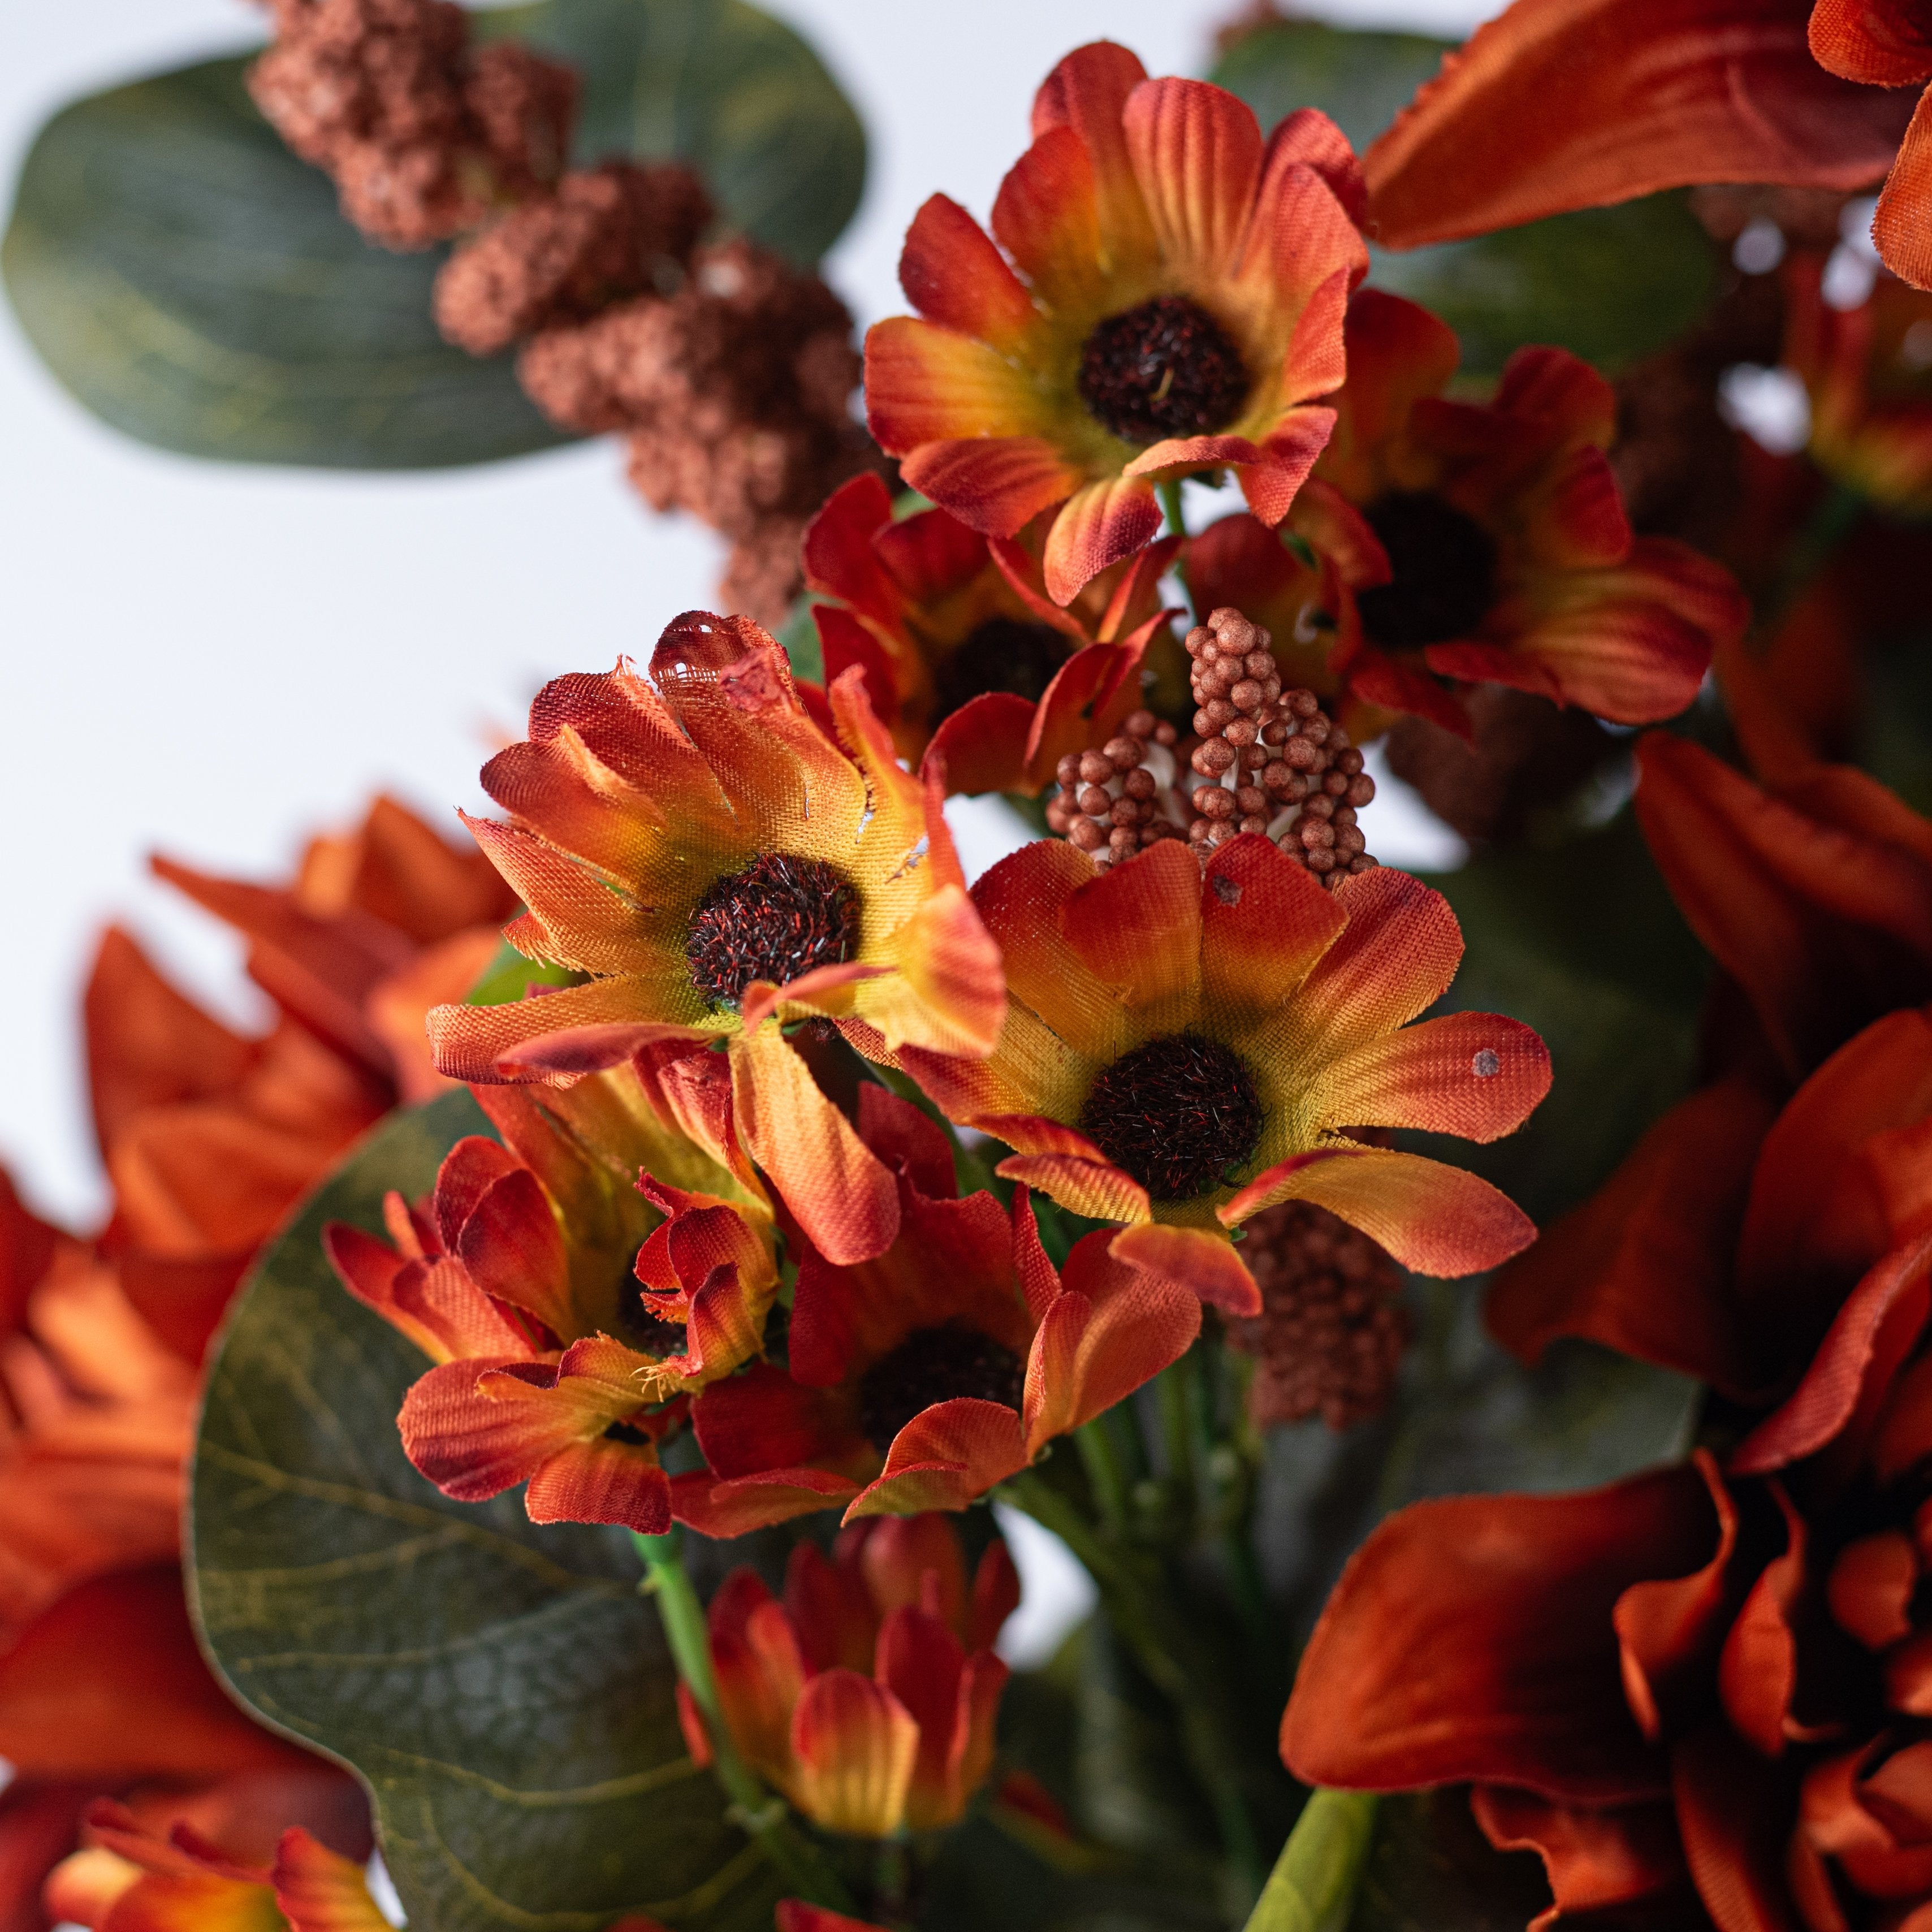
Place the smaller orange and yellow flowers throughout the hunter green foliage.
Use these flowers to carry the burnt orange color away from the main mum/dahlia cluster. Position a few above the focal area and a few below it so the eye moves naturally around the wreath.
Vary the height and direction of the flower stems. Some blooms can sit close to the greenery, while others can extend slightly beyond the edge of the arrangement.
Step 6: Create movement with golden-orange leaves
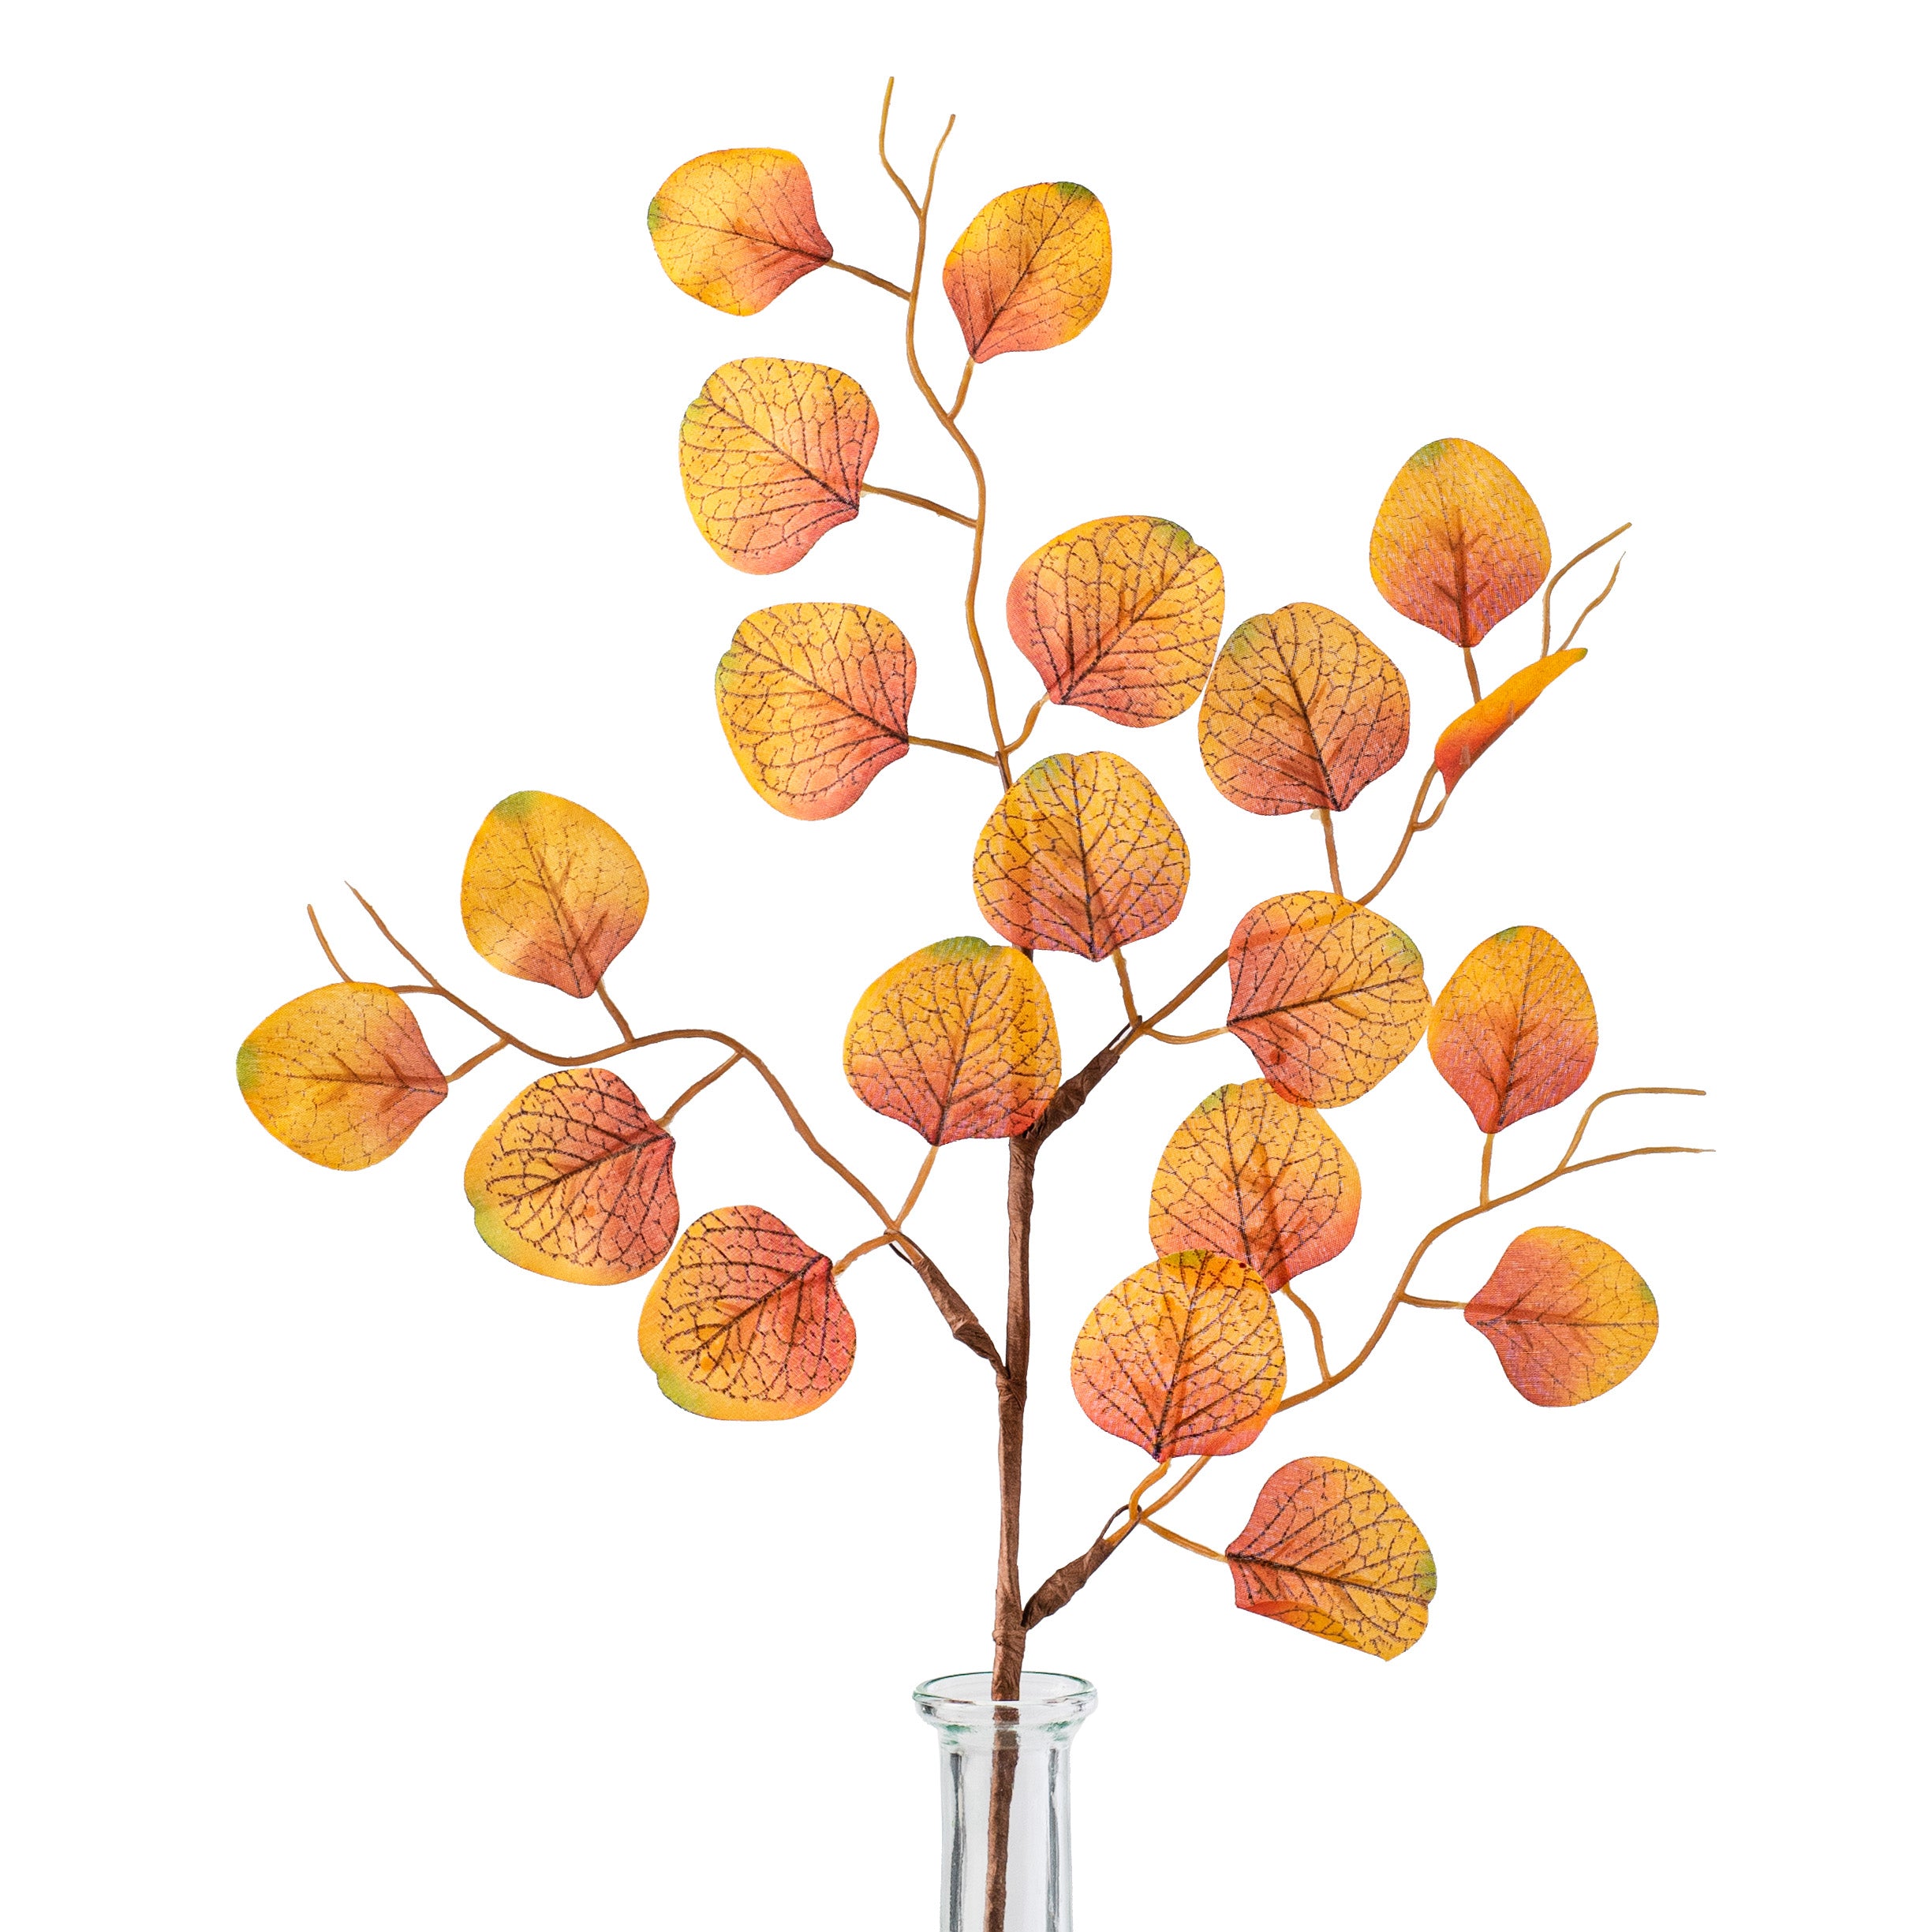
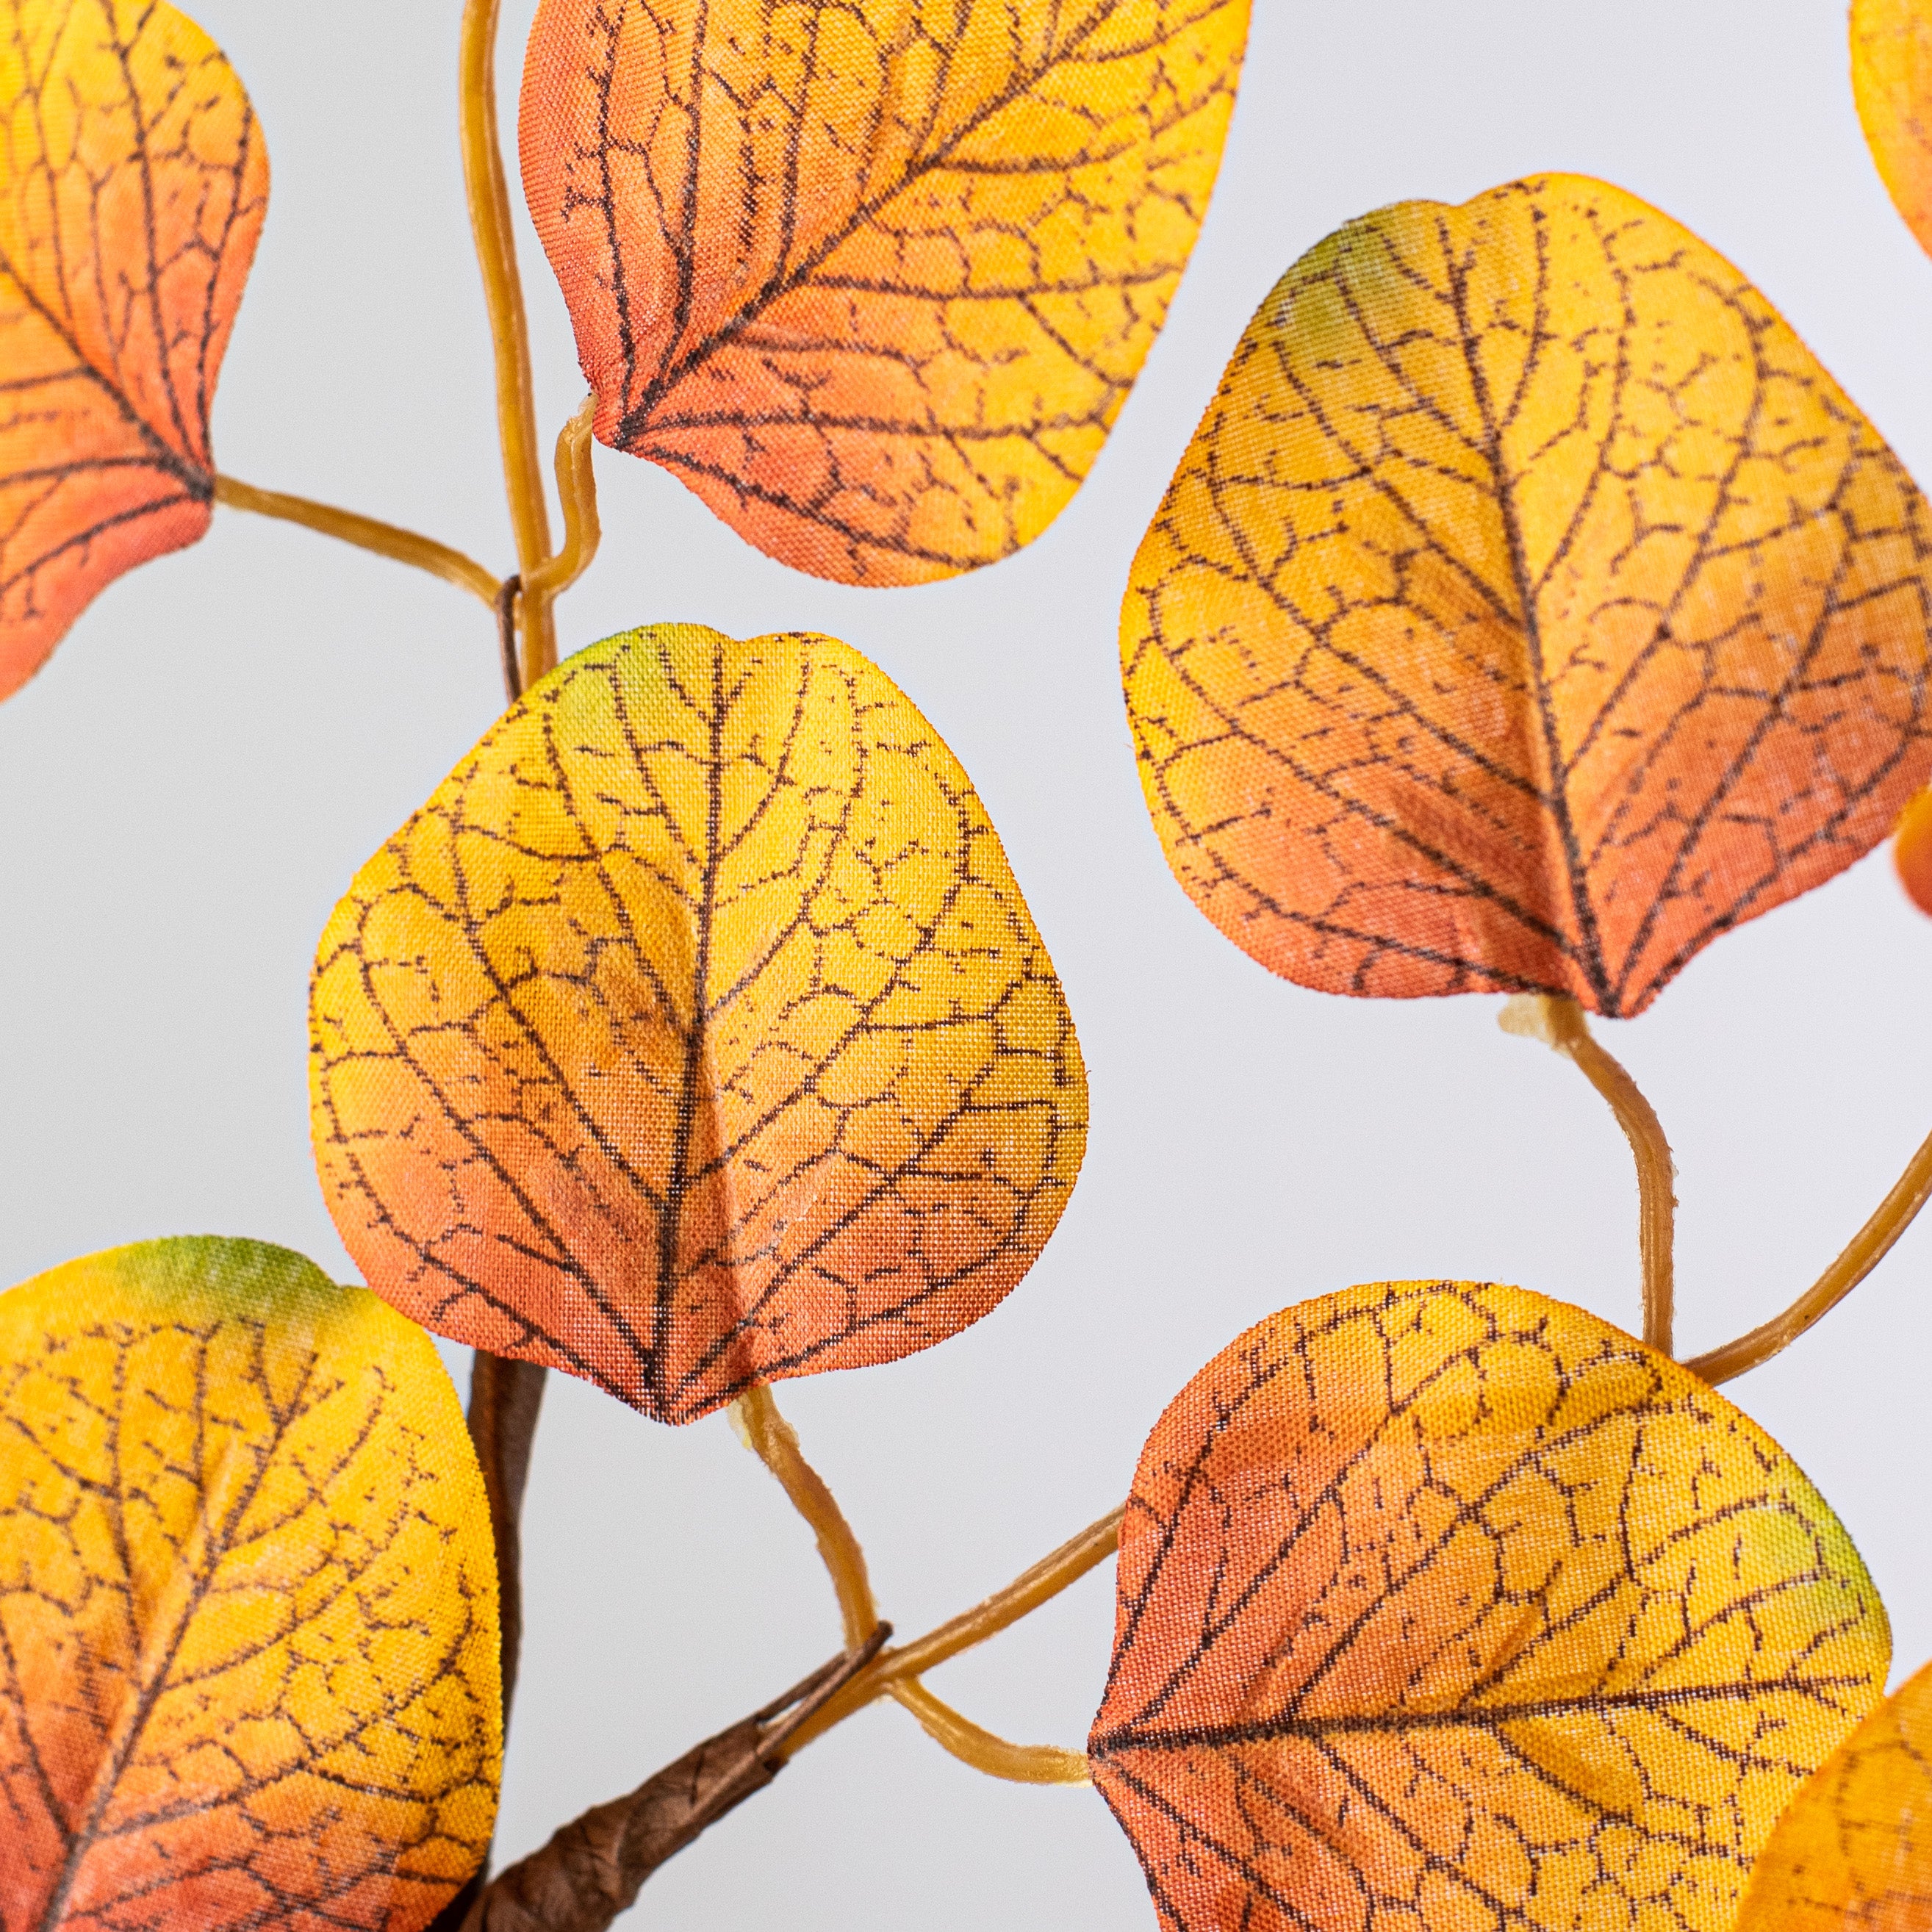
Add the golden-orange veined leaves next.
These lighter leaves brighten the darker flowers and foliage while giving the wreath a distinctly autumnal appearance. Allow some branches to extend farther from the base to create a loose, graceful silhouette.
Curve the wired stems so the leaves follow the round shape of the wreath rather than sticking straight outward. Place them in several areas around the crescent to repeat the golden color and maintain visual balance.
Step 7: Fill the arrangement with berry stems
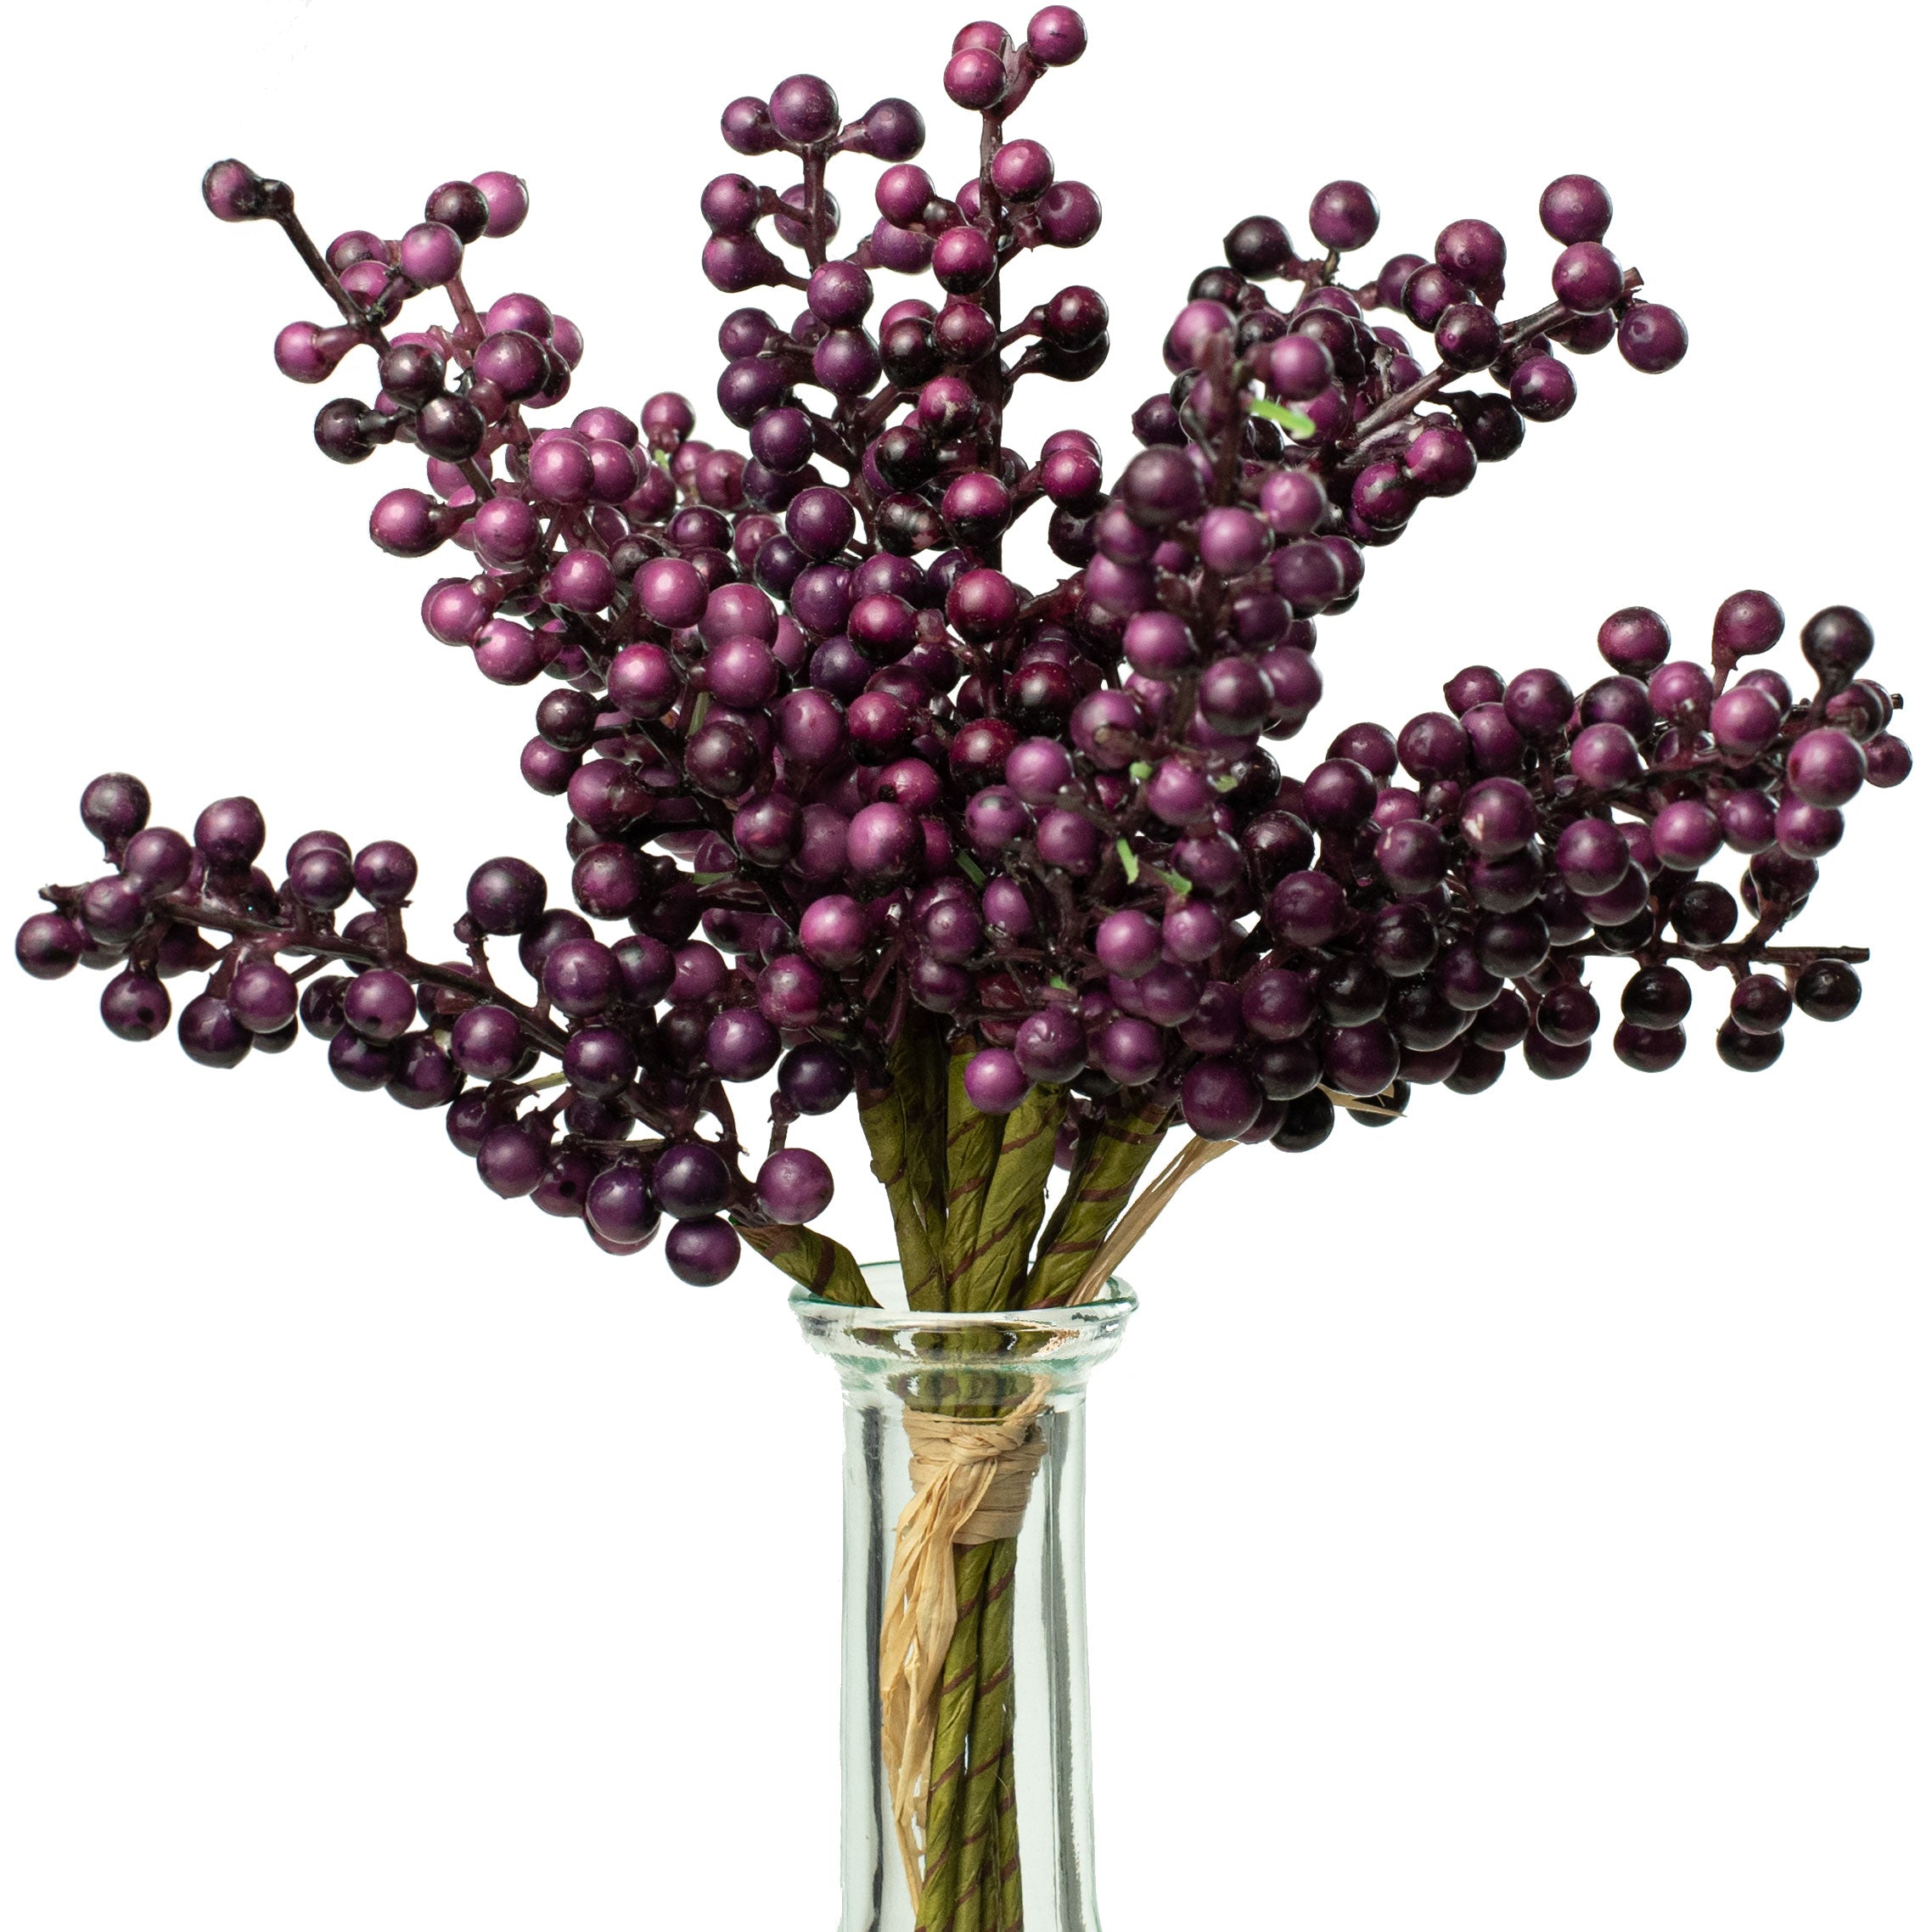
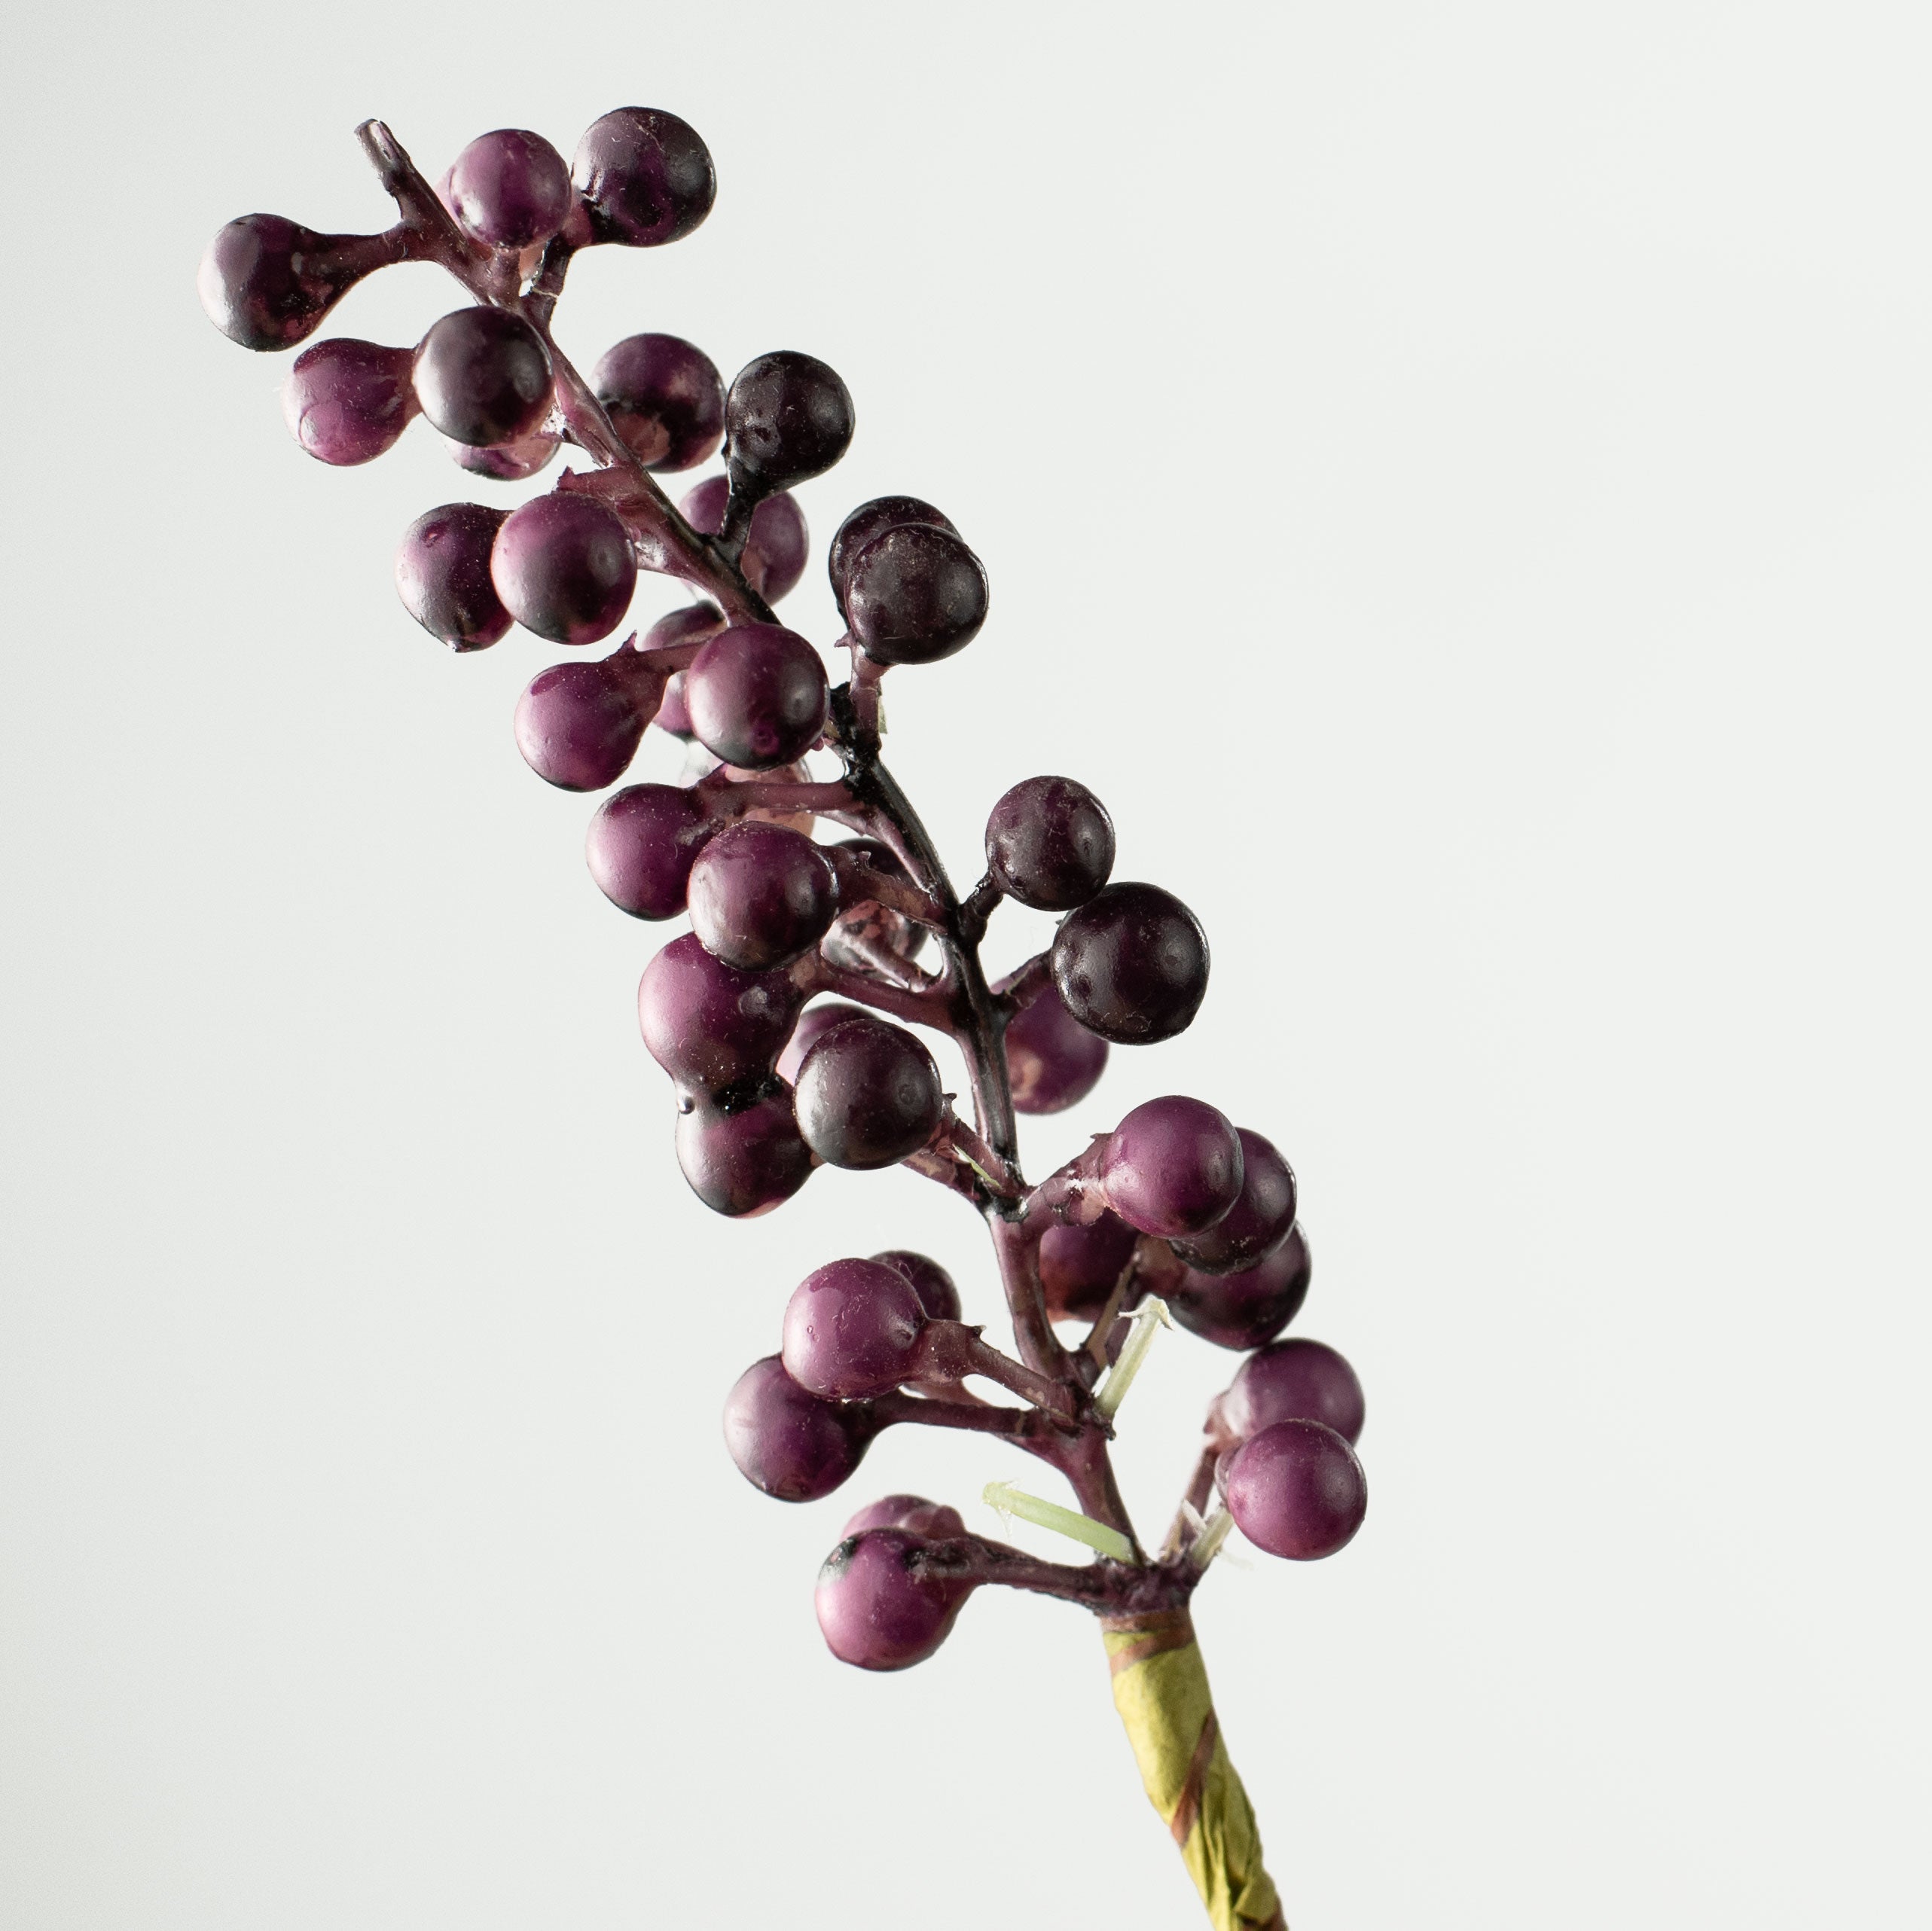
Cut the deep plum berry stems into smaller sections and tuck them between the flowers and leaves.
The berries add a different shape and texture, which keeps the design from being composed entirely of broad leaves and large blooms. Their dark purple-burgundy color also repeats the color of the ribbon.
Use the berries sparingly. A few visible clusters placed above, below and beside the focal flowers will have more impact than distributing them uniformly throughout the wreath.
Step 8: Refine the shape
Once all the main materials have been added, step back and look at the wreath as a whole.
Check for visible gaps, uneven sections or stems that appear too straight. Bend and rotate the wired branches until the foliage flows naturally around the grapevine base.
The arrangement should gradually taper at both ends rather than stopping abruptly. Add a small leaf, flower or berry section wherever you need a smoother transition.
Be careful not to fill every open space. A little room between the materials helps each element remain visible.
Step 9: Hang the wreath and trim the ribbon
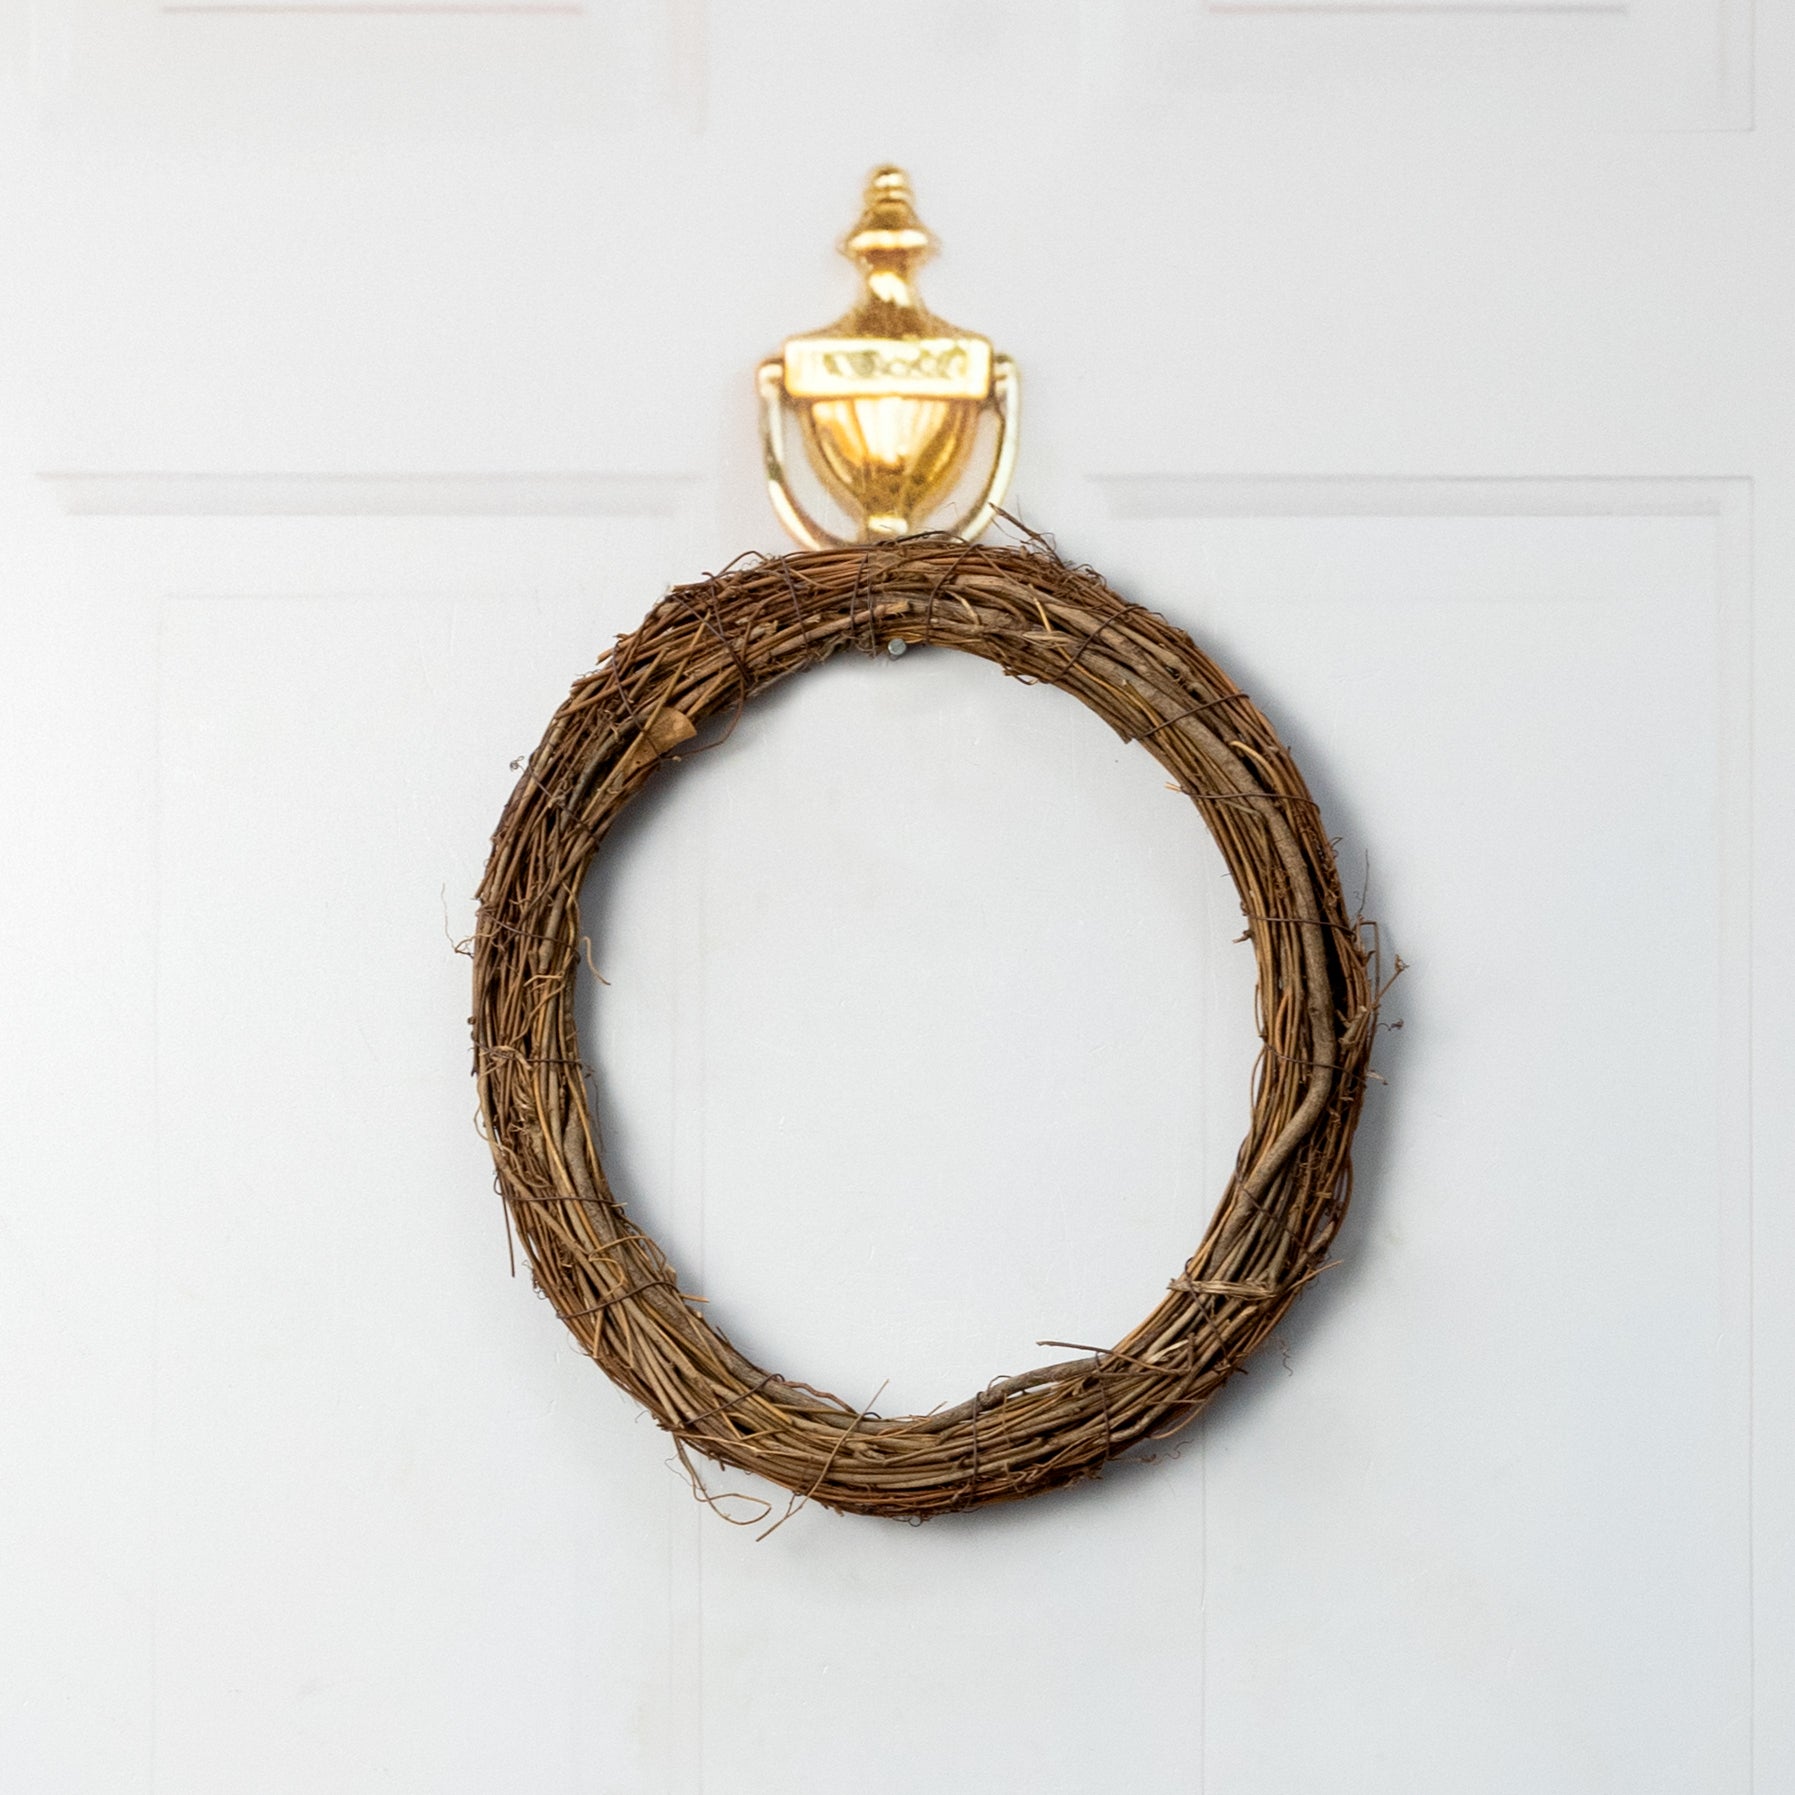
Hang the finished wreath on the door before cutting the ribbon tails.
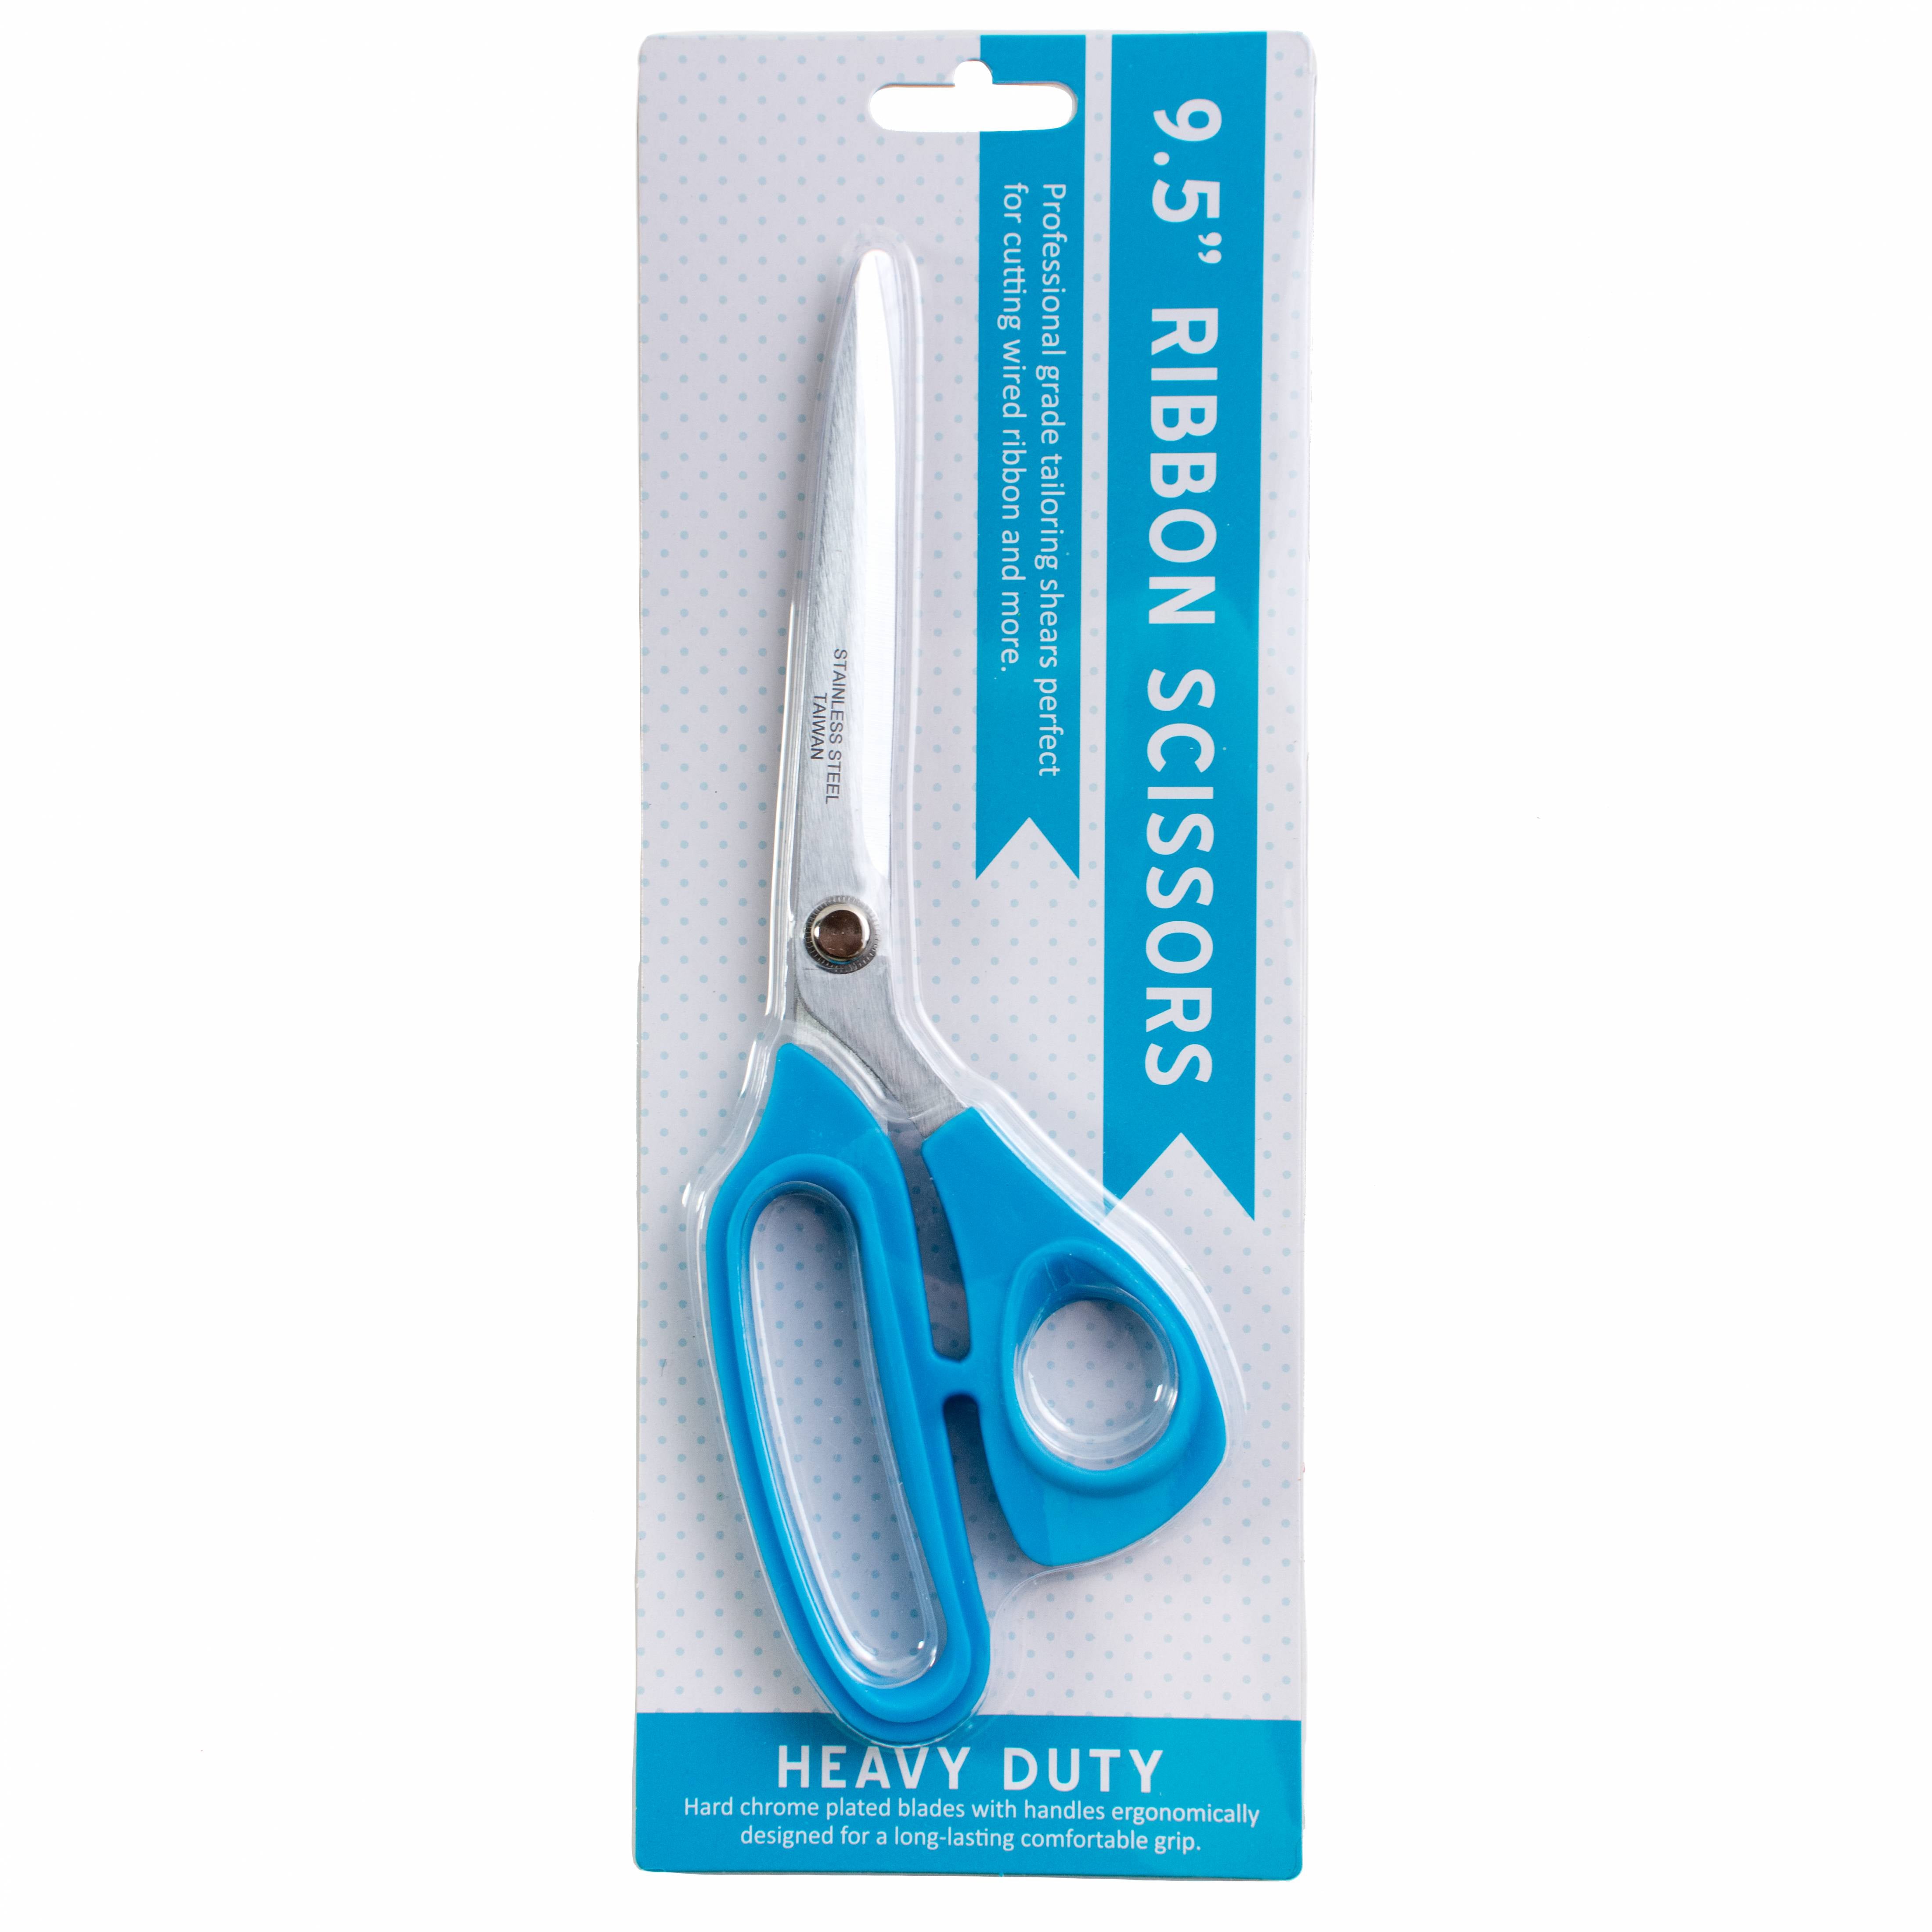
Allow the plaid and burgundy ribbons to fall naturally, and trim each tail at a slightly different length. Angled or dovetailed ends will give the ribbon a clean, finished appearance.
Fluff the bow one final time and reposition any flowers or leaves that shifted while the wreath was being hung.
Why this fall wreath design works
This wreath uses a limited but richly layered color palette. Burnt orange establishes the fall theme, while burgundy adds depth and sophistication. Hunter green foliage grounds the brighter colors, and the golden leaves keep the overall design from becoming too dark.
Repeating each color in several areas also creates continuity. The burgundy bow connects to the berries, the small orange flowers repeat the large mums/dahlias, and the golden leaves pick up the warm tones in the plaid ribbon.
The exposed grapevine is equally important. It gives the wreath breathing room and creates a more contemporary look than a completely covered base.
Make the design your own
The same construction method can be adapted to suit different fall decorating styles.
Just follow the pattern of:
Large focal flowers
Smaller accent flowers
Contrasting foliage
Bright/airy foliage
Contrasting texture/shape (such as berries or acorns)
No matter which colors you choose, begin with the largest focal flowers, establish the shape with foliage and then add smaller decorative elements gradually. This makes it much easier to control the balance of the finished wreath.
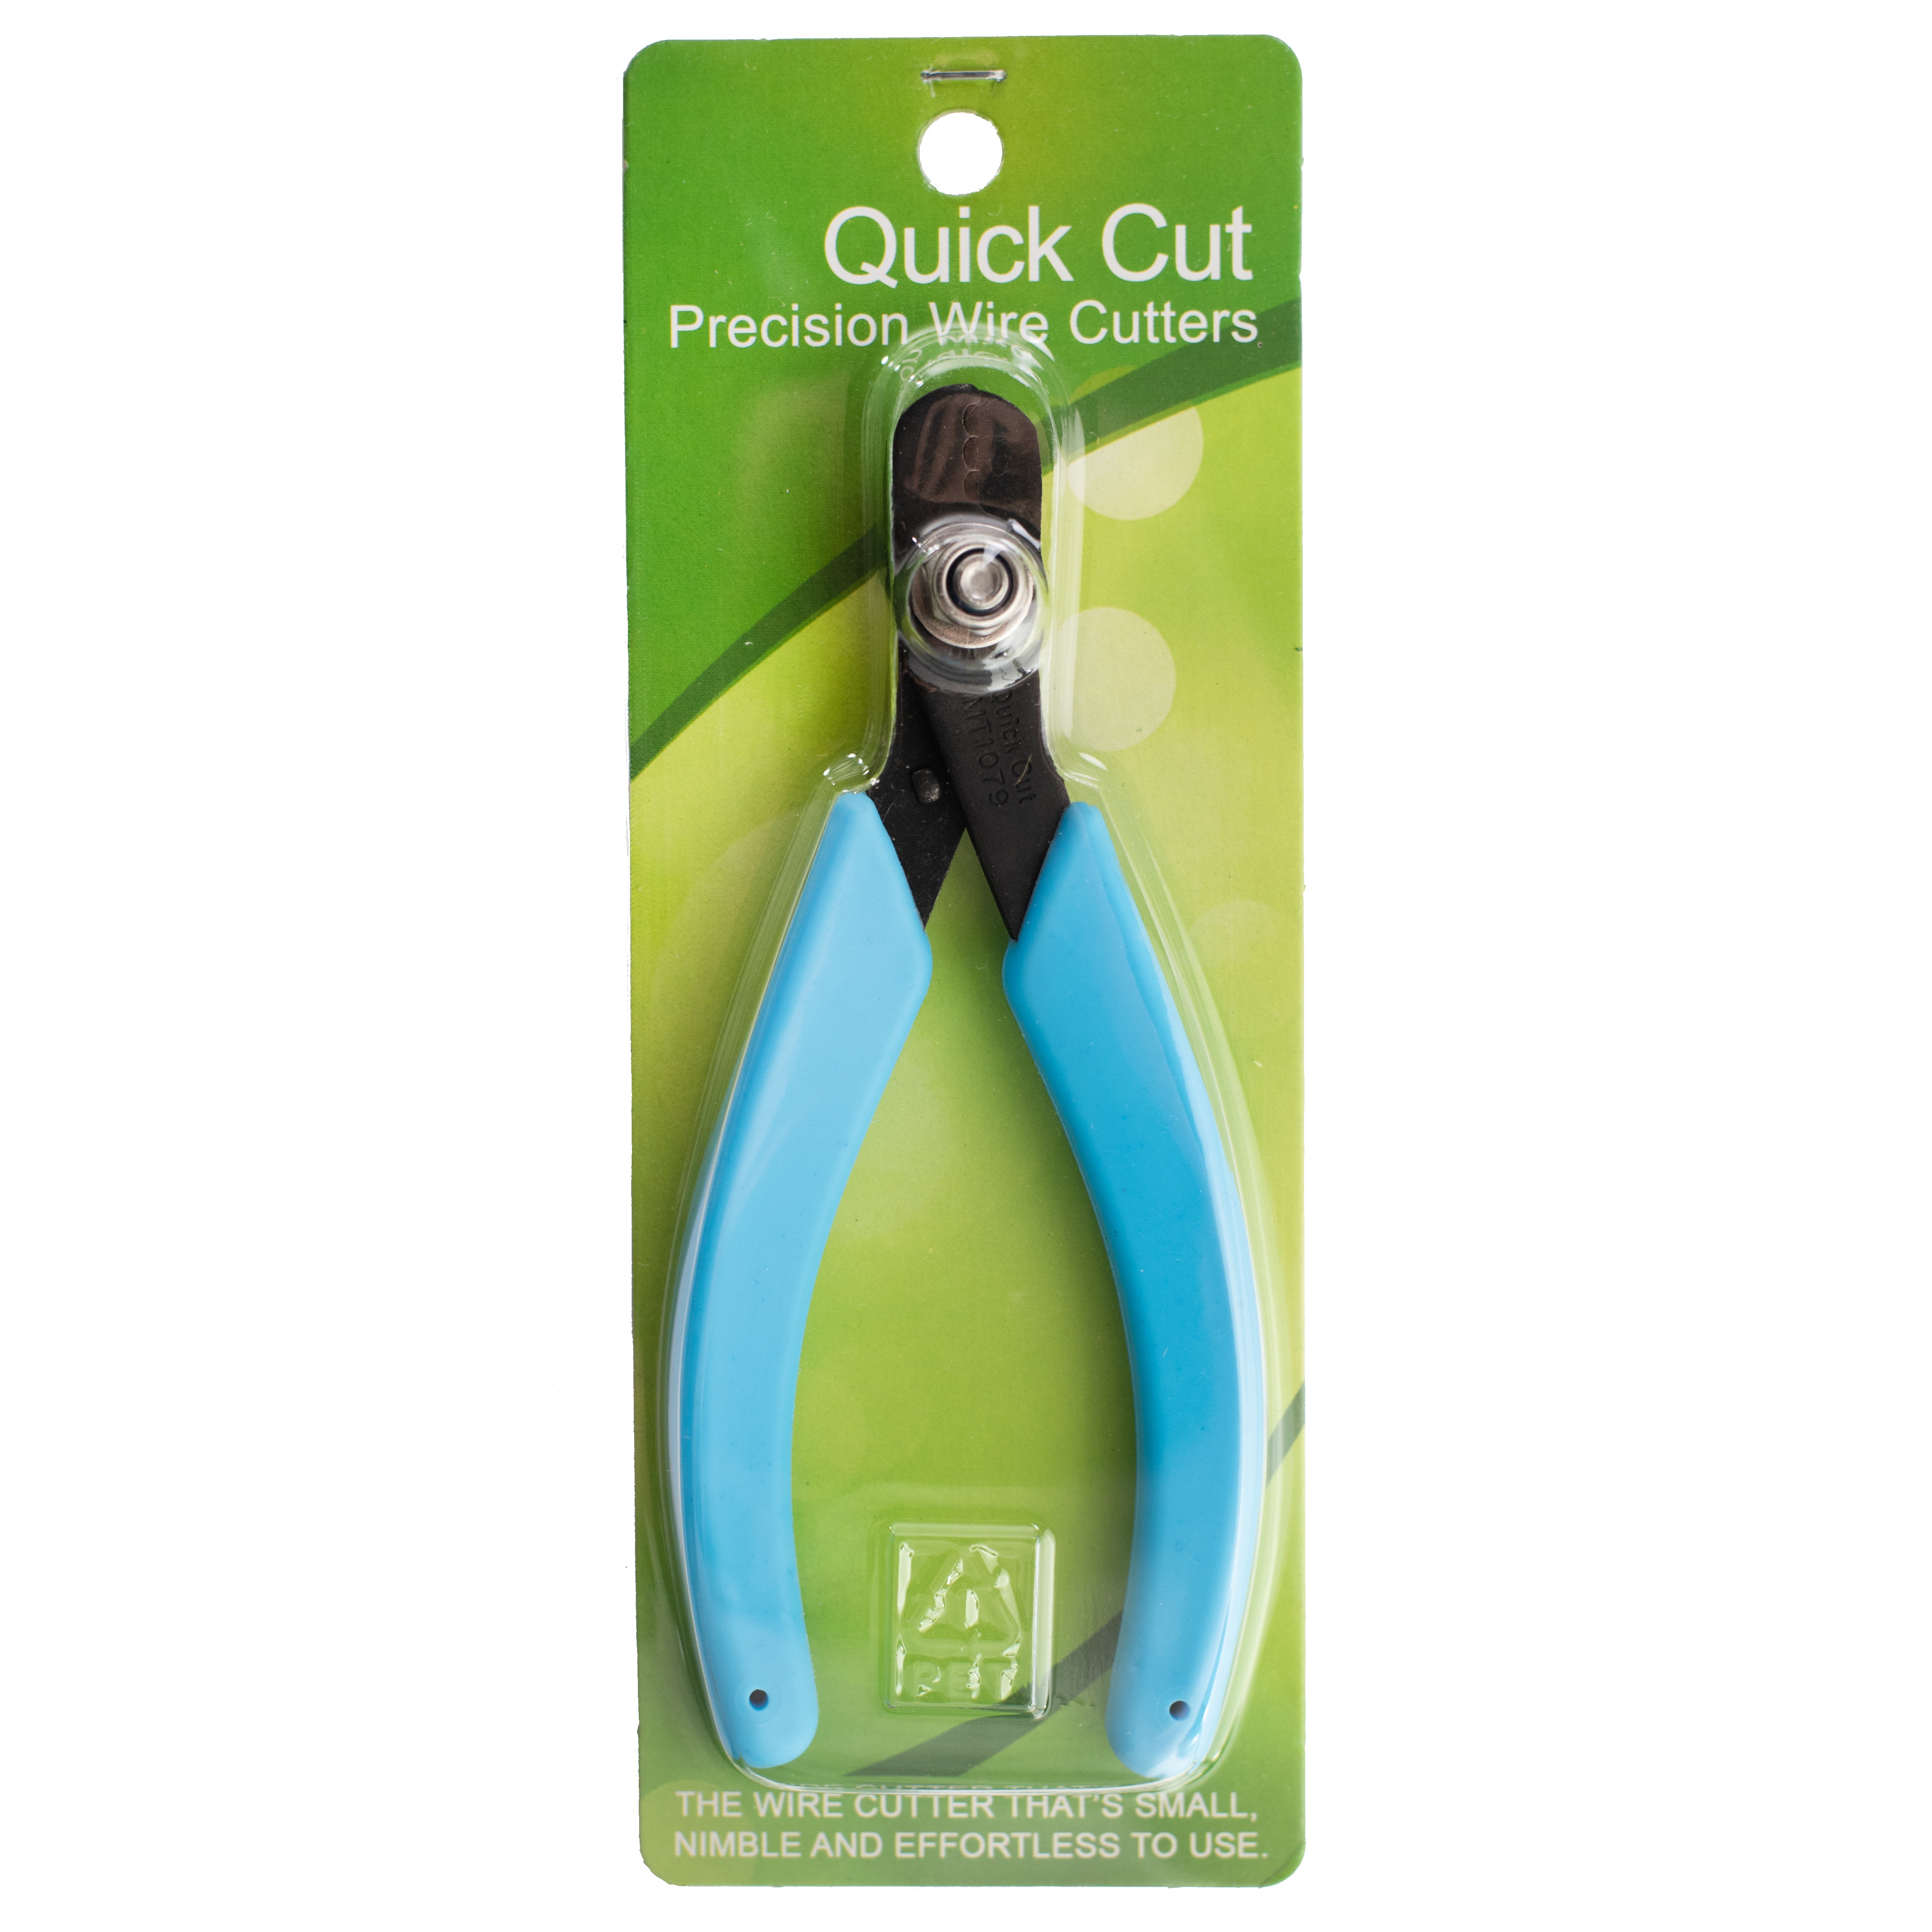
Ready to make your own fall grapevine wreath? Shop the supplies for this project below.