Have you ever admired a beautifully decorated Christmas tree and wondered how decorators get those gorgeous ribbons to flow so effortlessly through the branches?
Ribbon really transforms a Christmas tree. It adds color, texture, dimension, and personality, and if you use the right ribbon, the tree looks like something you'd find in a professional designer's showroom.
Once you learn these techniques, you can easily create high-end looks by yourself.
Watch the Christmas Tree Ribbon Tutorial
The Secret to Adding Ribbon to a Christmas Tree
The secret to beautiful Christmas tree ribbon is creating movement and dimension with quality ribbon.
Rather than simply wrapping ribbon around the outside of the tree, you want to work it into the branches, allowing sections of ribbon to curve, loop, and flow naturally.
In my tutorial, I'll demonstrate how to work with two different styles and show you how to cut, shape, and place ribbon to create a beautiful finished look.
1. Start With Beautiful Ribbon
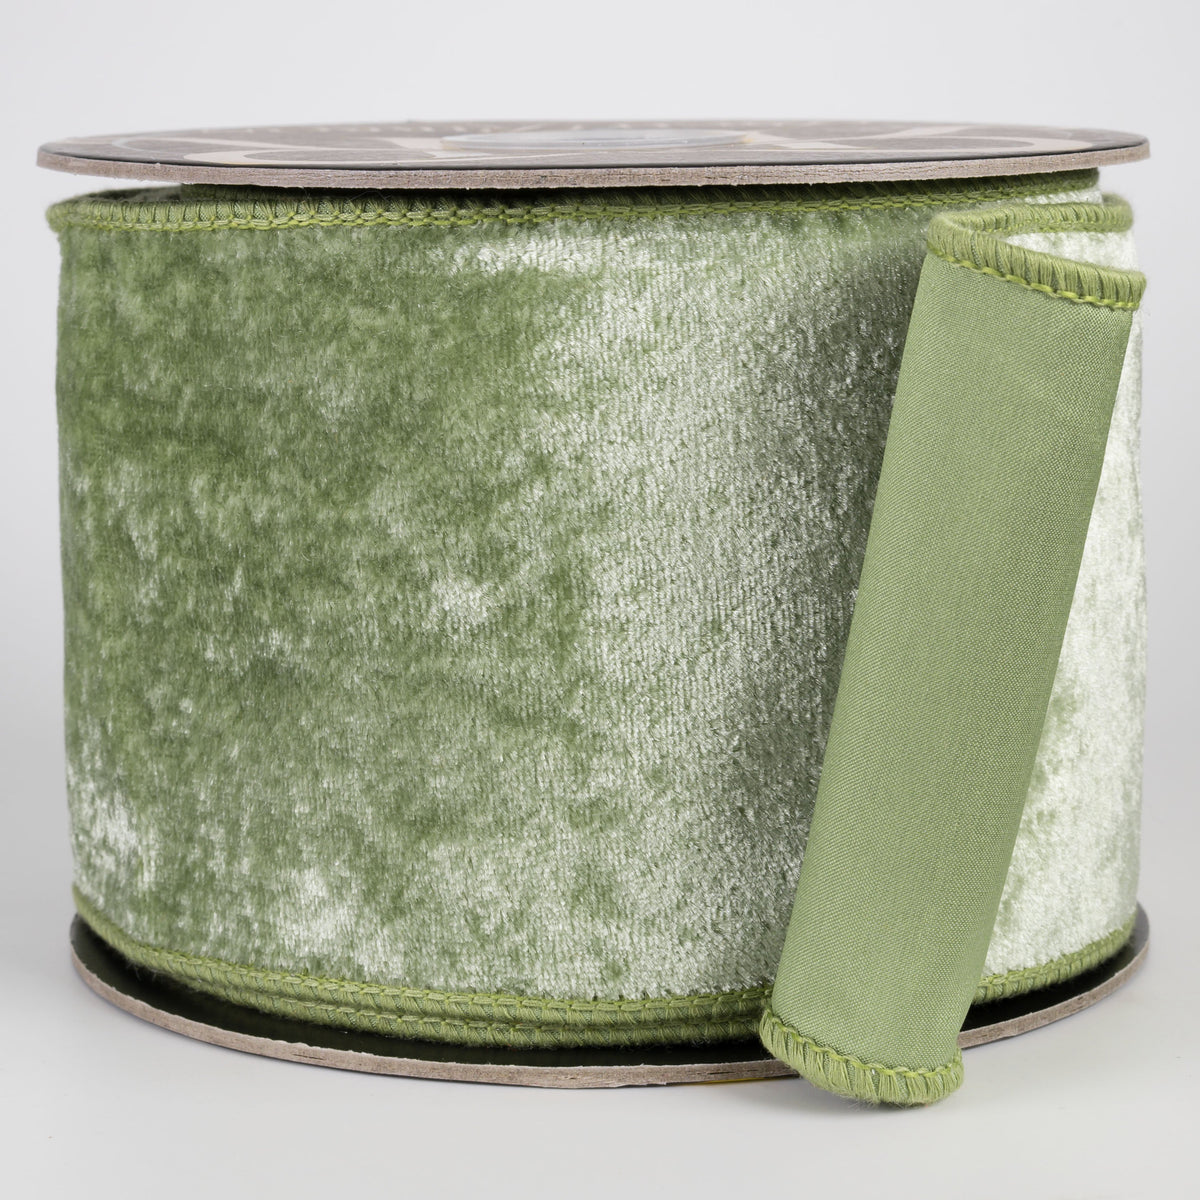
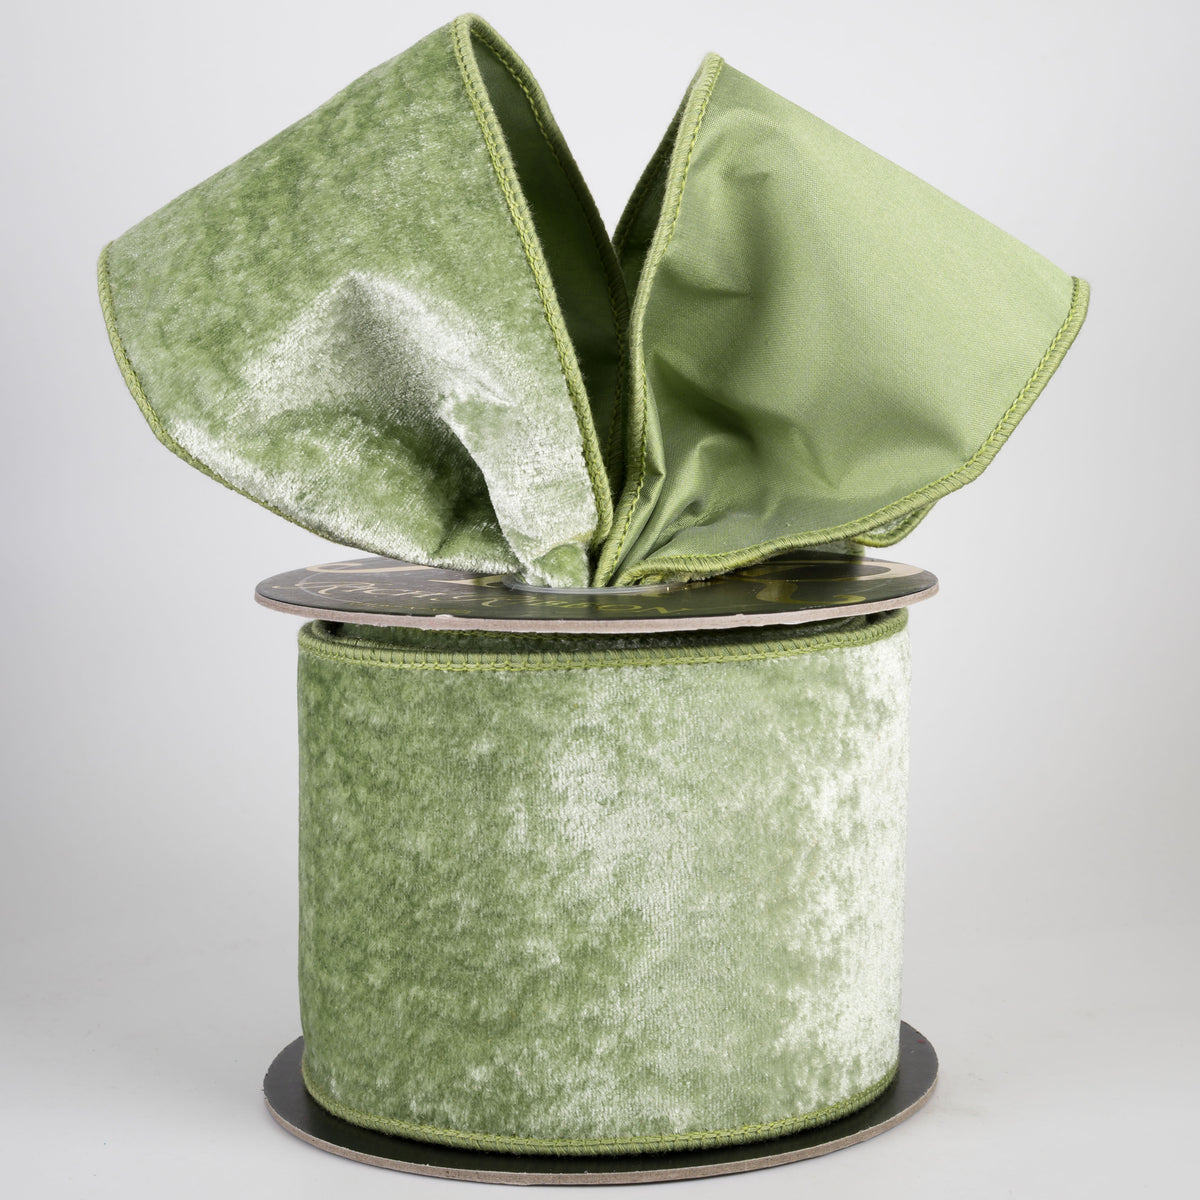
Choosing quality ribbon will effortlessly elevate your Christmas tree. Look for double-sided ribbon with strong wire so it will look great at all angles and maintain the shape you give it. Rich Ribbon™ is an excellent and affordable option.
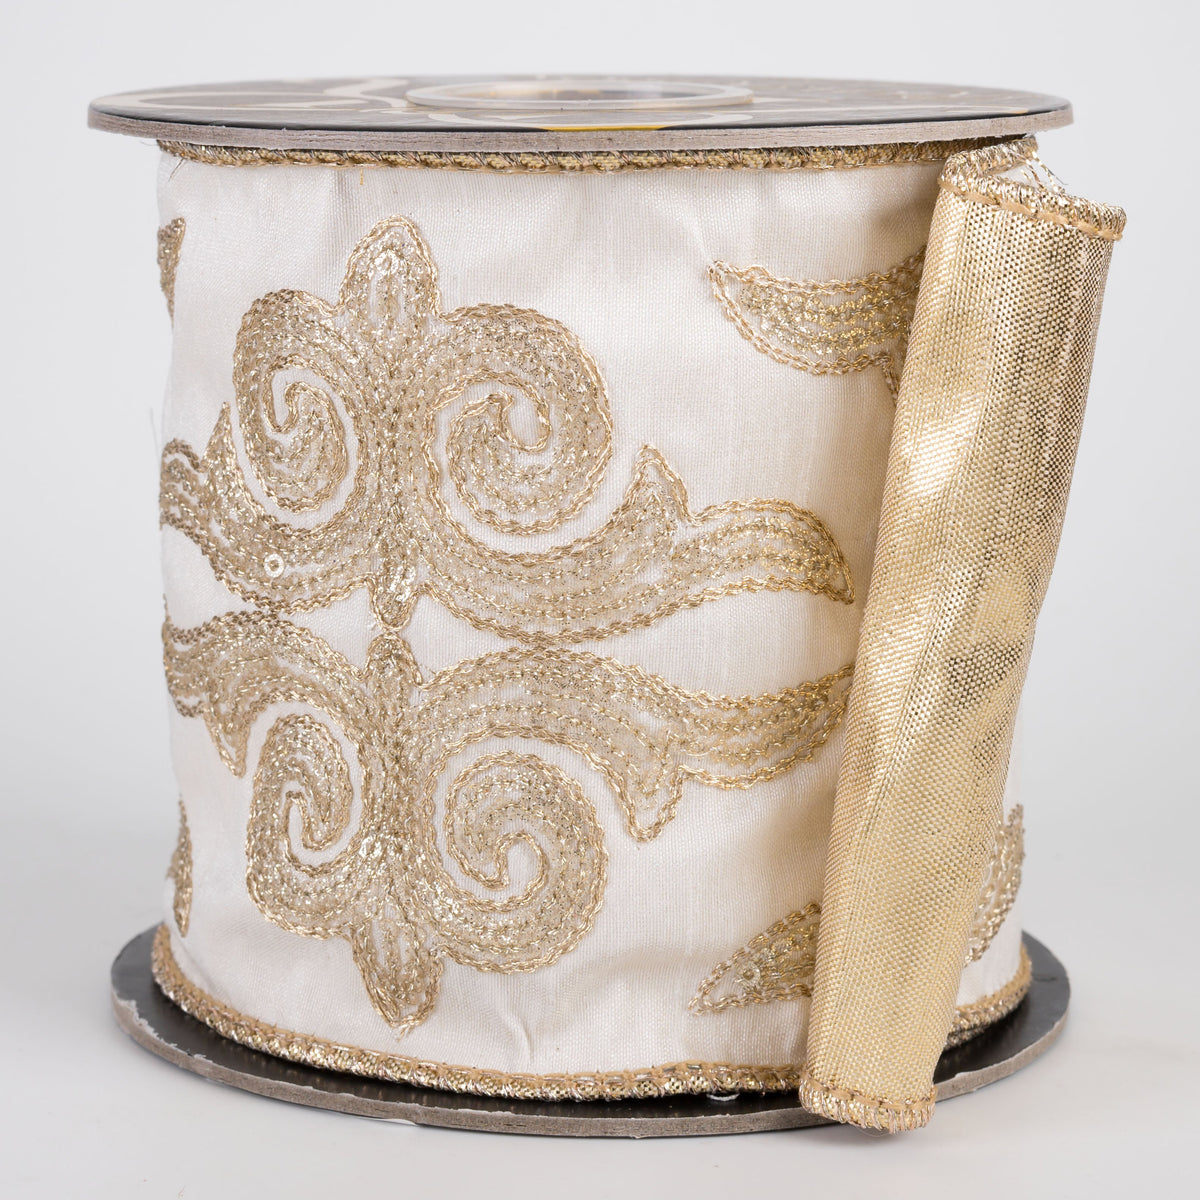
For an elegant, sophisticated look, consider velvet, metallic designs, embroidered patterns, or beautiful neutral combinations.
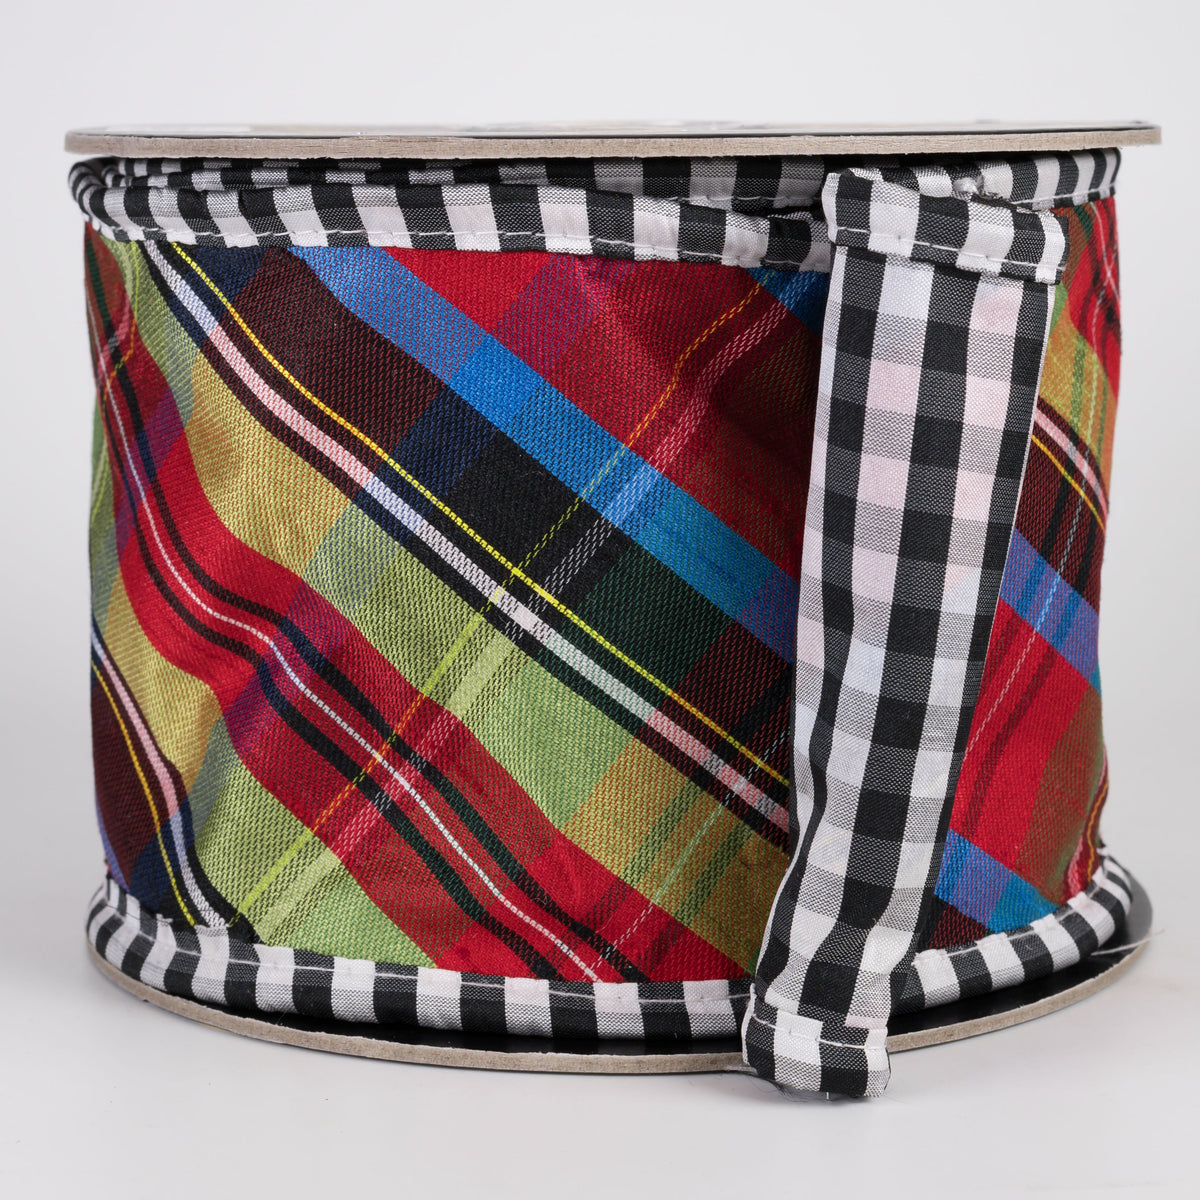
If you prefer a more traditional or playful Christmas tree, plaids, colorful patterns, and contrasting textures can create a completely different look.
Don't be afraid to combine different ribbons. Coordinating colors and patterns can add wonderful depth and interest. If you're unsure of how to combine ribbons, check out that tutorial here: https://www.craftoutlet.com/blogs/tutorials/choosing-ribbons-for-your-custom-diy-ribbon-wreath
2. Cut Your Ribbon
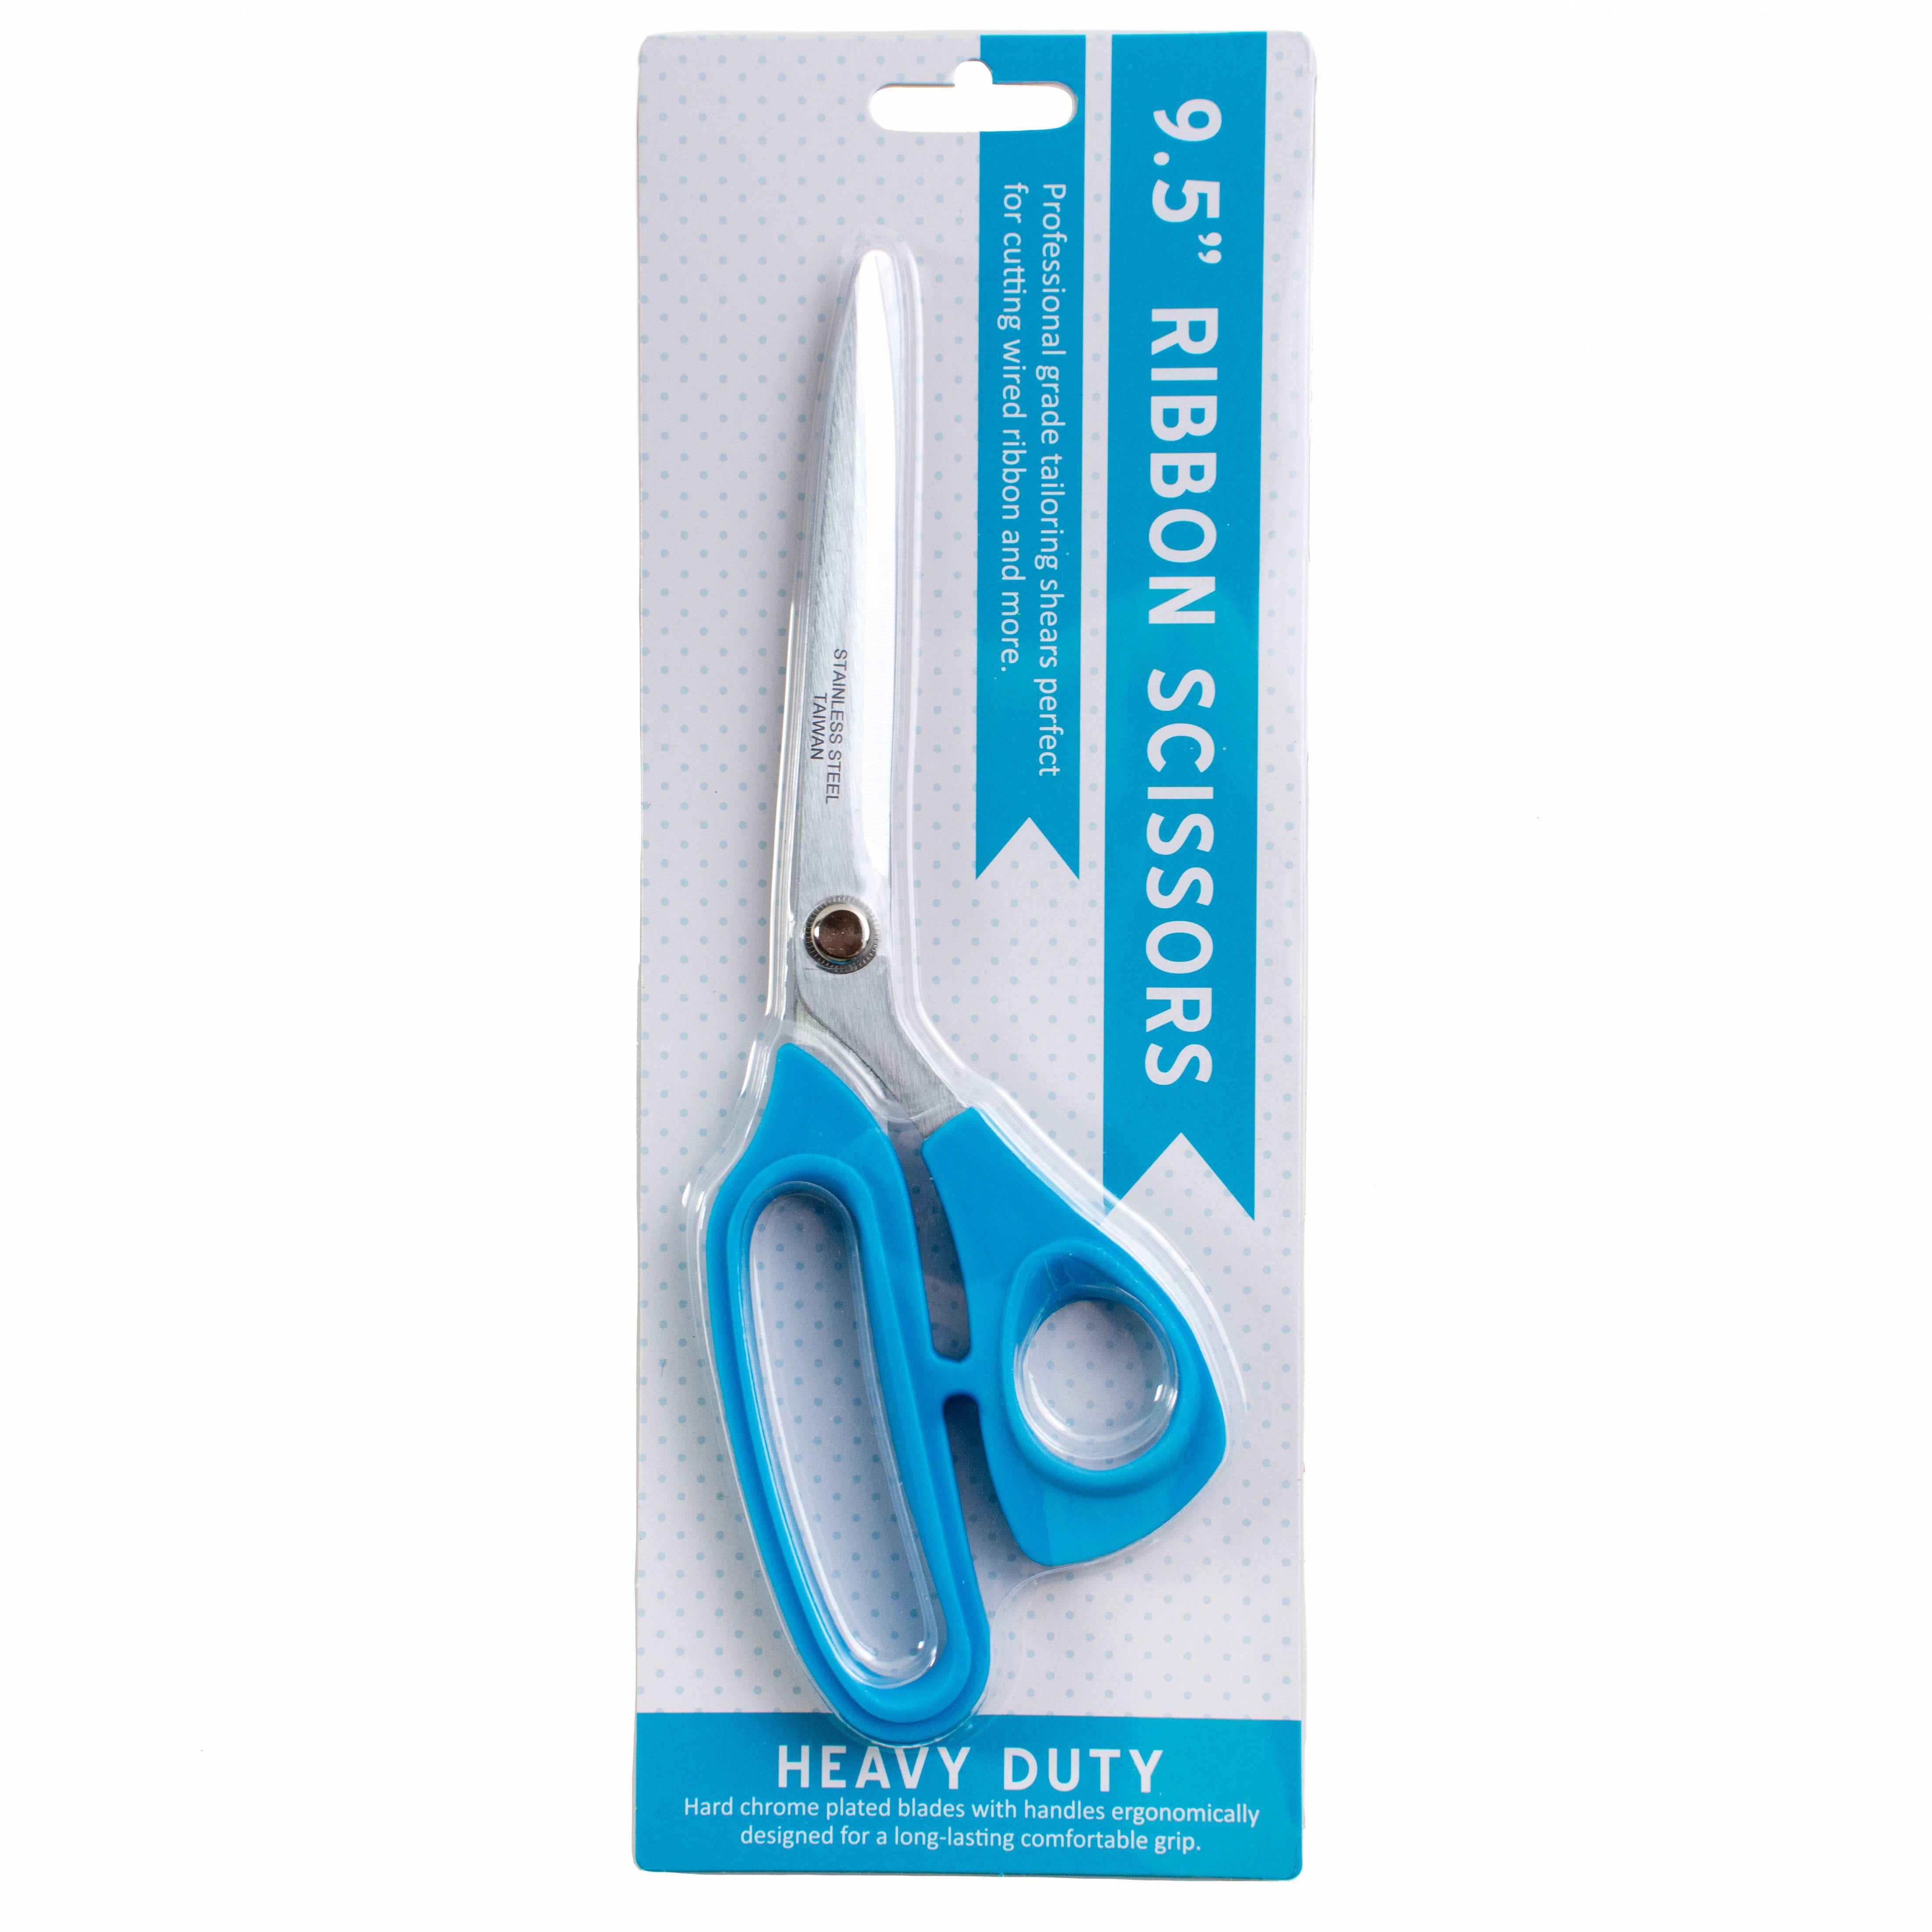
One of the important steps in decorating a tree with ribbon is knowing how to cut it into manageable sections.
Working with sections makes it easier to control the placement and shape of the ribbon.
3. Shape the Ribbon
This is where the magic happens!
Instead of allowing ribbon to hang flat against the branches, shaping it creates beautiful dimension and movement.
You can form soft loops, curves, and flowing sections that give your tree a fuller, more professionally decorated appearance.
The type of ribbon you choose will influence how it holds its shape, so be sure to select a high-quality option.
4. Place the Ribbon Throughout the Tree
Placement is just as important as the ribbon itself.
Work the ribbon into the branches rather than simply laying it on top. This helps create a more integrated appearance and allows the ribbon to become part of the overall tree design.
Start at the top of the tree, just under your topper. For each consecutive ribbon, work in a zig zag pattern down the tree. You want the ribbon to feel balanced while still having natural movement.
5. Experiment With Different Ribbon Styles
One of the things I love most about these techniques is their versatility.
The same basic decorating approach can be used with elegant velvet, whimiscally patterned ribbon, traditional plaid, and many other styles.
You don't have to use the exact ribbon featured in the demonstration. Once you understand how to cut, shape, and place it, you can apply those techniques to your own color story or theme.
Create a Beautiful Christmas Tree Without Spending a Fortune
A beautifully decorated Christmas tree doesn't necessarily require an enormous decorating budget.
The right ribbon can make a tremendous difference in the finished appearance of your tree.
That's one of the things I love about Rich Ribbon. You can find beautiful, high-quality ribbon designs that help you create an gorgeous, designer-inspired look at an affordable price.
Whether you're decorating your own home, creating trees for clients, or making something special for the holidays, beautiful ribbon gives you so many creative possibilities.
Happy Decorating!