DIY Christmas Door Swag Using a $9 Pine Spray!
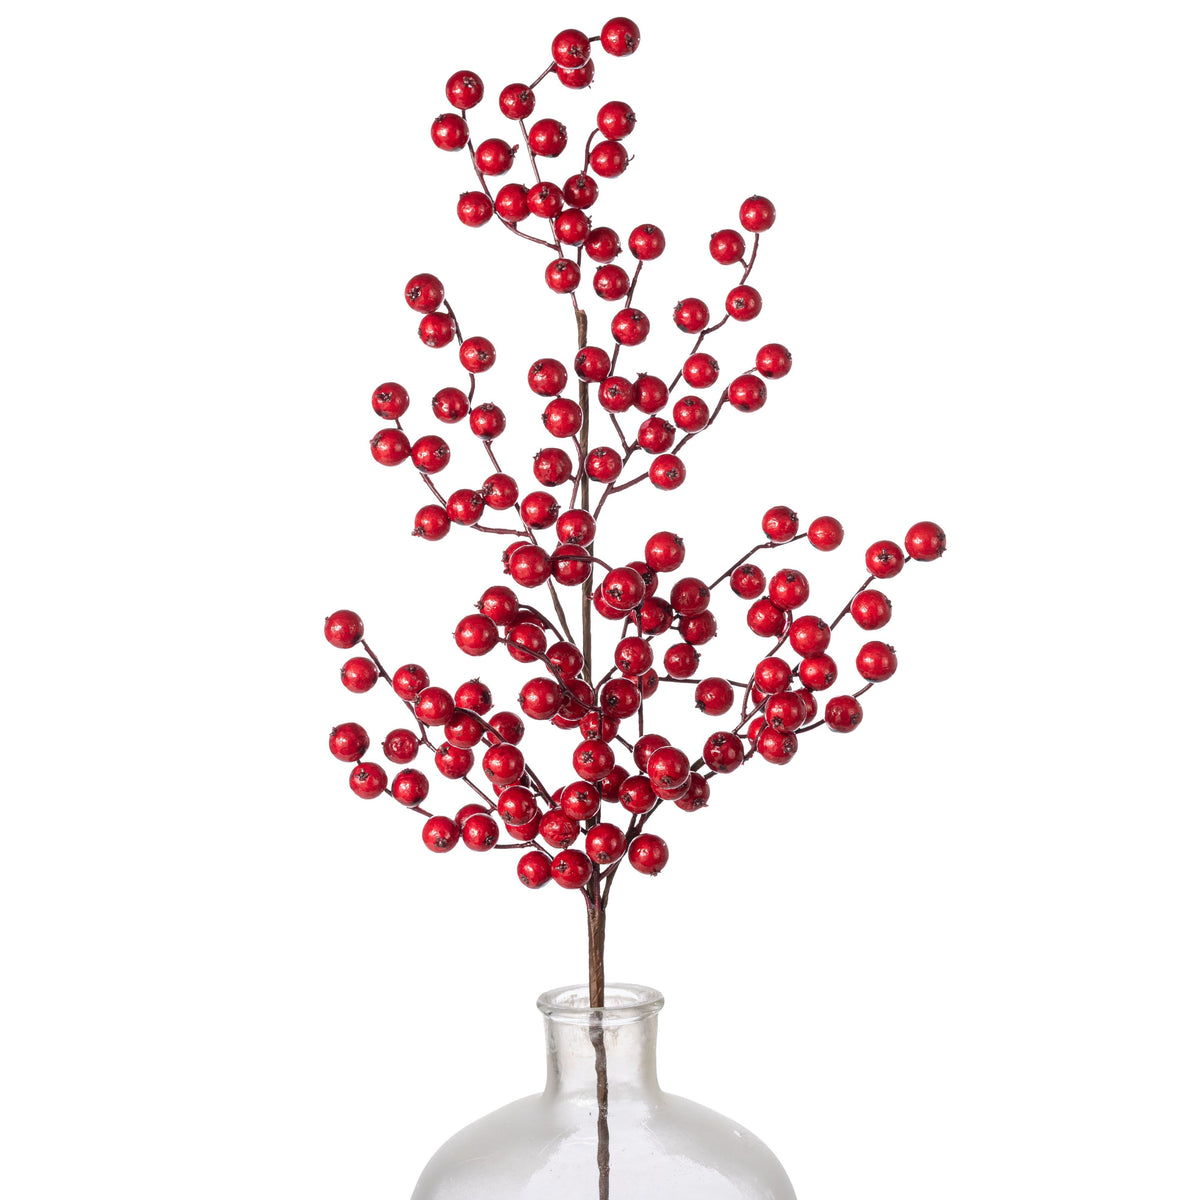
Sometimes the best Christmas decorating ideas come from simply noticing two things that look beautiful together! When I spotted this oversized pine spray and realized the berry spray was almost the same size, I immediately started imagining what I could create with them. The proportions are perfect for an easy, statement-making Christmas door swag!
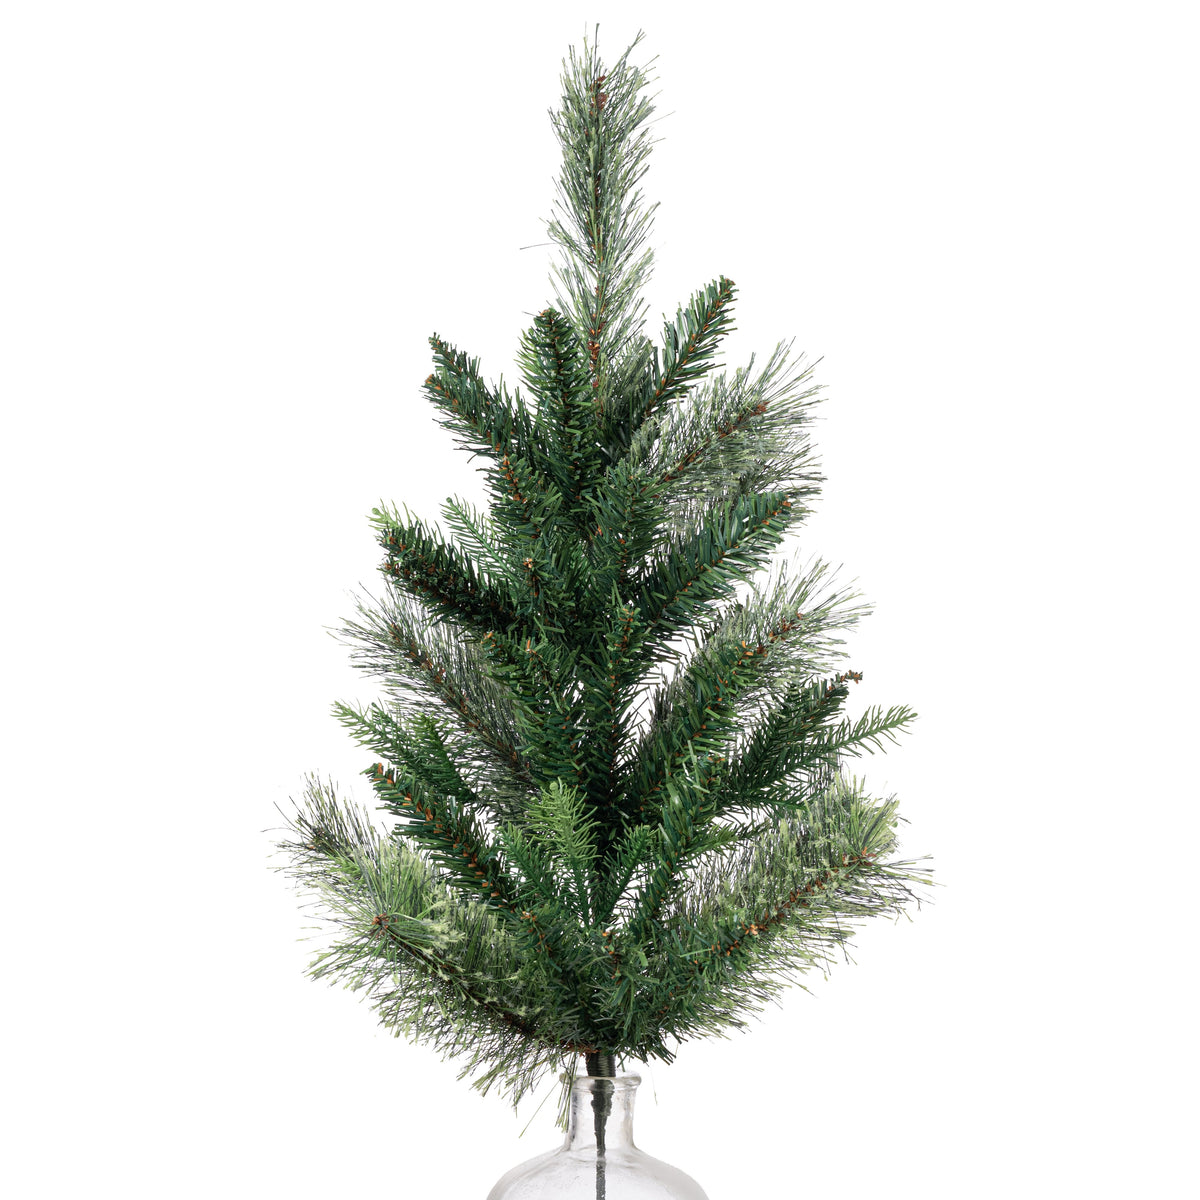
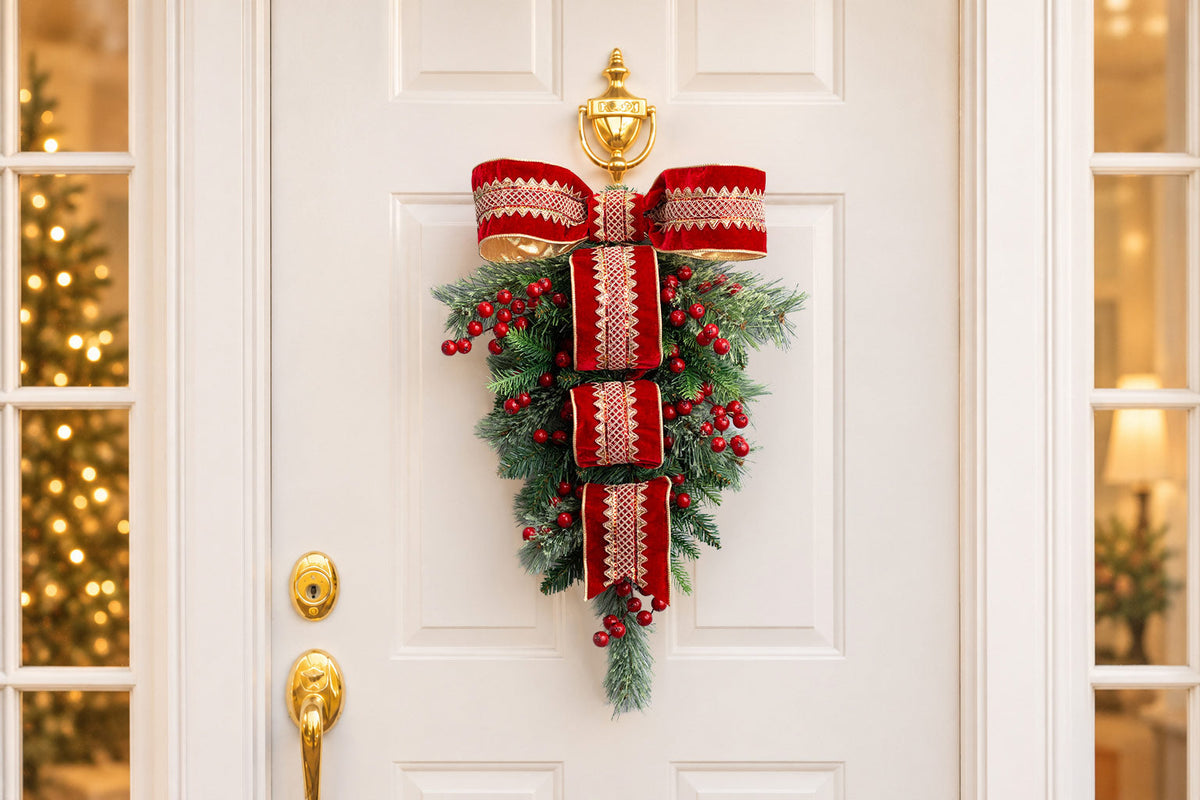
The best part? The pine spray was only $9, making it an affordable starting point for this project. By combining it with the coordinating berry spray and adding a gorgeous red velvet ribbon with gold detailing, I was able to create a beautiful, full Christmas swag with an elegant, high-end look.
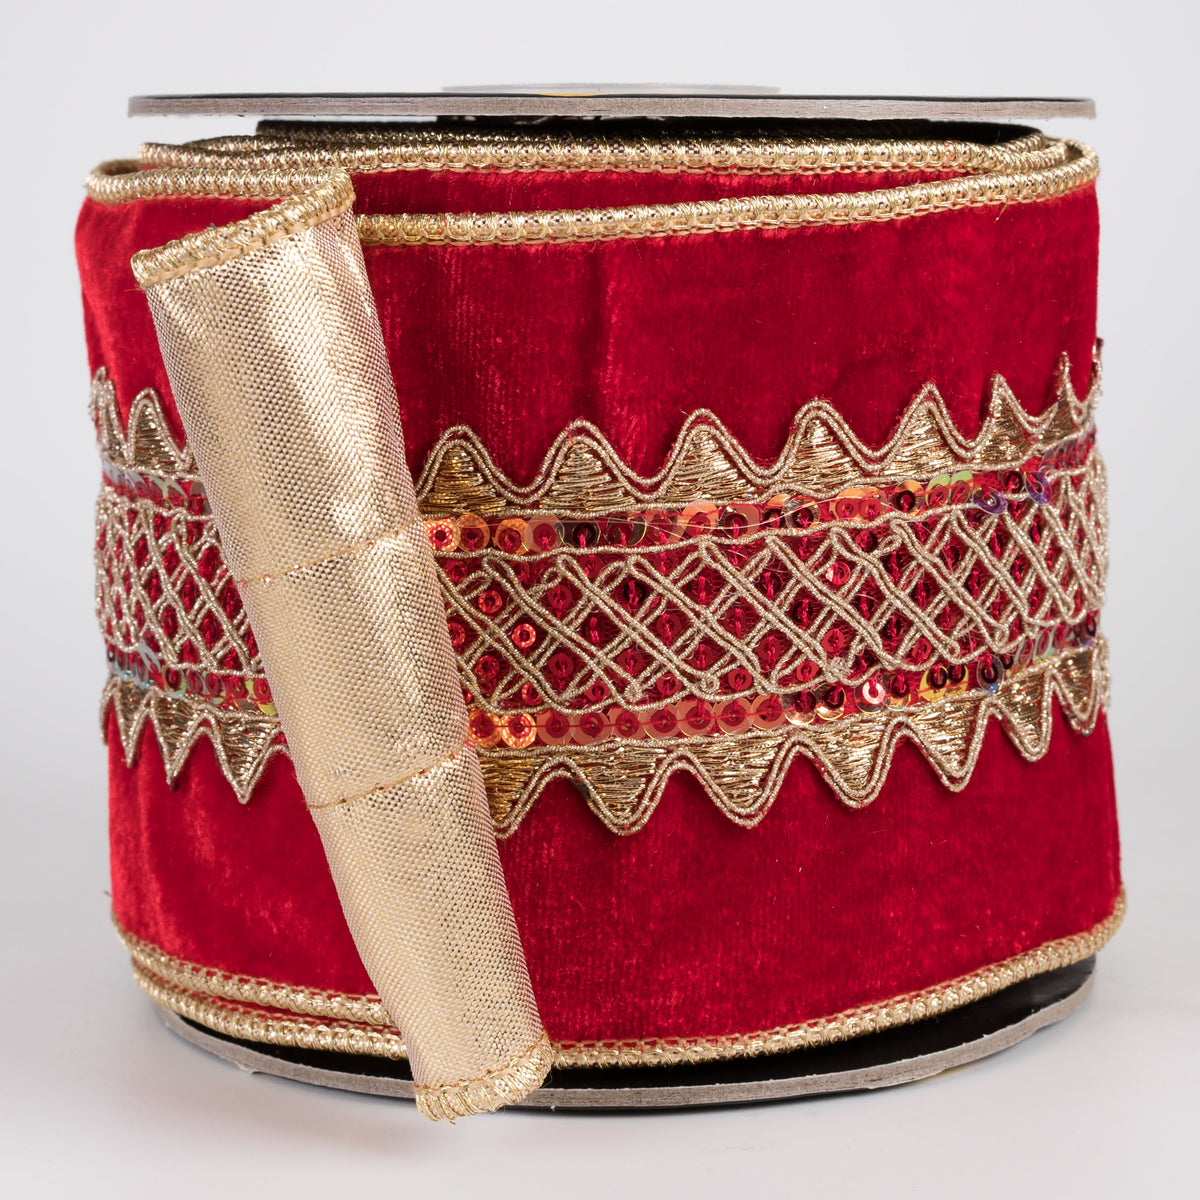
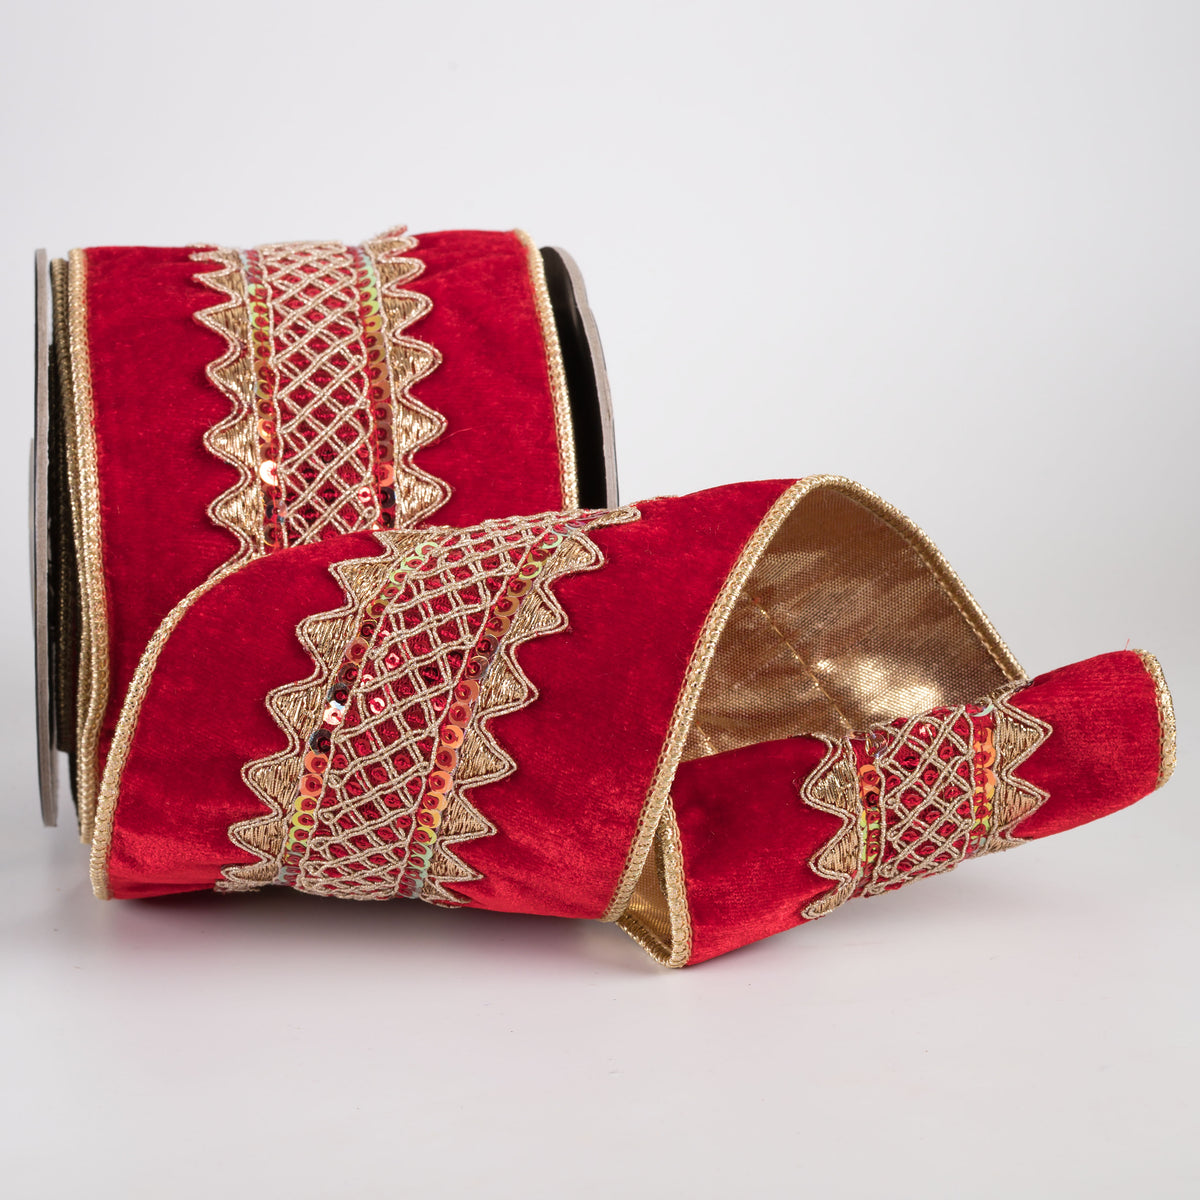
And that ribbon! A beautiful, quality ribbon can make such a difference in an arrangement. This one has the luxurious look and feel that really brings the entire design together, without the premium price tag you'd typically expect for ribbon of this quality. I used approx. 70" for this swag, so you can EASILY get two out of one roll of this ribbon.
This is one of those projects where the supplies do most of the work for you. The oversized sprays fit together perfectly, and the ribbon gives everything a polished, designer-inspired finish.
If you're looking for an easy DIY Christmas door decoration that makes a big impact without requiring a complicated arrangement or an expensive collection of supplies, I think you're going to love this one!
Watch the Tutorial Here:
How to Make Your Christmas Door Swag
Step 1: Start with the Pine Spray
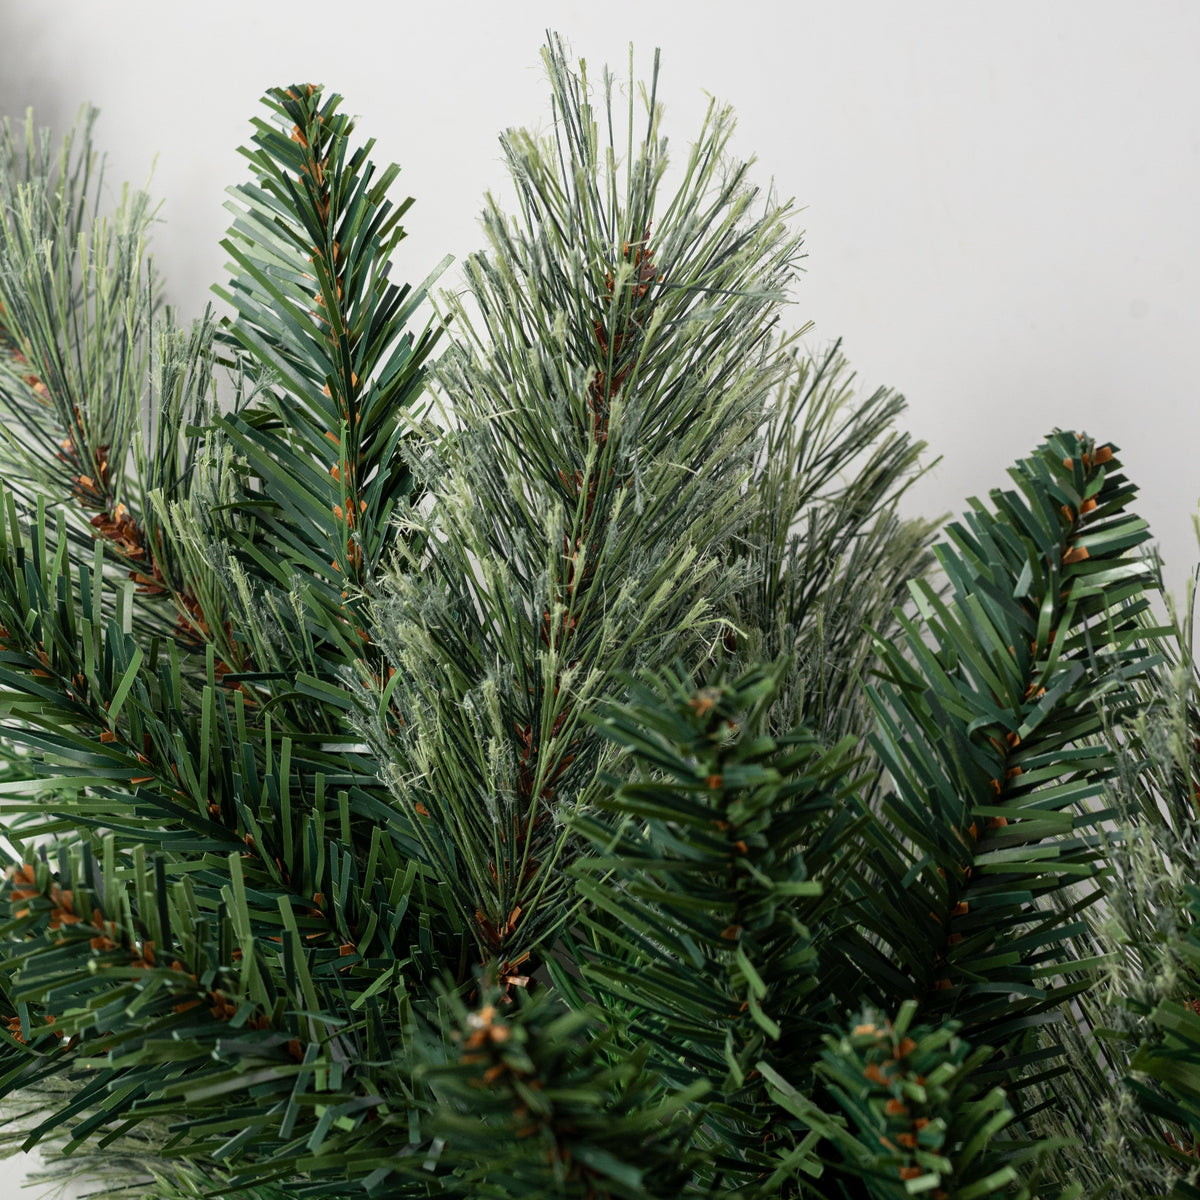
Begin with your large evergreen pine spray. This inexpensive piece is the foundation of the entire arrangement.
Remove most of the stem - heads up, the one I'm recommending has a very thick and strong metal stem, so you'll need a heavy duty tool to remove it. Use your Quick Cutter or a hefty cable cutter.
Step 2: Add the Berry Spray
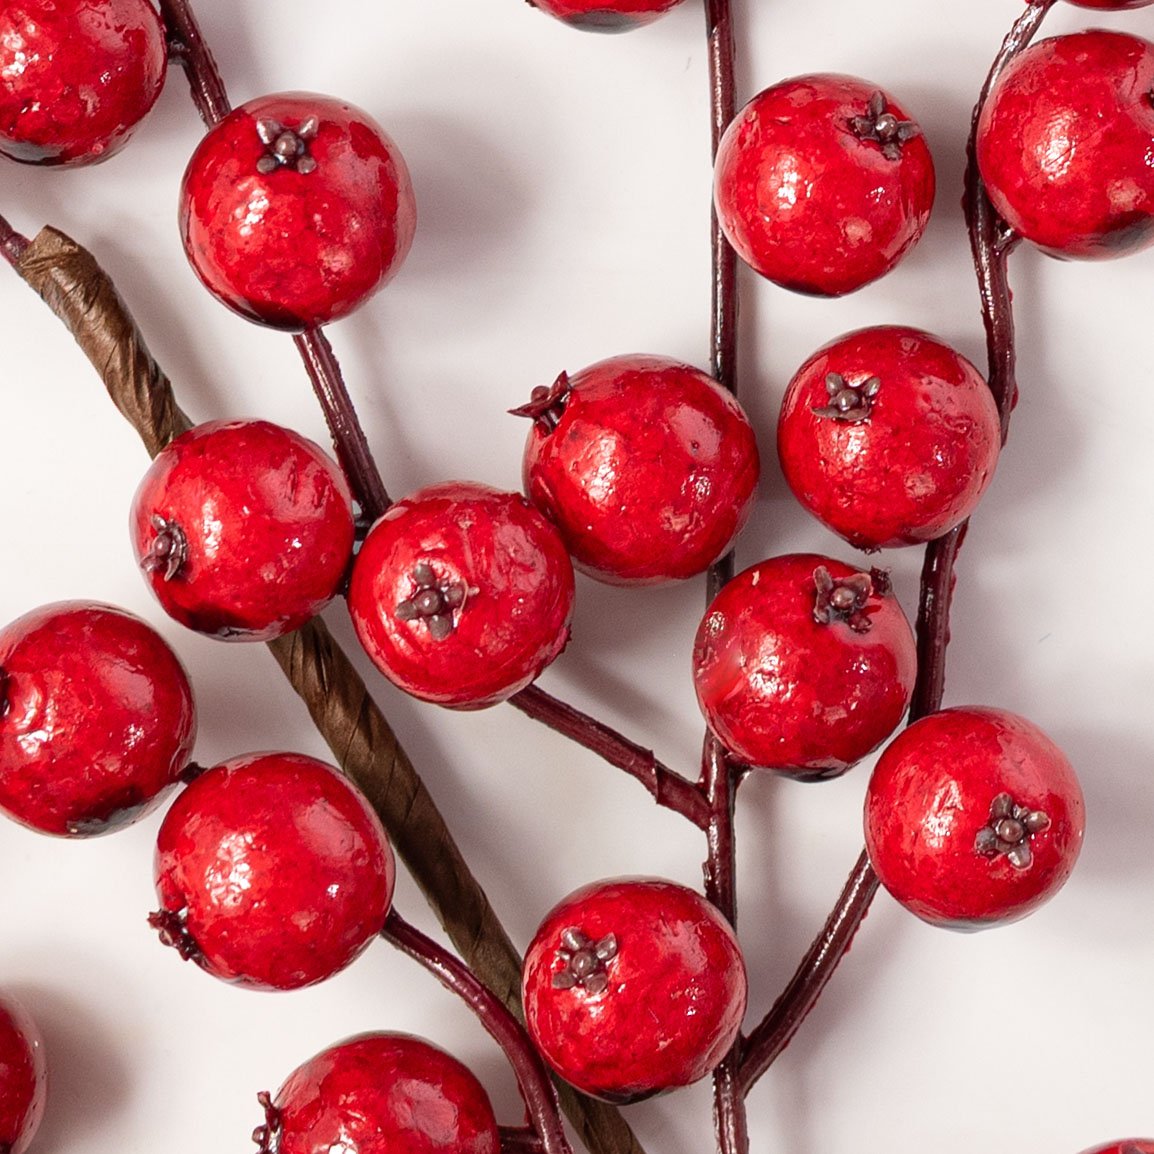
Next, incorporate the large red berry spray into the pine greenery.
Because the berry spray is almost the same size as the pine spray, it creates a beautiful balance and adds plenty of color and dimension.
Position the berries throughout the arrangement, layering some of the pine on top and some behind so that the berries don't look too heavily clustered in any one area. Adjust the stems until you like the overall shape and distribution.
Step 3: Create Your Own Hanging Loop and Prepare the Stem for the Bow
Because this started as a spray, we'll need to create our own hanging loop with a pipe cleaner. You'll also want to use some of the pine sprigs to wrap around the stem's nub - this both hides it and gives us something to attach our bow to.
Step 4: Add the Beautiful Ribbon
Now comes my favorite part!
The red velvet ribbon with gold detailing is what really elevates this arrangement. Its rich color and beautiful finish add a touch of luxury and make the entire swag look more polished.
Create a generous bow with just two loops and a custom center. Then use the pine to attach a single piece of ribbon to the top and drape down the center line of the spray. Attach it in two places to create arches - the amazingly strong wire of Rich Ribbon comes into play here, allowing for that sculptural quality that makes this project really shine.
Finally, dovetail the end so that a little of the spray hangs below it.
An Easy Christmas Decorating Idea That Looks Anything But Simple
I love projects like this because they show how a few well-chosen pieces can come together to create something really special.
Starting with an inexpensive $9 pine spray kept the project approachable, while the generously sized berry spray added beautiful fullness and festive color. And the high-quality ribbon was the finishing touch that brought everything together.
Sometimes the best approach is to find a great starting piece, add a few coordinating elements, and let a beautiful finishing detail - like Rich Ribbon - do the rest!
This Christmas swag would look lovely as a pair on double doors - remember, you can get two bows from one roll of ribbon - and can also be used under a sconce.
Be sure to watch the video tutorial to see how it all comes together, and let us know what you think!
Happy Christmas Crafting!