
📌 Disclaimer: This tutorial was first published in November 2014. Some links may no longer work and any pricing mentioned may be outdated. The techniques and methods, however, remain valid—so we're happy to keep sharing it.
Supplies (for swag)
You can buy all of the supplies in one easy step using our Wreath Recipe™ here.
- Red & White Paper Mesh - 10 Yards, We used 2 Yards
- Green Deco Mesh - 10 Yards, We used 3 Yards
- Black Quatrefoil Ribbon - 10 Yards, We used 2 Yards
- Red & Lime Harlequin Ribbon - 10 Yards, We used 1.5 Yards
- Lime Polka Dot Ribbon - 10 Yards, We used 2 Yards
- Striped Red Ribbon - 25 Yards, We used 2.5 Yards
- Lime Chevron Ribbon - 5 Yards, We used 1.5 Yards
- Black Wire Balls - Set of 6, We used 5
- Red Work Rail
- Diamond Garland
Supplies (for bow)
- Red & White Paper Mesh - 10 Yards, We used 0.5 of a Yard
- Green Deco Mesh - 10 Yards, We used 3.25 Yards
- Black Quatrefoil Ribbon - 10 Yards, We used 1.25 Yards
- Red & Lime Harlequin Ribbon - 10 Yards, We used 1.5 Yards
- Lime Polka Dot Ribbon - 10 Yards, We used 1 Yard
- Striped Red Ribbon - 25 Yards, We used 1 Yard
- Green Tinsel Roping - 25 Feet, We used about 2 Feet
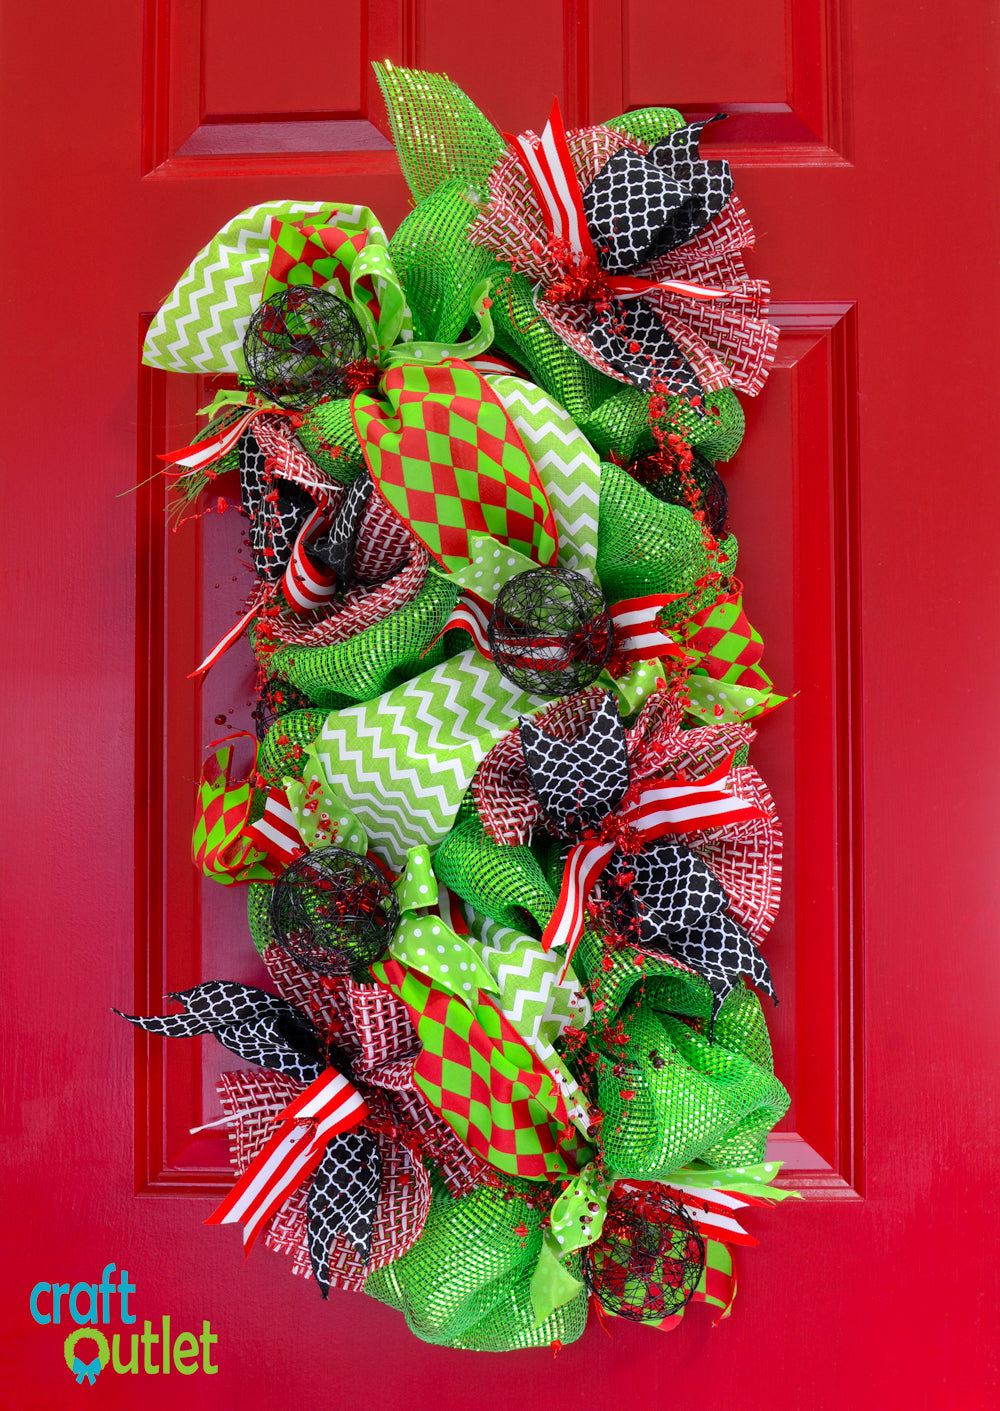
The swag took our experienced designer just about 30 minutes to create, but if you are a beginner it may take longer. The bow took only 7 minutes, but the more you practice, the faster they go. The cost to make the swag (and the bow!) would be about $74, but you will have plenty of ribbon left over to play with & create more with. This swag is also versatile because it is created on a work rail. It can be a swag, a centerpiece, OR you could even bend it and use it as a mailbox cover! The versatility is the reason why we're so in love with these work rails.
Thank You for watching & Shopping at CraftOutlet.com! Happy Holiday Crafting!

