
📌 Disclaimer: This tutorial was first published in November 2013. Some links may no longer work and any pricing mentioned may be outdated. The techniques and methods, however, remain valid—so we're happy to keep sharing it.
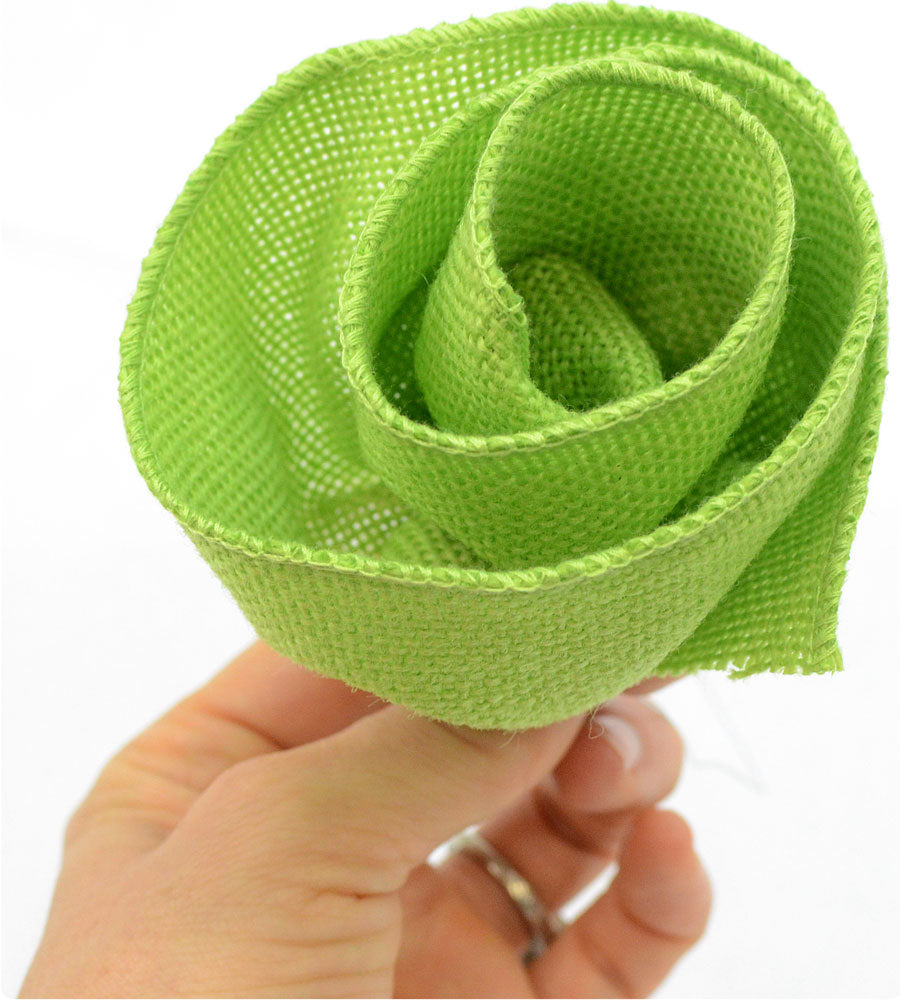
 Easily transform any wired edge ribbon into these sweet rose accents with a few simple steps. Keep reading to learn how to gather and roll the ribbon to create a ribbon rose.
The ribbon shown here is a 2.5" wide faux burlap in fresh lime green. You will need about 24" of ribbon to make one rose. A longer piece of ribbon will create a larger finished rose.
 Step 1: Pull to remove the wire from one edge of the ribbon.
 Step 2: On the edge with a wire remaining, fold over the end of the wire to secure it in place.
 Step 3: Holding the end wire in place, push the fabric down the ribbon edge to create gathered fabric.
 Step 4: Starting at the end on the gathered edge, roll the ribbon toward the other side.
 Step 5: Roll all the way until the end of the piece of ribbon.
 Step 6: Twist the two ends of wire to secure the ribbon rose.
 Complete Ribbon Rose
Here is a great summary of this tutorial that you can pin to remember the easy steps. Check out Craft Outlet's Pinterest page for more great ideas and tutorials.
 Simple Tutorial for creating gathered ribbon roses