
📌 Disclaimer: This tutorial was first published in October 2014. Some links may no longer work and any pricing mentioned may be outdated. The techniques and methods, however, remain valid—so we're happy to keep sharing it.

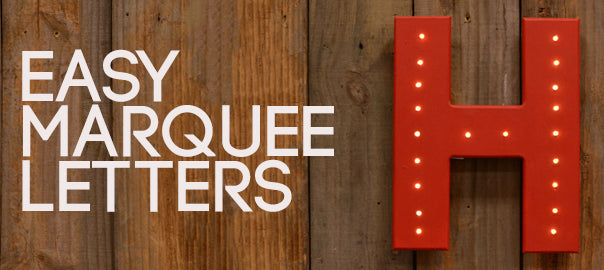
It’s big, it’s bright and it’s a graphic punch for your space. Homemade marquee letters allow you to glamorize and customize your nest without breaking the bank. This simple tutorial will show you the steps for making your own marquee letters using key products found on CraftOutlet.com.

SUPPLIES NEEDED:
- Wooden Letters $4.75
- 20 Count String Floral Lights $6.50
- Pencil
- Drill with 7/32” bit
- Craft Paint
- Cardboard (optional)
- Hot Glue or Electrical Tape (optional)
- Wire (optional)

Before drilling, mark 20 evenly spaced circles where the lights will be placed. Each letter is different, but for this H, I placed 18 holes on the vertical ends and 2 holes in the center horizontal line. Place the letter on a stack of cardboard. The cardboard not only will allow you to evenly disperse your drill’s pressure, but will also give you an adequate buffer once the drill exits the wood. Drill 20 holes.


Sand any rough edging made from the drill, and apply paint evenly across wood. Apply multiple coats to ensure a completely covered surface.

Once paint is dry, make sure all the holes are free of any paint or need further sanding. The drill bit used should allow the light to fit in snugly with the entire bulb exposed. Make a game plan in the order you will push your lights through; below is the order I did for the H. Keep the switch box toward the bottom of the letter for ease of access.

Choosing how you're going to display your Marquee Letter will decide how important these next steps are. For leaning against a mantle, bookshelf or any supportive surface, these steps are completely optional.
There are two simple options for affixing the wires so back is flat as possible for hanging. LED lights last a very long time, so if you're choosing between the two, don't let having to change the strands be a factor. Only the batteries need changing.
Option 1 is Electrical Tape. It's non-permanent and should do fine for short term use.

Option 2 is Hot Glue. It's a secure, permanent option and weatherproof. For future battery changing, keep the battery pack free of hot glue. You can secure it with electrical tape if you want something to hold it securely but not permanently.

Wire Hanger Option: If you wish to hang your Letter, this quick wire hanger will do the trick. Twist once before placing. Once around the top light, twist once more to secure.


Hang and enjoy! These letters are not only inexpensive to make, but can be used indoors and out (a varnish coat will protect the wood year round) - making it great for weddings, parties, and door decorating. Compared to traditional Christmas lights, the LED lights are more accommodating in many ways (no outlet required, no hanging strands to ruin look, and easily portable!). The warm LED light casts a soft glow, making it a charming night light for a baby's room or hallway. CraftOutlet.com has the entire alphabet to choose from as well as a few symbols that will make your "statement" piece pop.