
📌 Disclaimer: This tutorial was first published in December 2014. Some links may no longer work and any pricing mentioned may be outdated. The techniques and methods, however, remain valid—so we're happy to keep sharing it.

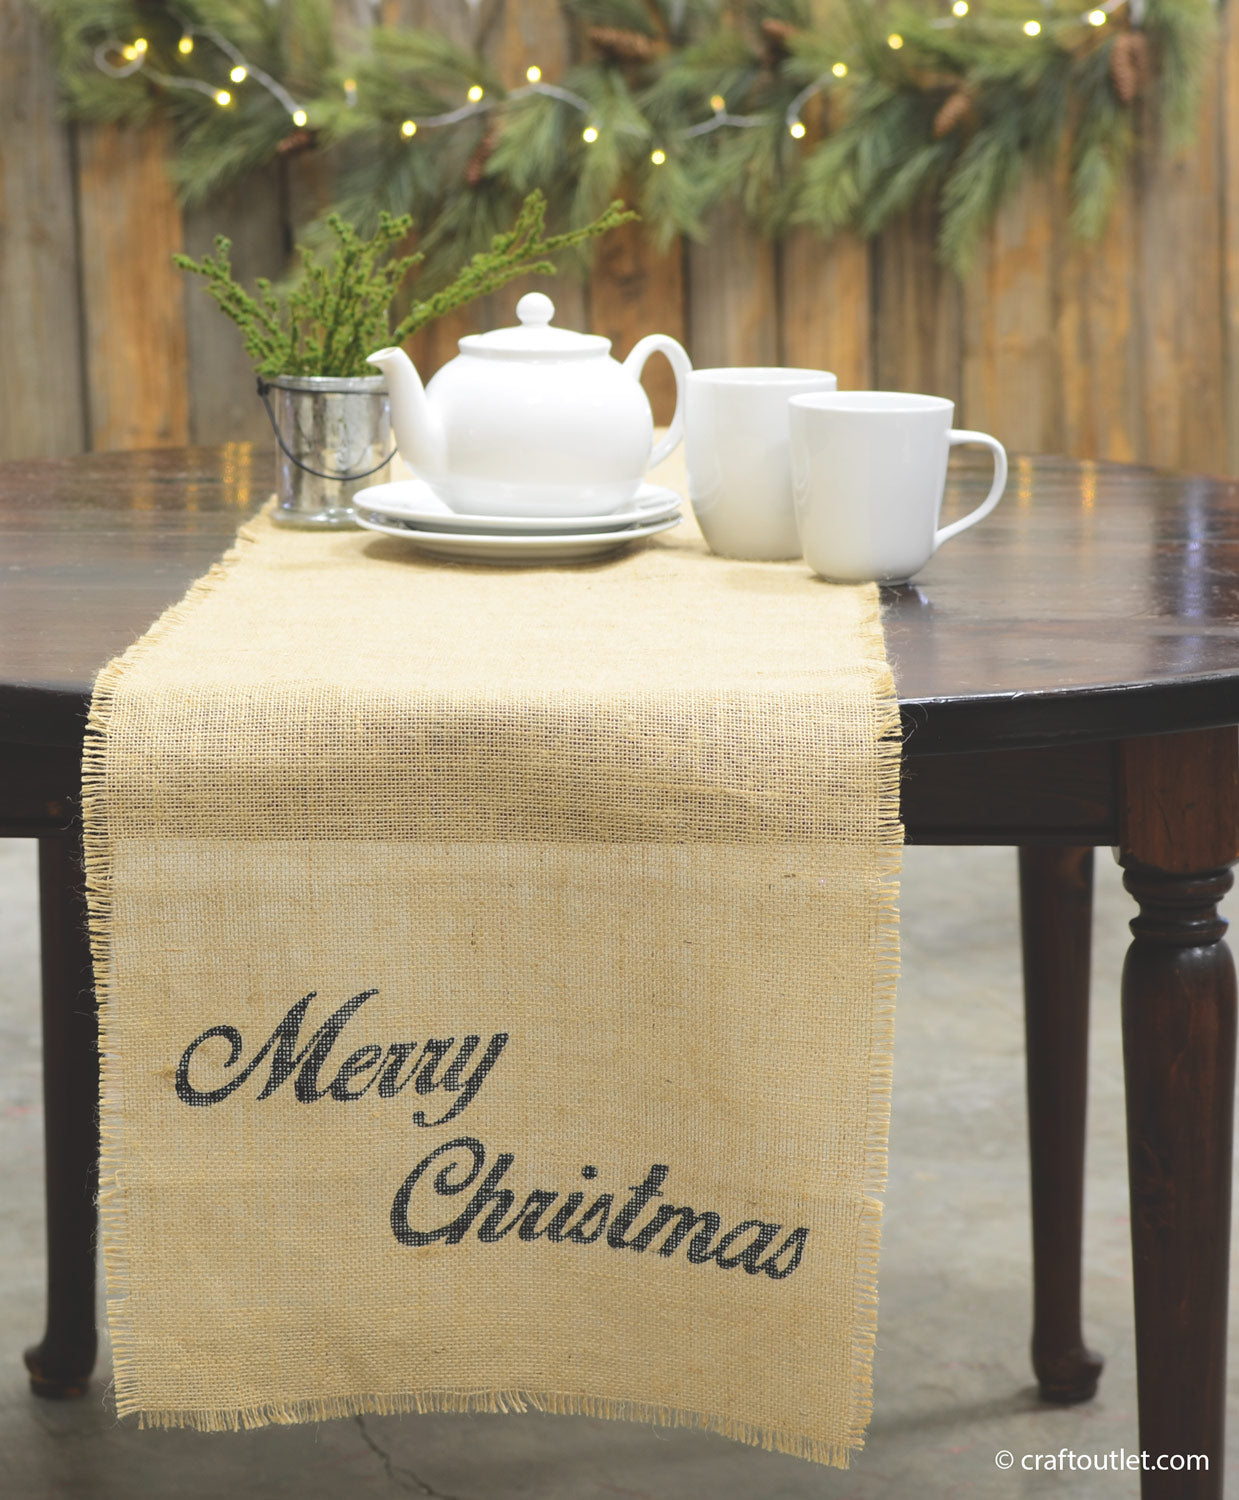
With so many places to focus your decorating for the holidays, one of the most frequented gathering spot, the dinner table, can be left neglected. Give your table a homey, handmade Christmas touch simply by stenciling on a Craft Outlet jute table runner. This Freezer Paper stencil technique can be used for pretty much any fabric surface, allowing your creativity to flourish.

Supplies Needed:
-
Jute Table Runner (14"x72") $4.50
- Freezer Paper
- Exacto Knife
- Black Craft Paint
- Spouncer
- "Merry Christmas" Printable
- Silhouette Cameo/ Cricut Stencil Download
Option 1: Hand Cut

Arrange stencil to desired position, tape together and transfer paper to a safe cutting surface.

Lay Freezer paper shiny side down over the printed image.

Carefully cut the stencil out with the knife. It's also handy to have small scissors for trimming any round edges.
Option 2: Silhouette Cameo Cutter or Cricut Cutter
Download our .SVG Vector file for the stencil for your Cricut Design Space or the Silhouette software.
For Silhouette Users:

Open your software, select Import>Import to Library. Go to where you've saved the .PNG stencil (most commonly in the Downloads folder). Select.

Place your image onto your board and select TRACE. Draw a gray box around your image.

For your image, you will want to UNCLICK the High Pass Filter, Set the Threshold to 100%. Then click "Trace"


Once traced, move the black image out of the way. Double click and hit DELETE.

You will be left with just an outline of your image.

Once the design is placed into desired location, go to the "Cut Settings" button in the upper right corner. Choose Standard and Vellum paper.

Select the "Send to Silhouette" button and Start. Have the Freezer paper shiny side down on the cutting mat.
For Cricut Users:

Go to www.cricut.com, open the Cricut Design Space. Click "Create New Project".


Click Upload Image > Basic Upload > Insert Images

Select Browse and find your .PNG file (most commonly found in Downloads folder). Then click the Simple Image button and Continue to Step 2. Click through Step 3 and then it will redirect you to the Upload Page. You will see your newly uploaded image at the bottom.

Select your image, and click insert image. Once placed, click the green Cricut circle to begin cutting. Make sure you have the Freezer paper shiny side down on the cutting mat.

Place Stencil onto the runner and using high heat (keep the fabric in mind when choosing heat) iron over the Freezer Paper.

Place and iron the centers of the e, a, and s's.

Using your Spouncer, evenly sponge the paint over the "Merry" stencil. Be cautious of the stencil's edge when sponging to keep your design clean.

Repeat over "Christmas" stencil.

Let dry and carefully remove.