
📌 Disclaimer: This tutorial was first published in September 2017. Some links may no longer work and any pricing mentioned may be outdated. The techniques and methods, however, remain valid—so we're happy to keep sharing it.
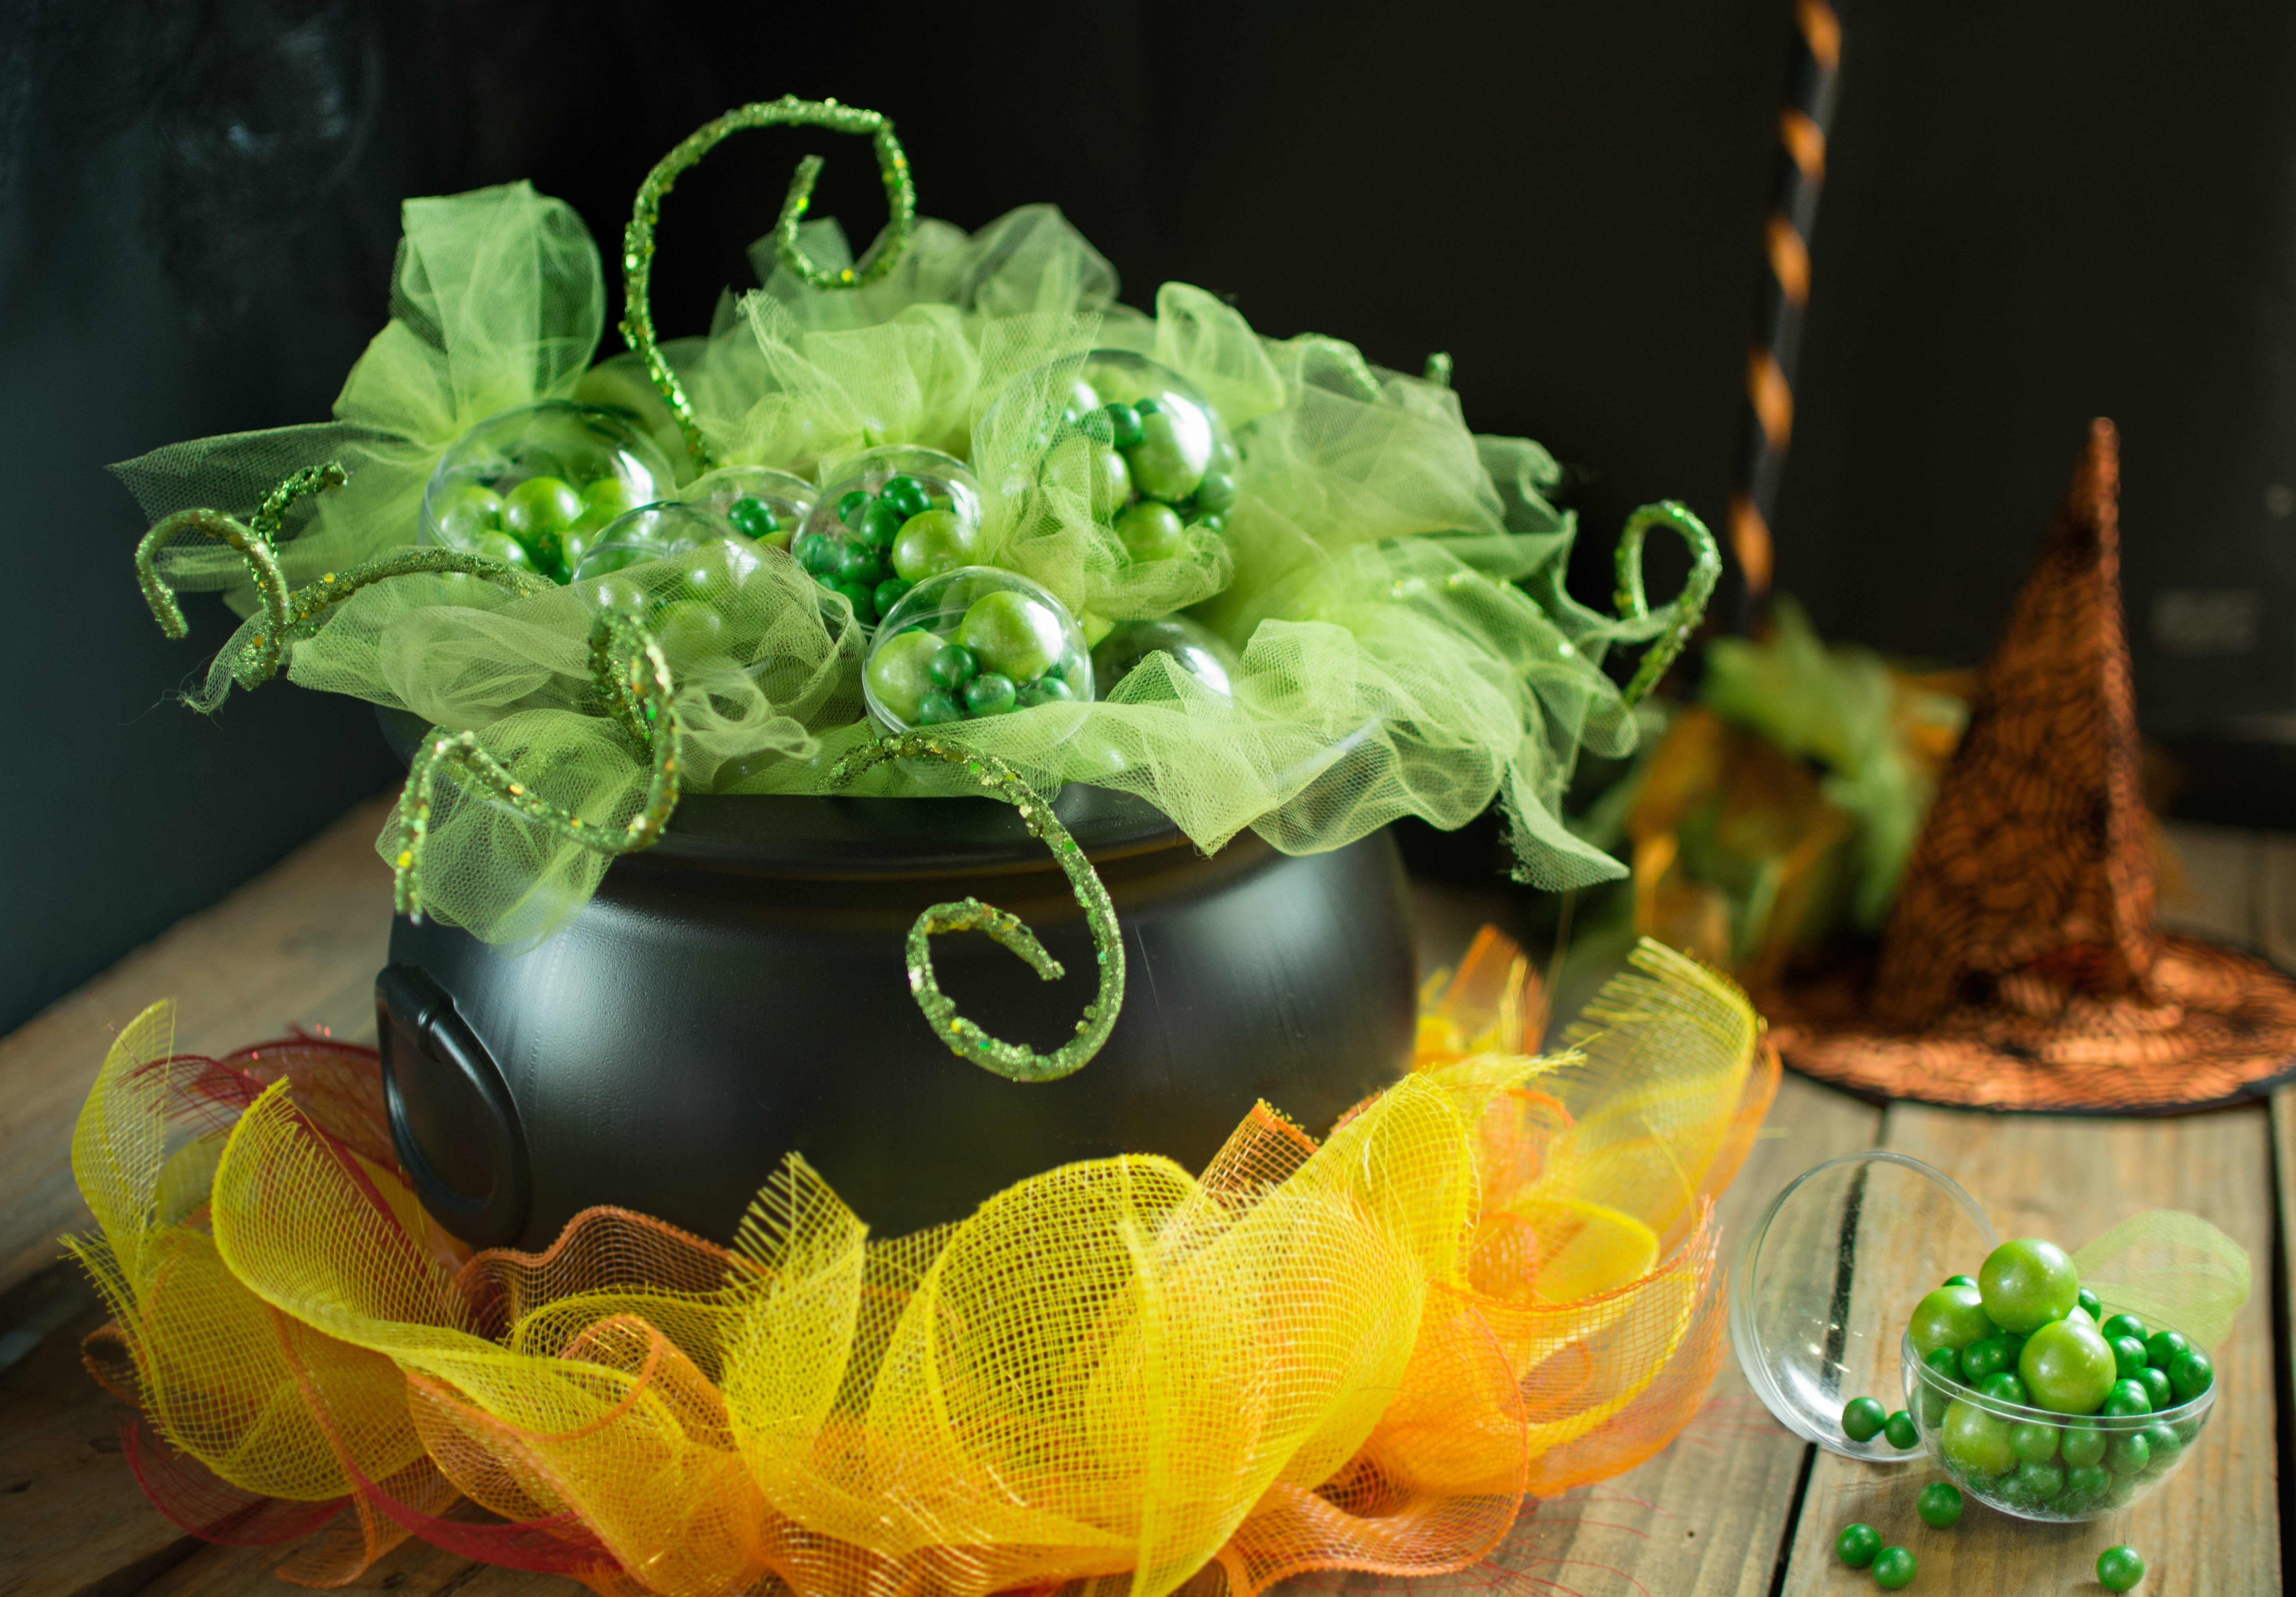
ONE: Double Double, Toil, and Trouble, We Put Candy in the Bubbles!

We love the idea of using a cauldron to stash thematic party favors. Bonus: Use it as the table centerpiece to enchant your guests all evening.
:What You'll Need:
For the fire:
- Box Wire Wreath Form: 10 Inch Round
- 10" Poly Deco Mesh: Yellow
- 10" Poly Deco Mesh: 2-Tone Orange/Gold
- 10" Poly Deco Mesh: Metallic Red
- 4" Clear Zip Ties
For the cauldron:
- 12" diameter cauldron
- cauldron filler (we used Floral Foam Blocks: Dry)
- 6" Tulle Ribbon: Apple Green
- Wired Glamour Rope: Lime
- Clear Fillable Ornaments (We used 80mm and 60mm)
- Round, green candy
:What To Do:
Start by cutting the mesh for your fire. We used three colors because they look great together, but you can get away with only using orange and yellow if you prefer.Yes, your mesh will fray a little, but don't worry, the resulting effect will visually allow the colors to blend more.
Now we will make a flame. Each flame consists of one piece of each color of mesh. You will need three flames for each section of the work frame (a total of 15 flames).
 Layer the mesh with the red on the bottom, yellow in the middle, and orange on top. If the mesh is curling a little, lay it so that the curl comes up toward you. Orient the pieces so that their corners do not line up. This will help create the jagged look of flames.
Once you have added all your flames, you will have a ring of fire to set the cauldron on. The flames will fan out in a way that hides the zip ties. The cauldron will sit naturally in the indent of the work form, but for extra stability, we highly recommend hot gluing the work form to the base of the cauldron.
Unless you plan on having ALOT of guests, you will probably need to put some filler in the cauldron so the candy bubbles will be visible. We used floral foam because it is light, and because it is perfect for holding the glamour rope "wisps" in place.
Set the cauldron aside and make the bubbles.
 Now you are ready to add the candy bubbles to your witch's brew! Alternate big and small as you stack them, and be sure to allow some of the tulle to poke out between some of the bubbles. Also, keep the bubbles turned on their sides as much as possible to hide the ornament seams.
TWO: Trick-or-Treat? This Mummy's Sweet!
Our wreath buddies are so cute we are always looking for more ways to use them. Decorate your door for the season with our mummy wreath here, and then transform it into a candy dish for trick-or-treaters.Pro Tip: You're not stuck with just the mummy! This project works with almost any of our wreath accents that have arms and legs.

:What You'll Need:
- Mummy wreath
- 10" Cauldron
- 1.5" White Polka Dot Ribbon: Purple (Note: If you used this ribbon to make the mummy wreath, you will have enough left over for the cauldron)
- 6" Tulle Ribbon: Orange
- 24 Gauge Paddle Floral Wire: Gold
- Candy
:What To Do:
 Assemble the mummy wreath or any other character wreath you like.
Fill your bowl with treats and enjoy your creation!
THREE: Oops-a-daisy! Witches can be clumsy, too. This one fell into her brew.
We would be remiss if we didn't throw out some ideas for using cauldrons as wreath accents. Both the 8-inch cauldron and the 6-inch cauldron fit nicely on a standard-sized wreath. Our 8-inch cauldron comes with a handle, which is convenient for attaching to wreaths.
Products Used:
- 15-24" Tinsel Work Wreath Form: Purple
- 21" Poly Burlap Deco Mesh: Purple
- 8-inch cauldron
- 14" Striped Glitter Witch Legs: Purple & Black
- 6" Tulle Ribbon: Apple Green
- 1.5" Glitter Pin Dots Ribbon: Black
- Tinsel Flex Tubing Ribbon: Halloween
- Glitzy Sticks: Lime Green
- 14" Glittered Happy Halloween Sign: Orange & Black
 The 6" cauldron has a hole in the bottom - just stick a tinsel tie through it and make a knot on the inside to keep the cauldron nestled in place.
Products Used:
- 15-24" Tinsel Work Wreath Form: Black
- 21" Poly Deco Mesh: Vertical Line Apple Green
- 10" Poly Deco Mesh: Metallic Apple/Lime
- 6-inch cauldron
- 7" Satin Spider Web Witch Hat: Purple & Black
- 14" Satin Spider Web Witch Legs: Purple & Black
- 6" Tulle Ribbon: Eggshell
- 22" Black Metallic Glitter Twig Witch Broom
- Halloween Wooden Tag Sign: Park Your Broom
- 1.5" Satin Glitter Ribbon: White Iridescent
- 2.5" Jute Window Pane Mesh Ribbon: Black
- Tinsel Flex Tubing Ribbon: Metallic Lime Green