
📌 Disclaimer: This tutorial was first published in December 2014. Some links may no longer work and any pricing mentioned may be outdated. The techniques and methods, however, remain valid—so we're happy to keep sharing it.


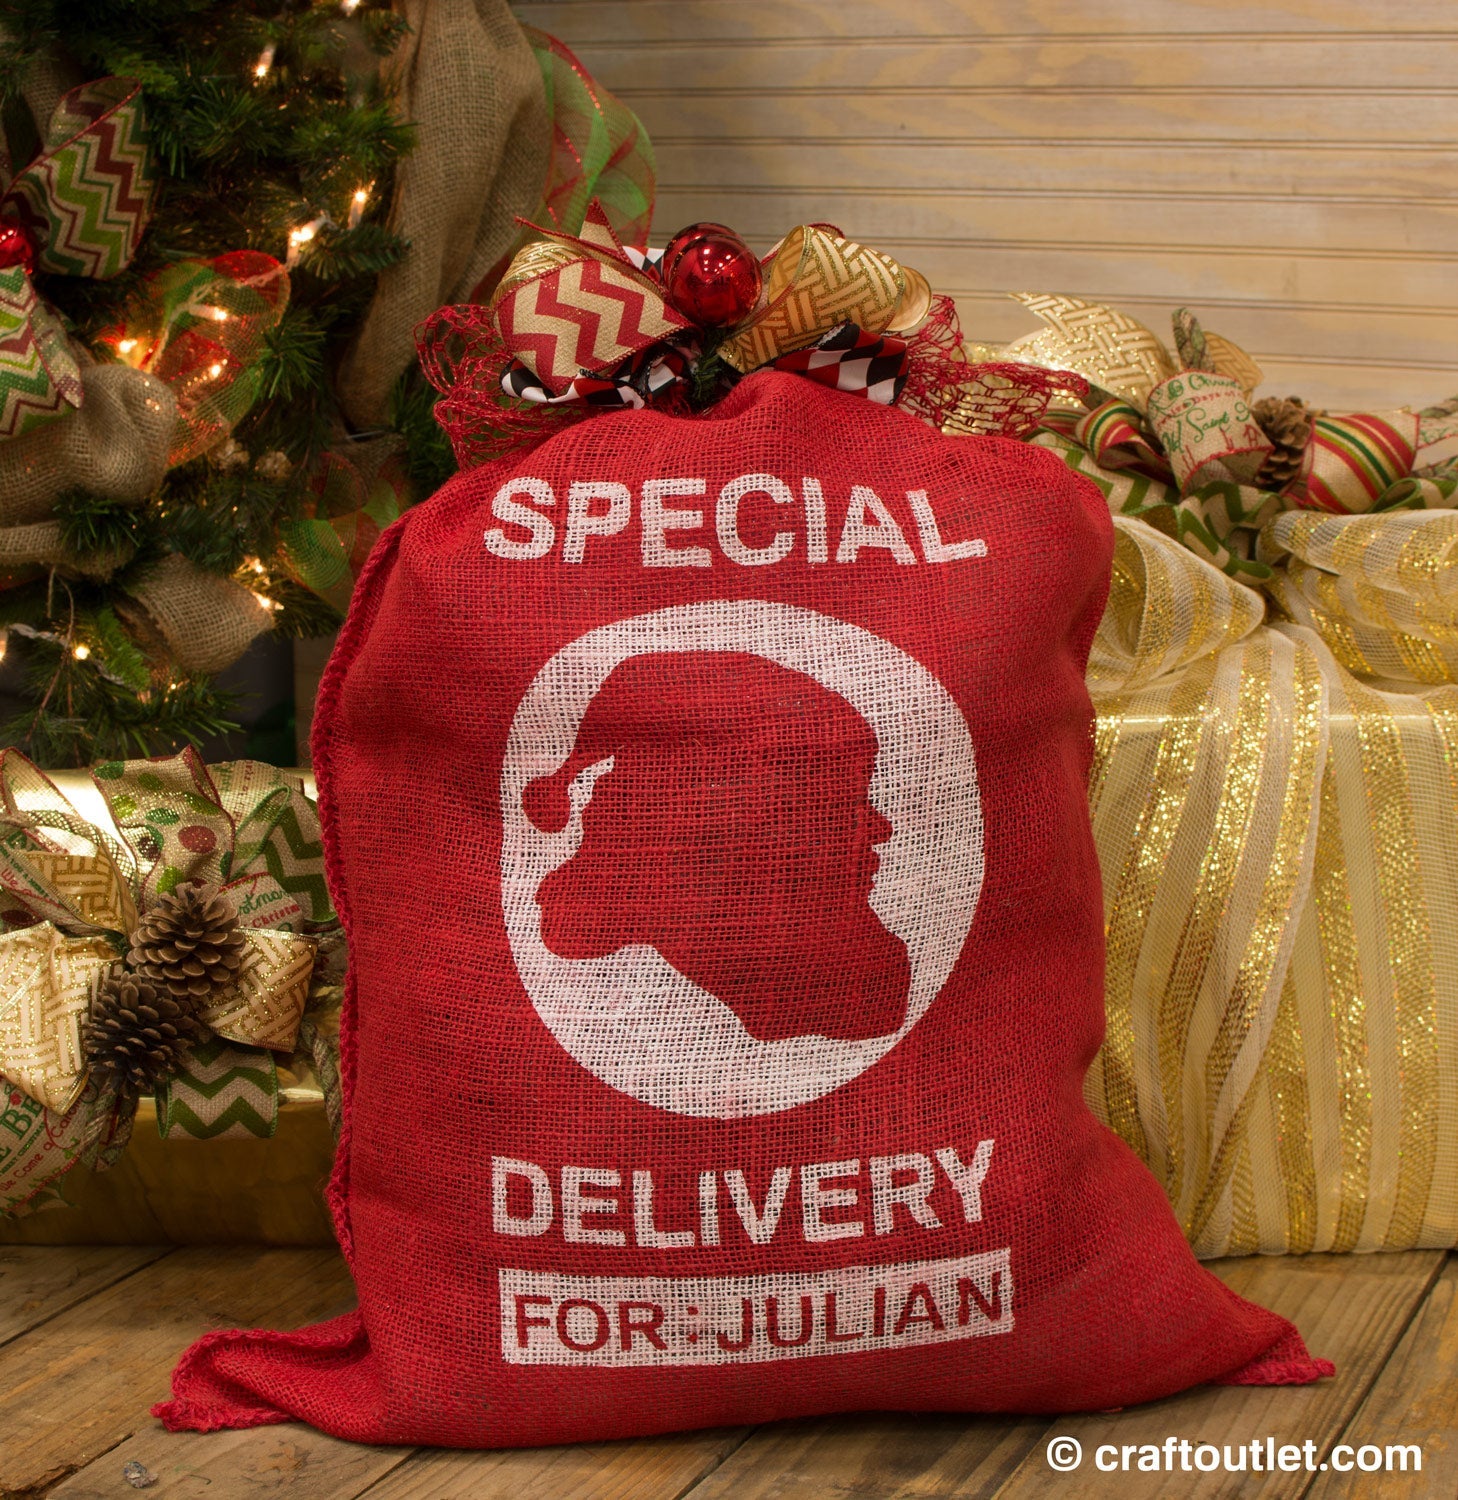
After recently completing the Quick and Custom Stenciled Santa Bag, we wanted to bring you something more whimsical and exciting for any child to see, a "Special Delivery" from Santa made just for them!
Using the same burlap sack as suggested in the last post, we show you how to achieve a playful look, whether you'd like it personalized or not.

Supplies Needed:
- Burlap Drawstring Bag (24″x32″) : Red
- Freezer Paper
- White Craft Paint
- Spouncers
- Iron
- Special Delivery Santa Design
- Silhouette or Cricut Cutter
- Exacto or scissors (if hand-cutting)
Since this is a larger stencil, for either hand cutting or using a cutting system, we recommend dividing the graphic into two sections. Text on one sheet and Santa's silhouette on another. The graphics we provided are laid out with that in mind. You will further divide the text as you lay it out.
For the text in this design, we used the free font Familiar Pro. If you are hand-cutting, you can type the name into a text document and with a ruler trace a rectangle around the name. Refer to our Stenciled Burlap Table Runner post for more help with hand cutting a stencil with freezer paper.
If using a cutting system, follow the steps in the Stenciled Burlap Table Runner post to trace the Special Delivery Design image. Using their shape tool, draw a rectangle underneath "Delivery". With the text tool, write the name of your choice. Adjust the font size to fit the rectangle. We sized the entire design to fit the cutting mat with a 1" border on the left and right edge.

Before starting, place a piece of paper into the flattened drawstring bag. This is to help avoid any paint from seeping through the porous burlap.

Apply the stencil in parts. The first part of the stencil should be the Santa Silhouette. Place in the center of the bag (14" down from the top of the bag). Lay shiny side down and adhere with a hot iron.

Apply the basic text shapes and the rectangular box. Special should be 13" down from the top of the bag. Delivery 24.5" down and the rectangle box 26.5" down. Lay shiny side towards the burlap and adhere with a hot iron.

Next add the internal text for the rectangle. Since the letters are free-floating, adding tape to the top half will help with keeping them straight as you iron. Iron the lower half, carefully peel the tape off the paper and finish by ironing the top half.

Add the internal shapes for the other words and the colon symbol inside the rectangle. Pass over the entire stencil a few times with the iron to make a good seal.

Evenly apply the white craft paint with the spouncer. If you'd prefer a more vintage, worn look, apply the paint but do so with some parts receiving less paint than others.

After painting, let fully dry and carefully peel the stencil from the burlap sack.
Stuff with assorted gifts and fill with tissue to achieve a plump Santa Bag. Finish off with a gorgeous bow with our wide ribbon selection to tie in with the rest of your gifts.
